

Yes, you read that right! I created this look in minutes. In fact, I did this table during the commercial breaks of Survivor. As soon as it would go to commercial, I would run to my project. That’s one of my favorite features about Milk Paint. It’s so fast and easy to work with. It dries quickly and you can speed up the dry time too which can also create some cool effects. So let me tell you just how I created this awesome finish and if you want even more details I actually have a YouTube video on how to get the Chippy look here.

So this is how my table started. I loved this Target find. I typically don’t buy my furniture from big box stores but I loved this one and bought it years ago and it just works well in our home. We have a home that is very much lived in. So our furniture does get scratched up and this table definitely had a cheap factory finish that was in some need of major TLC.


So the first thing I did was put down a layer of clear Shellac. (please note this post does contain some affiliate links. These links when purchased do not cost you any extra money however if you make a purchase I do receive a small commission)
I chose clear shellac because it has a wax in it which makes the milk paint get a cool crackle effect. It also dries super fast. By putting down the shellac, my milk paint did not absorb into the dried out surface of the wood. If I would have skipped the shellac, my milk paint would have never chipped.

As soon as the Shellac dried, I applied Homestead House Salad Bowl Finish to areas that I knew I wanted the milk paint to flake off of. By putting down this “resist” it guarantees that the milk paint won’t stick. I applied it mainly to the nail heads on the table and around the edges of it.

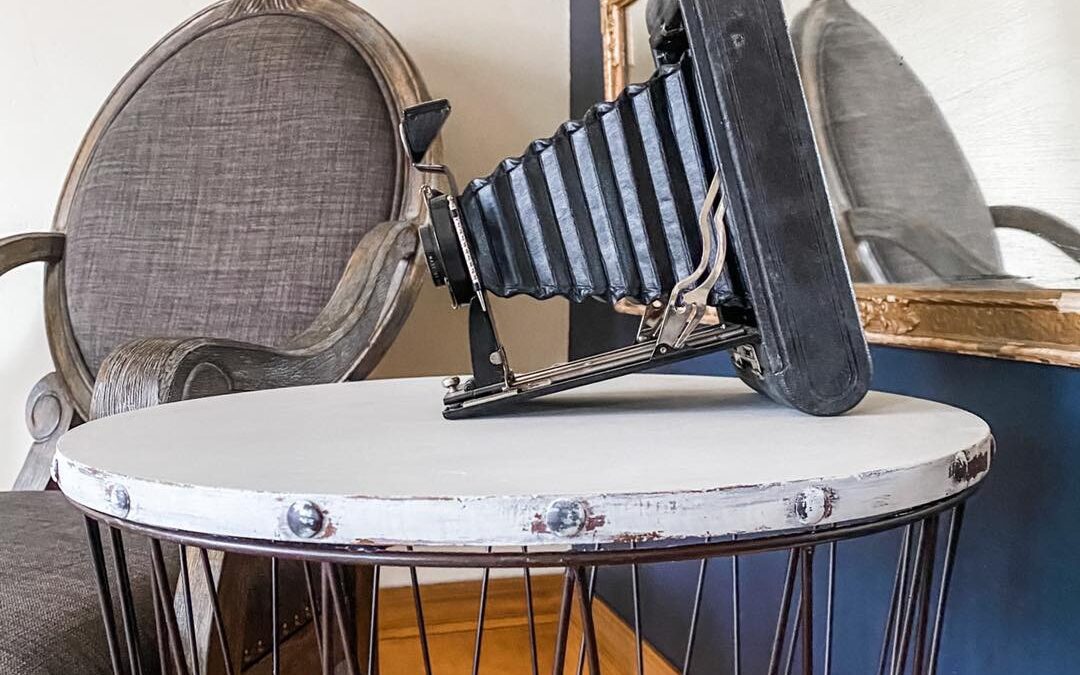
I chose to paint this table in one of my favorite Milk Paint by Fusion colors Marble. I have this color throughout my home and it just looks good on everything.


According to Fusion, Marble is a shade that takes its tonal cues from the sculptural qualities of marble, offering a slight grey undertone.


Once I had full solid coverage and the paint was completely dry, I just rubbed away any flaking paint and used a fine sanding sponge and went over the edges to remove any loose paint. I like to always go over my milk painted pieces with a light sand to remove any texture and give it a soft, buttery finish.

To seal the Milk Paint, I used Polyvine’s Wax Finish Varnish in the Dead Flat Finish. I put down 2 coats of this clear varnish. It gives the surface a nice wax finish feel but with the durability that a varnish can offer.
I hope you have found this quick make over inspiring and that it makes you feel confident to give Milk paint a try.
-Denell