

Hey guys, let me start by saying “I am not a kitchen Cabinet painting expert”. I am a furniture artist and applied the same concepts to my cabinets however, if you want more specialized help that is for Kitchens specifically, then go check out this group on Facebook. I used information from the group and estimated that my kitchen would have cost me approximately $5k to have professionally done. Let’s just say I did not have 5k in the budget so I figured I would put the Fusion Mineral Paint that I retail to the test.
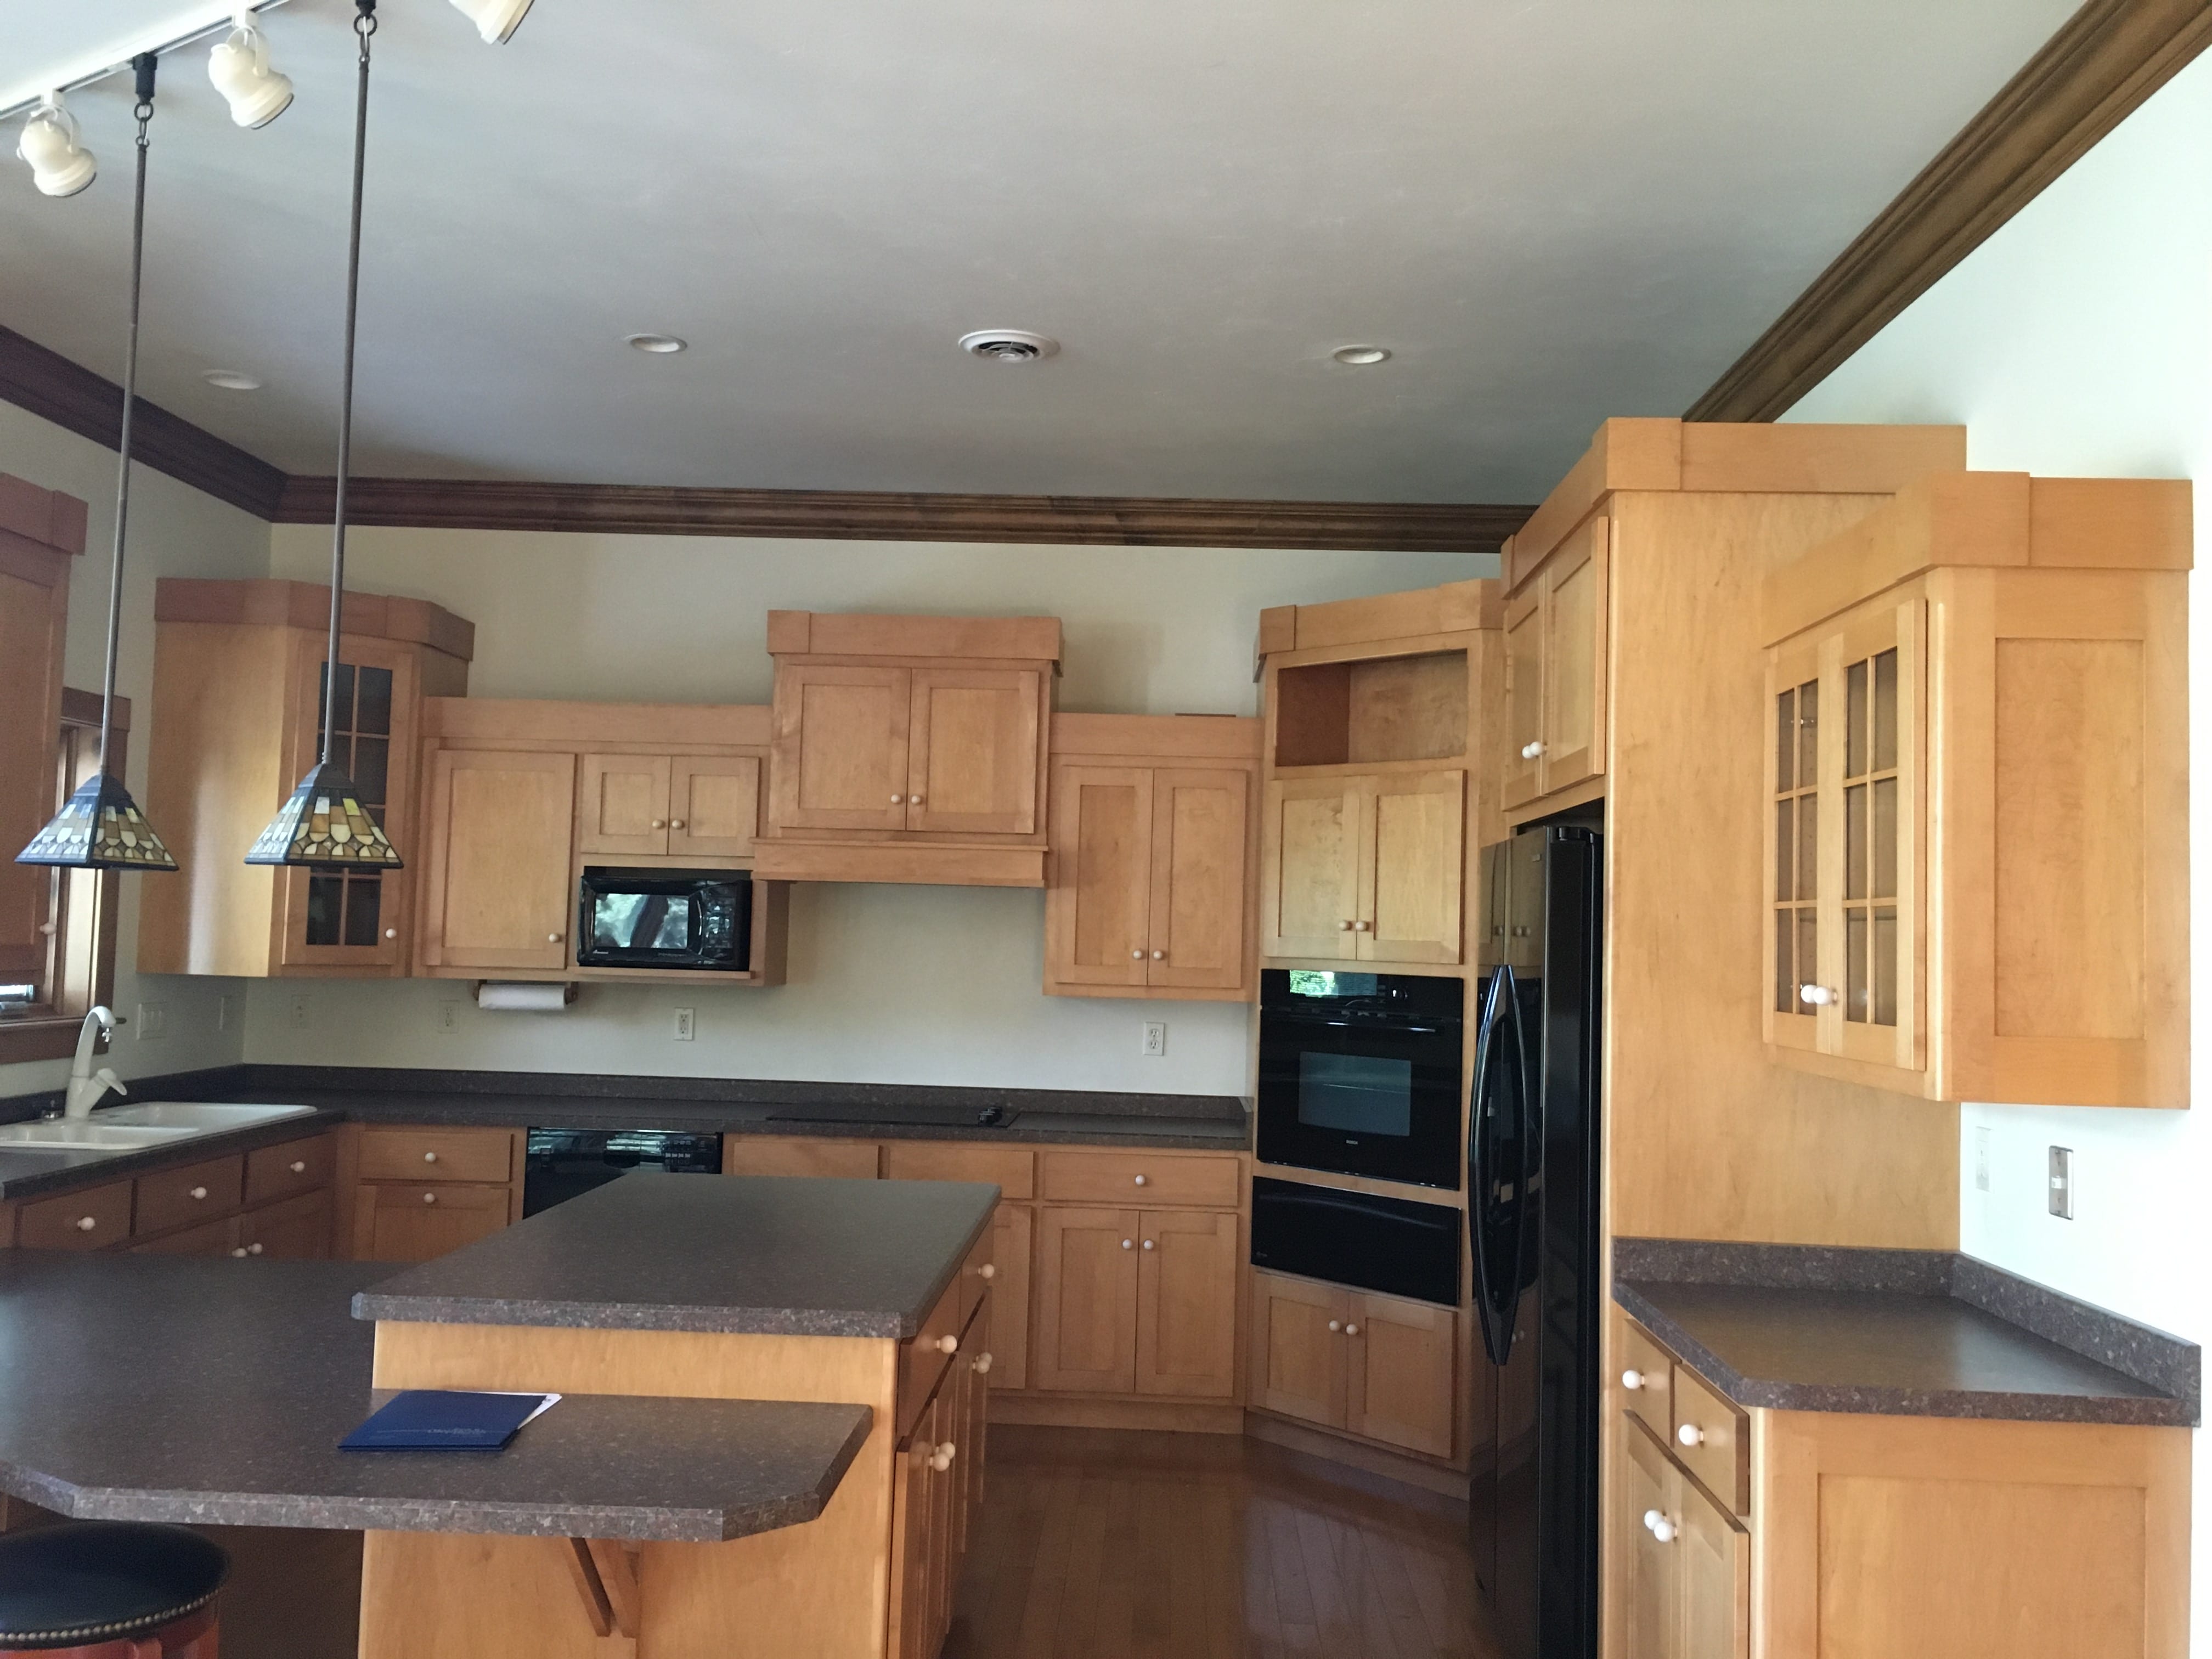
Ok, so this is what I was starting with. The lower counter top was so low that if you sat on a stool, you could not even fit your legs underneath. The flow was cut off due to the counter tops as well and It felt overwhelming with all the wood tones and was definitely not our style. I was not loving the track lighting either as it barely gave off any light and the stained glass I felt really dated the space.

We had to do the kitchen in stages. We first tore out that lower counter top to make the higher one function as an island. We replaced the dark counter-tops with a light Quartz. We put a larger counter top on the island so that we would be able to eat at it with stools. We then changed out all the hardware to more modern pulls. This involved drilling some new holes. We found a great deal on our hardware off of Amazon. You can check them out here.
We also changed some of the appliances. We wanted to switch them all but did not have the funds so we kept the original oven and warming drawer. We switched the electric cook top to gas. Then we had the track lighting removed and replaced with hanging pennants. At this point we were broke but our kitchen was way more functional and to me less ugly. So it stayed like this for about a year.
“New and Improved pallet for kitchen”
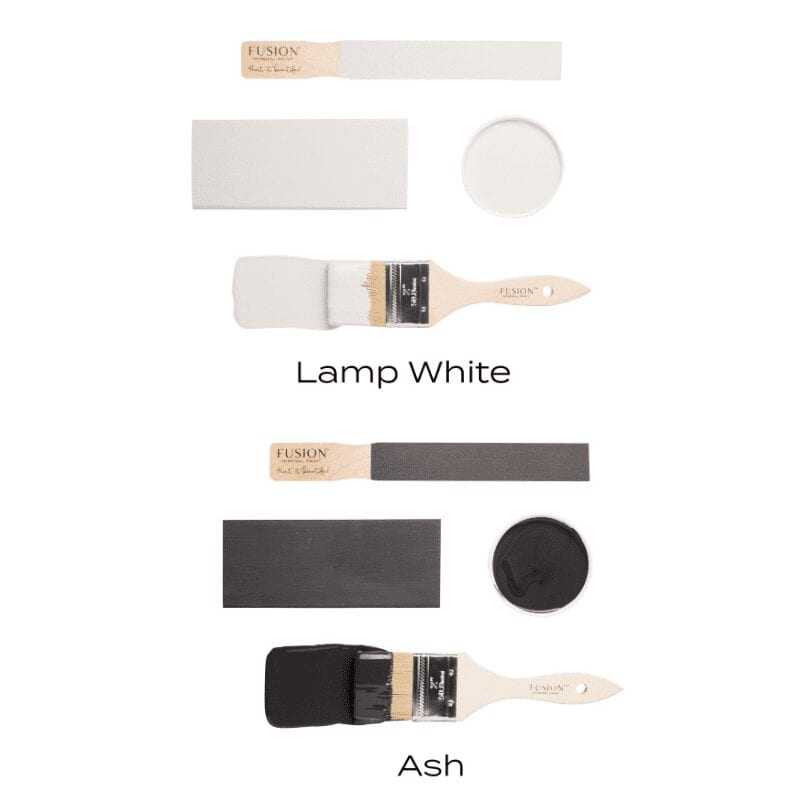
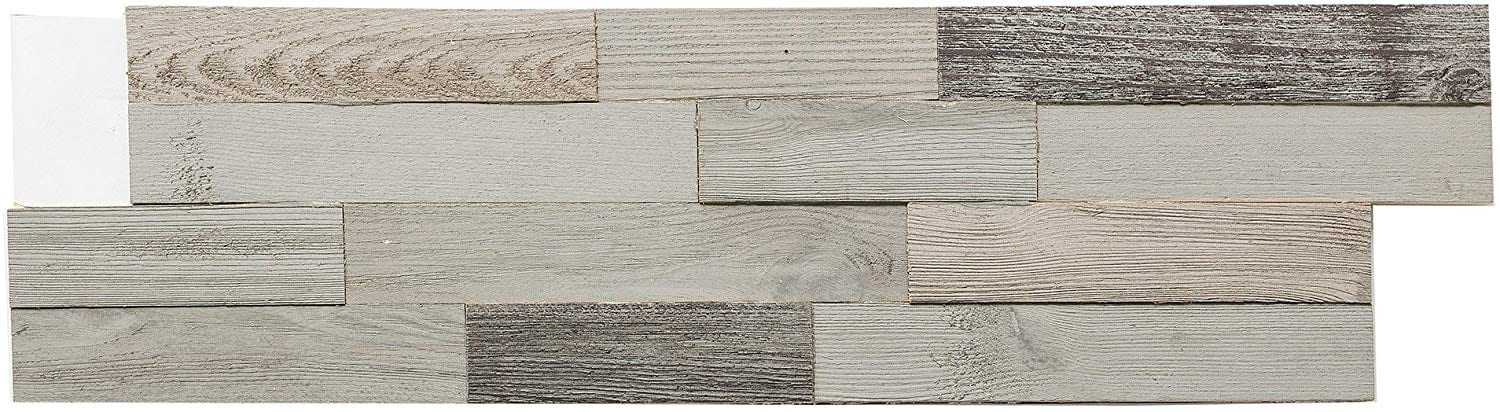
So being a Fusion merchant, I have helped many people with painting their kitchen cabinets. I have seen some beautiful kitchen renovations and knew I wanted mine painted but just did not have the funds to hire it out. So I did what any DIY’er would do and just decided to start. I chose Fusion’s Lamp White and Ash as my color scheme. Originally I actually wanted to keep some of the cabinets the original wood. I soon realized with our chosen backslash, it looked too busy having 3 cabinet colors.
I was a little intimidated by the size of the space so I decide to start with the island. I knew that I need to make my kitchen a learning experience for my customers. I knew that it would take me longer as I wanted to “experiment”. What that means is I chose multiple tools to work with so in the end I would be able to offer the best advice. I felt like I would allow my kitchen to “take one for the team”. I need to know the good and the bad so that I can provide recommendations that I believe in.
So for the island process I did the following.
(I first cleaned my floors. I vacuumed and steam mopped them. Trust me, take this step. There is nothing more annoying then painting and having a random hair or something get stuck in your finish).
- I cleaned the entire surface with Fusion’s TSP
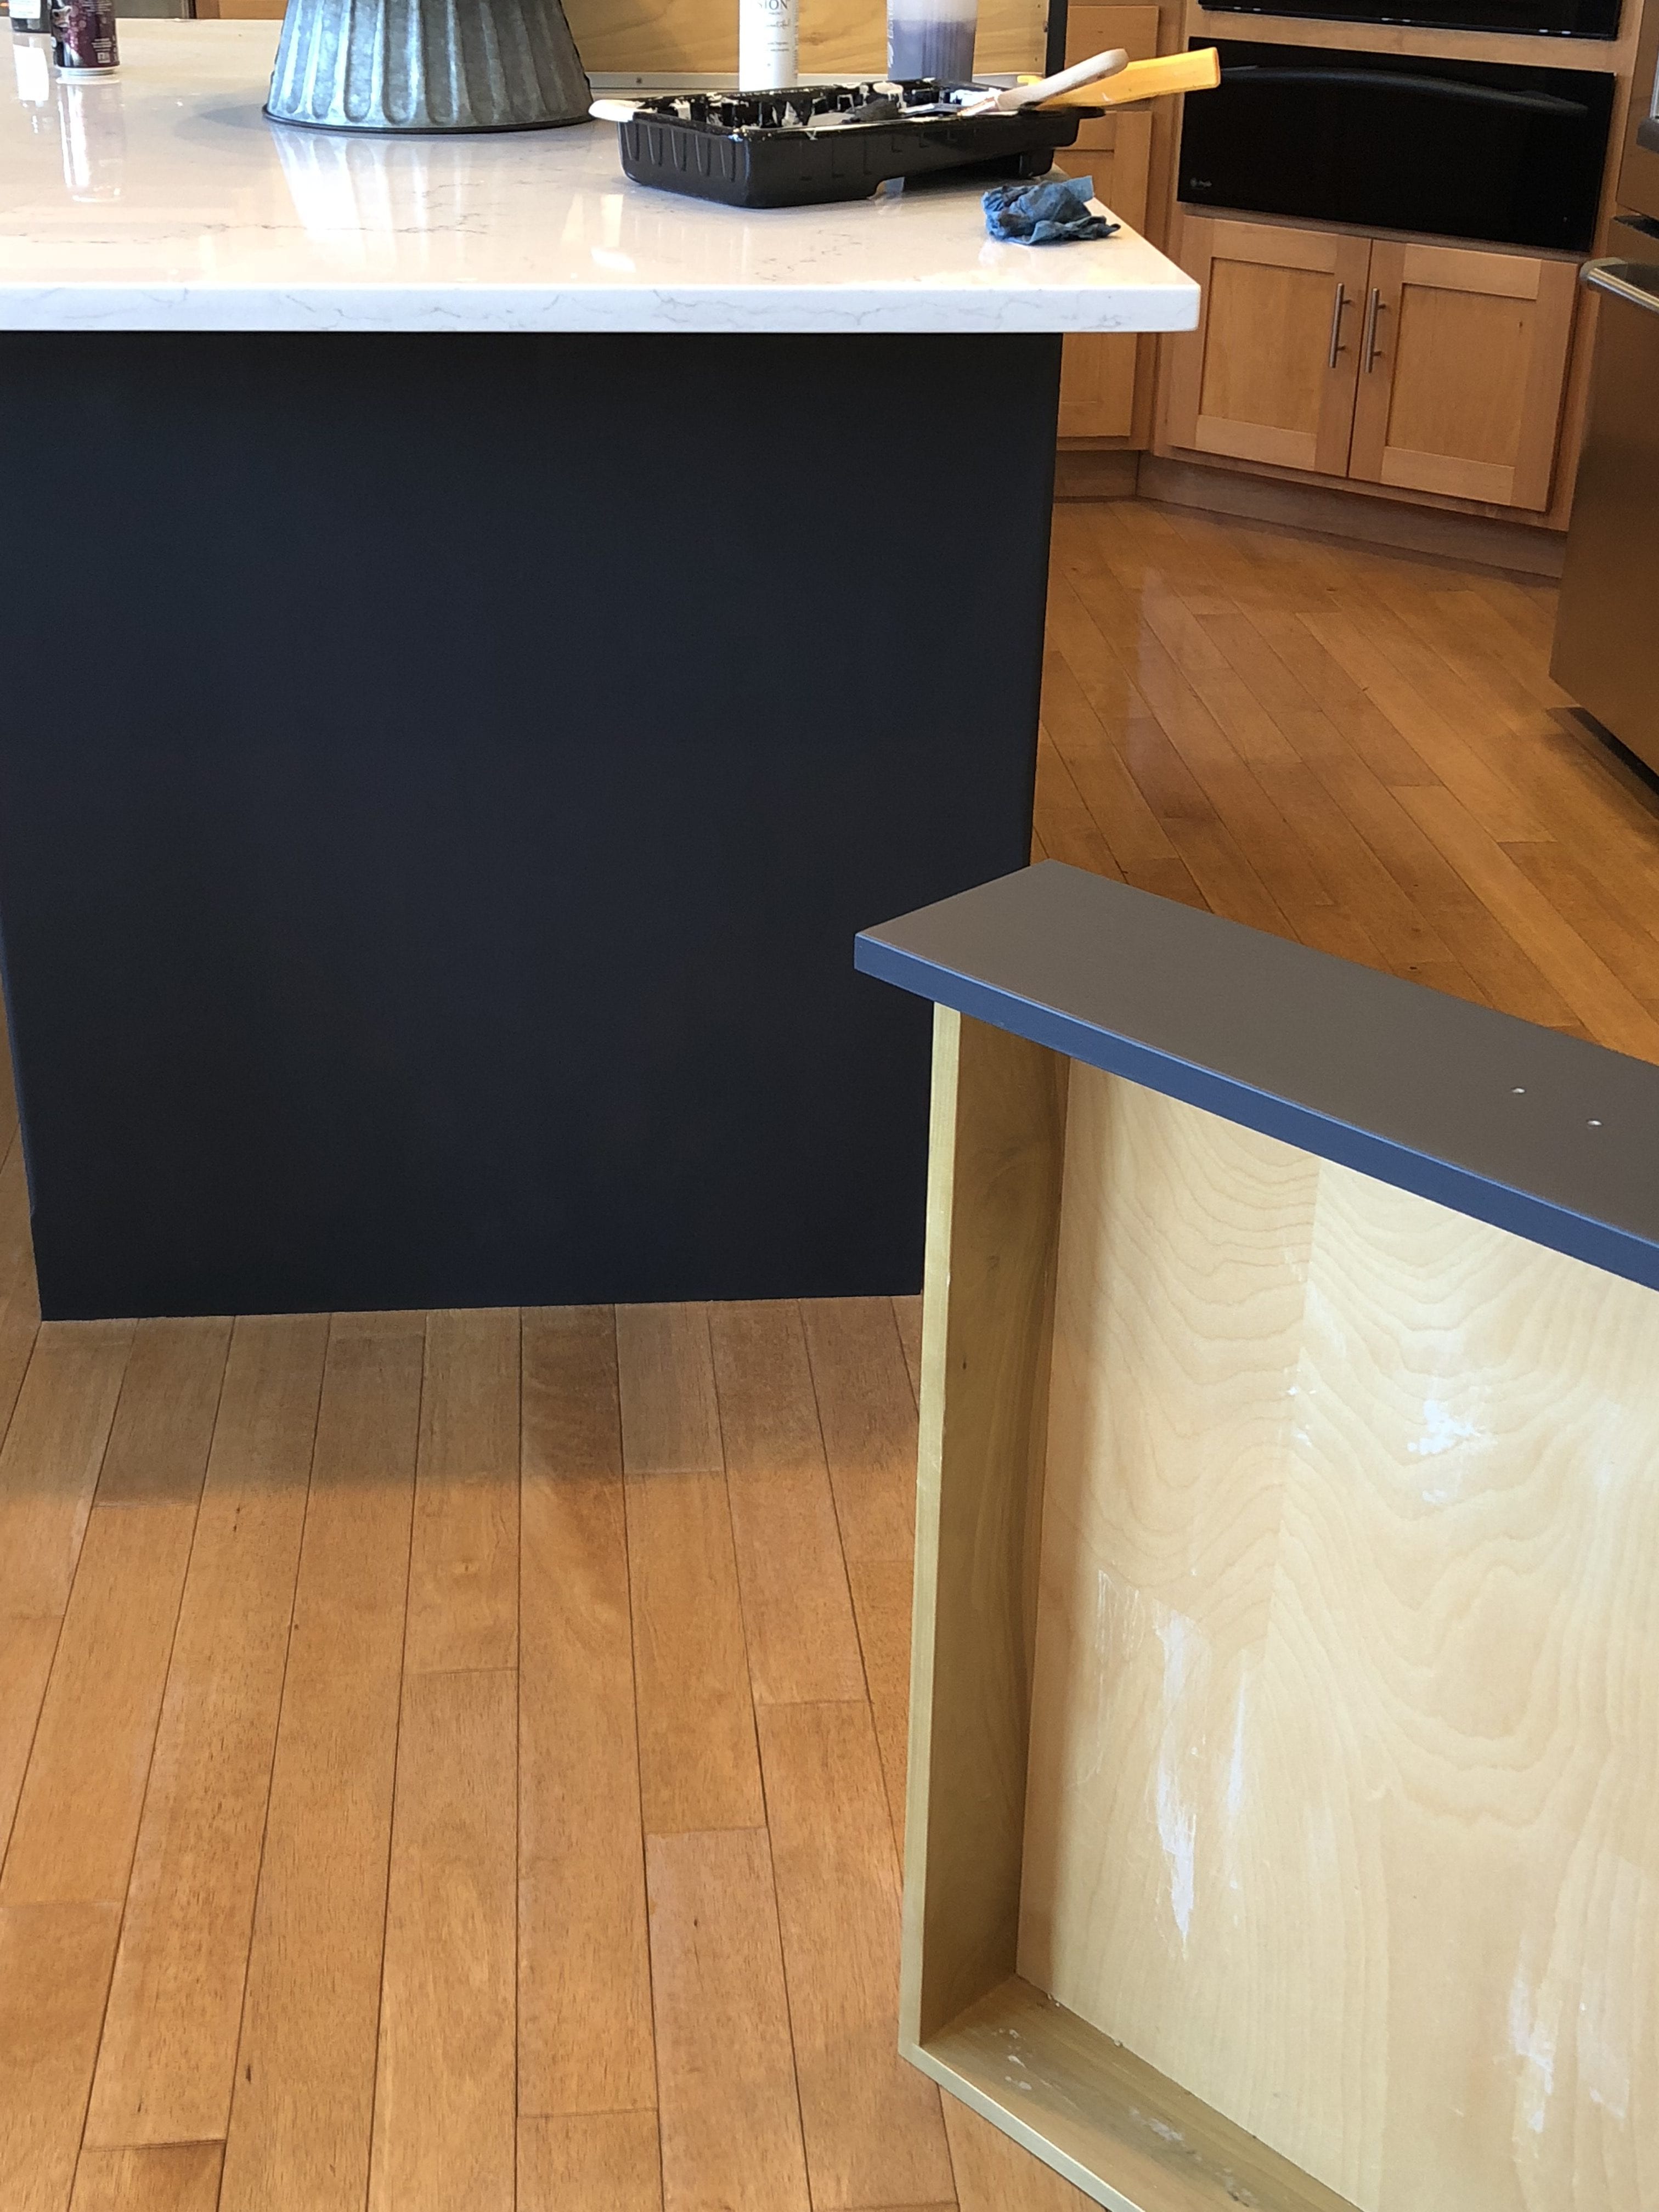
- I then filled the pre-existing holes from the lower counter top with Bondo. It’s my favorite because it’s strong as nails and sands smooth.
- I removed the island doors, drawers and hardware. I labeled each door and put the original hardware back in that cabinet so I knew where it went for re-installation.
- I then scuff sanded the entire island using a 220 grit sanding sponge. This was just to scratch up the pre-existing poly.
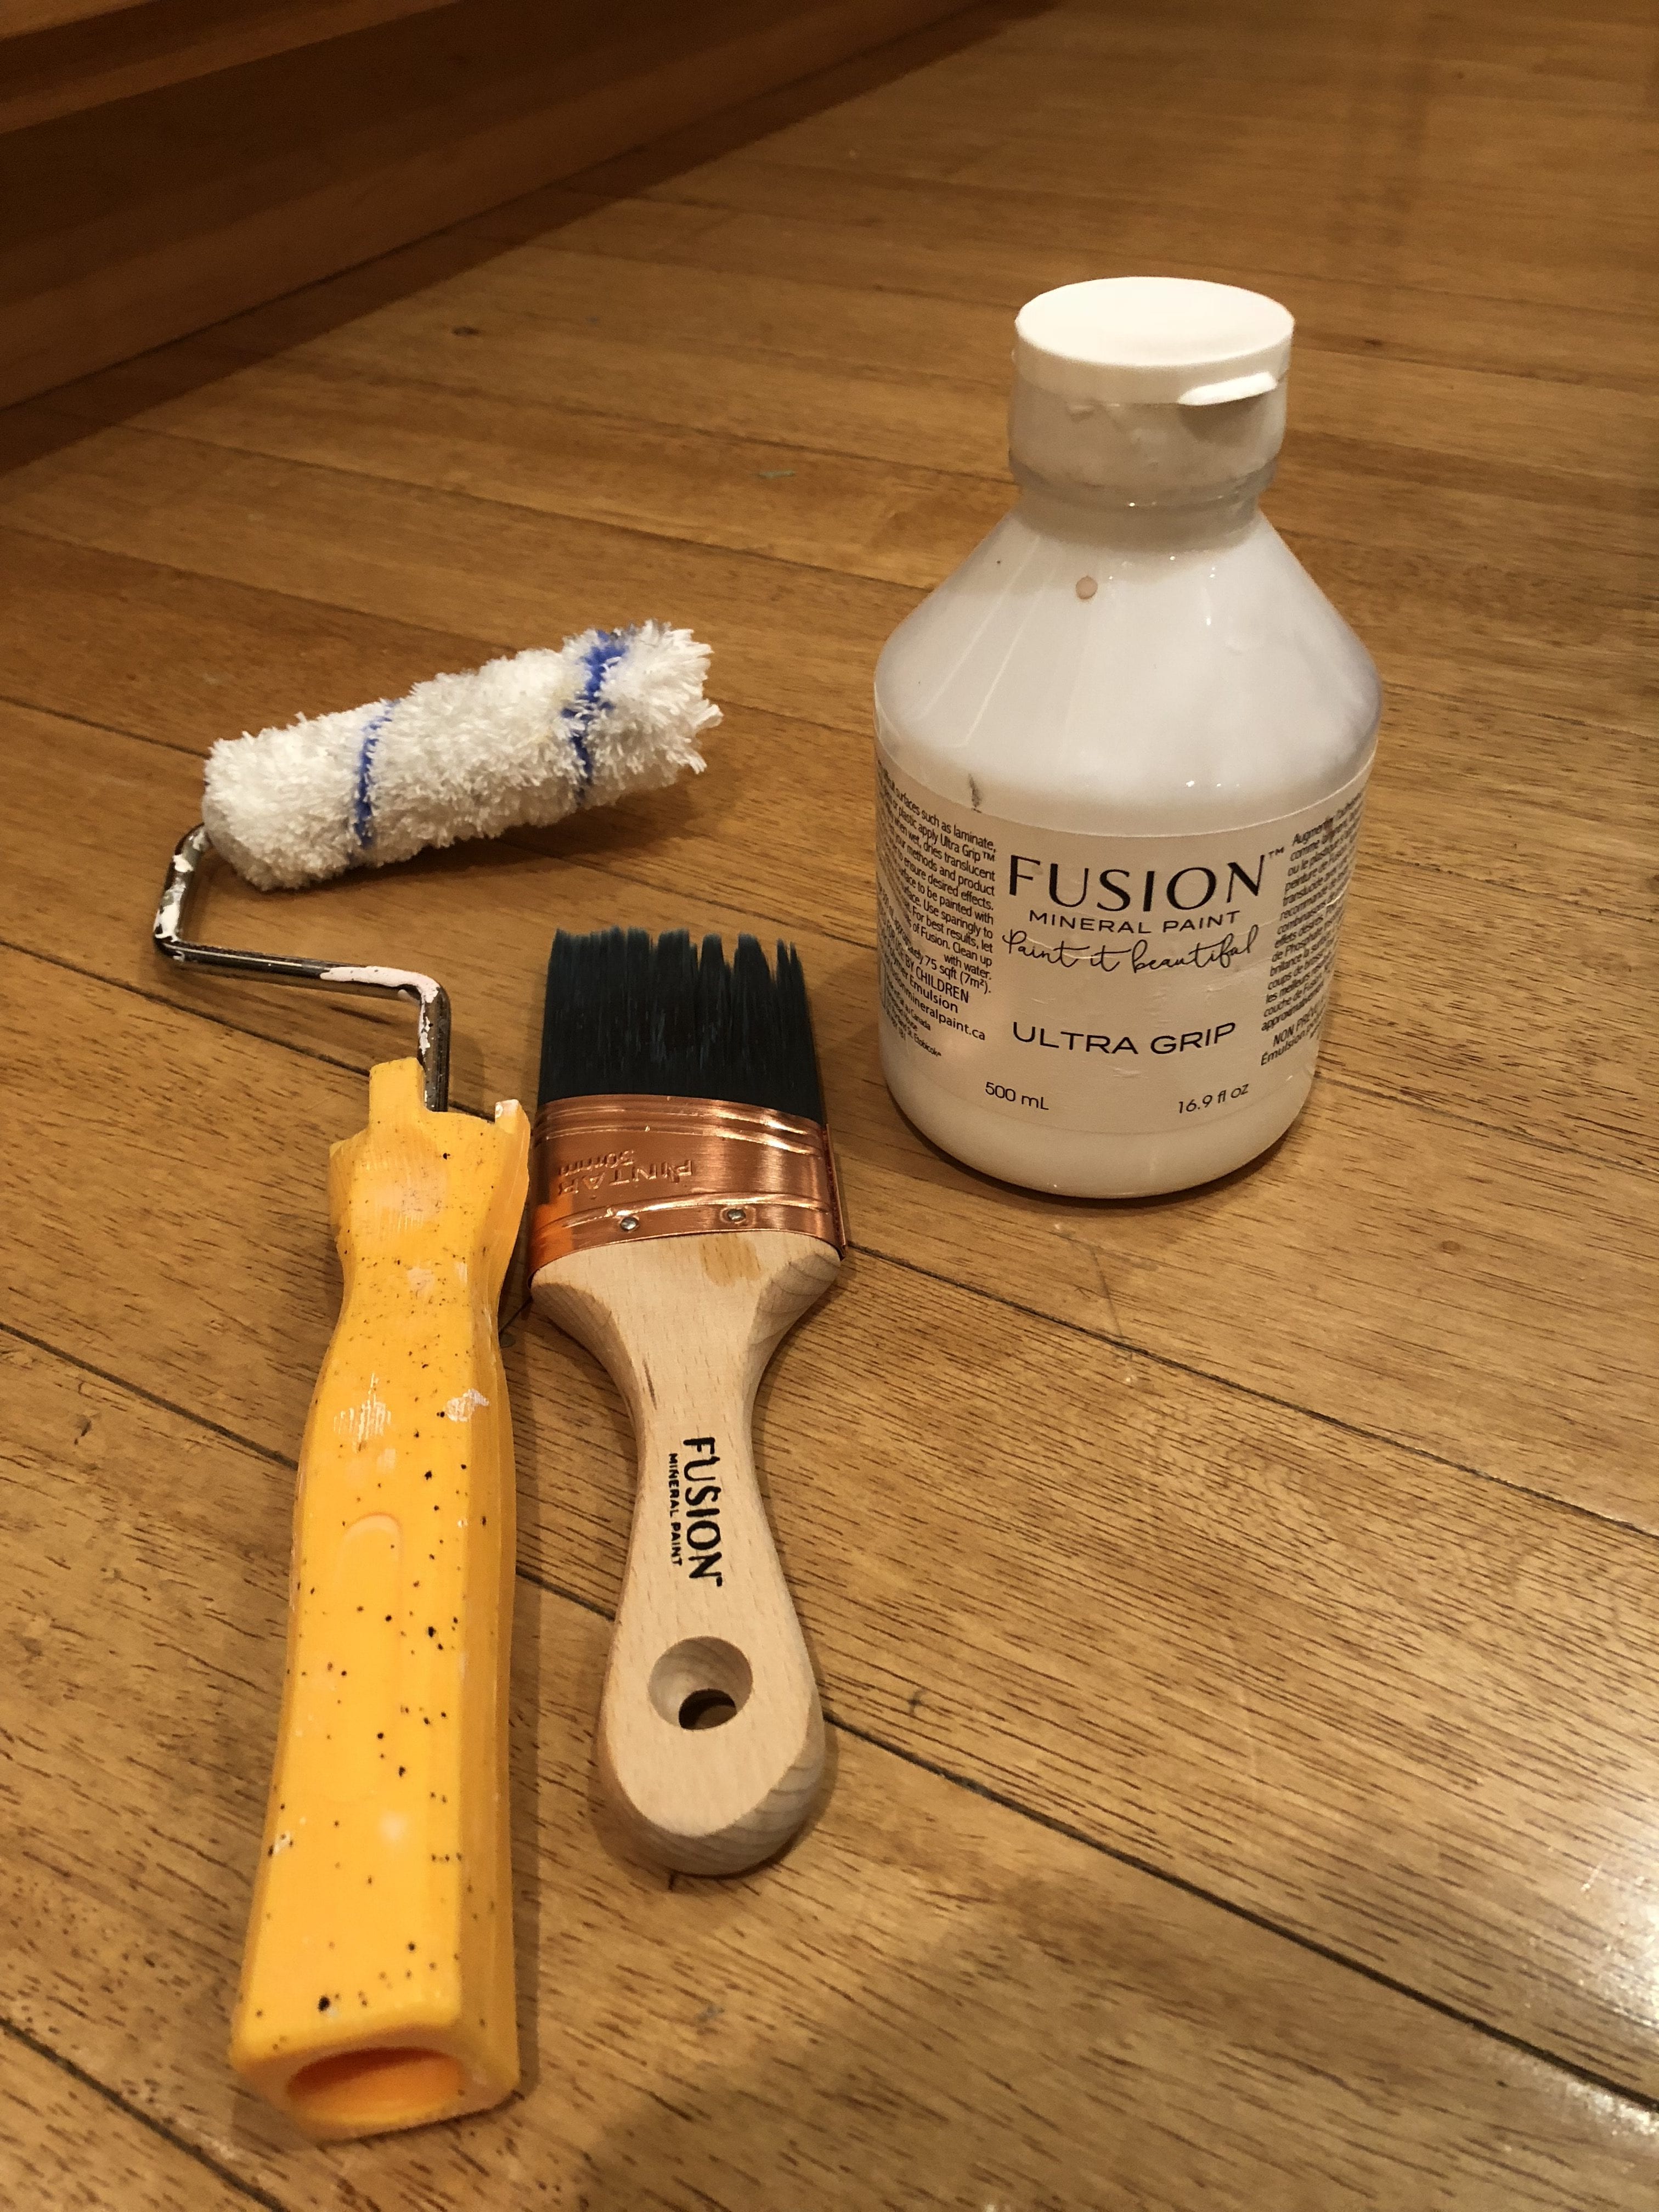
- I knew our island would get a lot of wear and tear so I applied a layer of Fusion’s Ultra Grip. I chose to use the Fusion Roller for the Ultra grip application.
- I applied a thin layer of Ultra Grip and allowed it to dry over night. You must allow this product to dry for 12 hours prior to painting.
- I then used the blue angled Fusion brush for my first layer of Ash. Please note: I planned on testing a few application methods and brush styles.
- After the Ash dried, I was not super pleased with the texture that I had. I gave the surface another light sand and decided to try the the roller on the large surfaces. I liked this application result way more. I also decided to switch over to the Staalmeester Pointed Sash. For me, that is hands down the easiest brush to make a clean line by the floor as I chose not to tape.
- Now for the doors, I knew that Ash would be a 2 coat coverage. I started with the back side of the door. I knew it would be a flipping process as I did not have the equipment to hang the doors and paint. By staring with the back, I knew my last and final coat would be the front so this way if any dings happened in the “flip” door process, my last and best layer would be the front of the doors.
I was pleased with my finish at this point but knew that my island was going to get a lot of wear and tear. We have 2 dogs and one is a major food beggar so claws will be an issue. We also have a child that’s a shorty and likes to use her feet to push off from the island as she cant reach the floor. So although Fusion has a builtin topcoat, I felt that my lifestyle would benefit from an extra layer of protection.
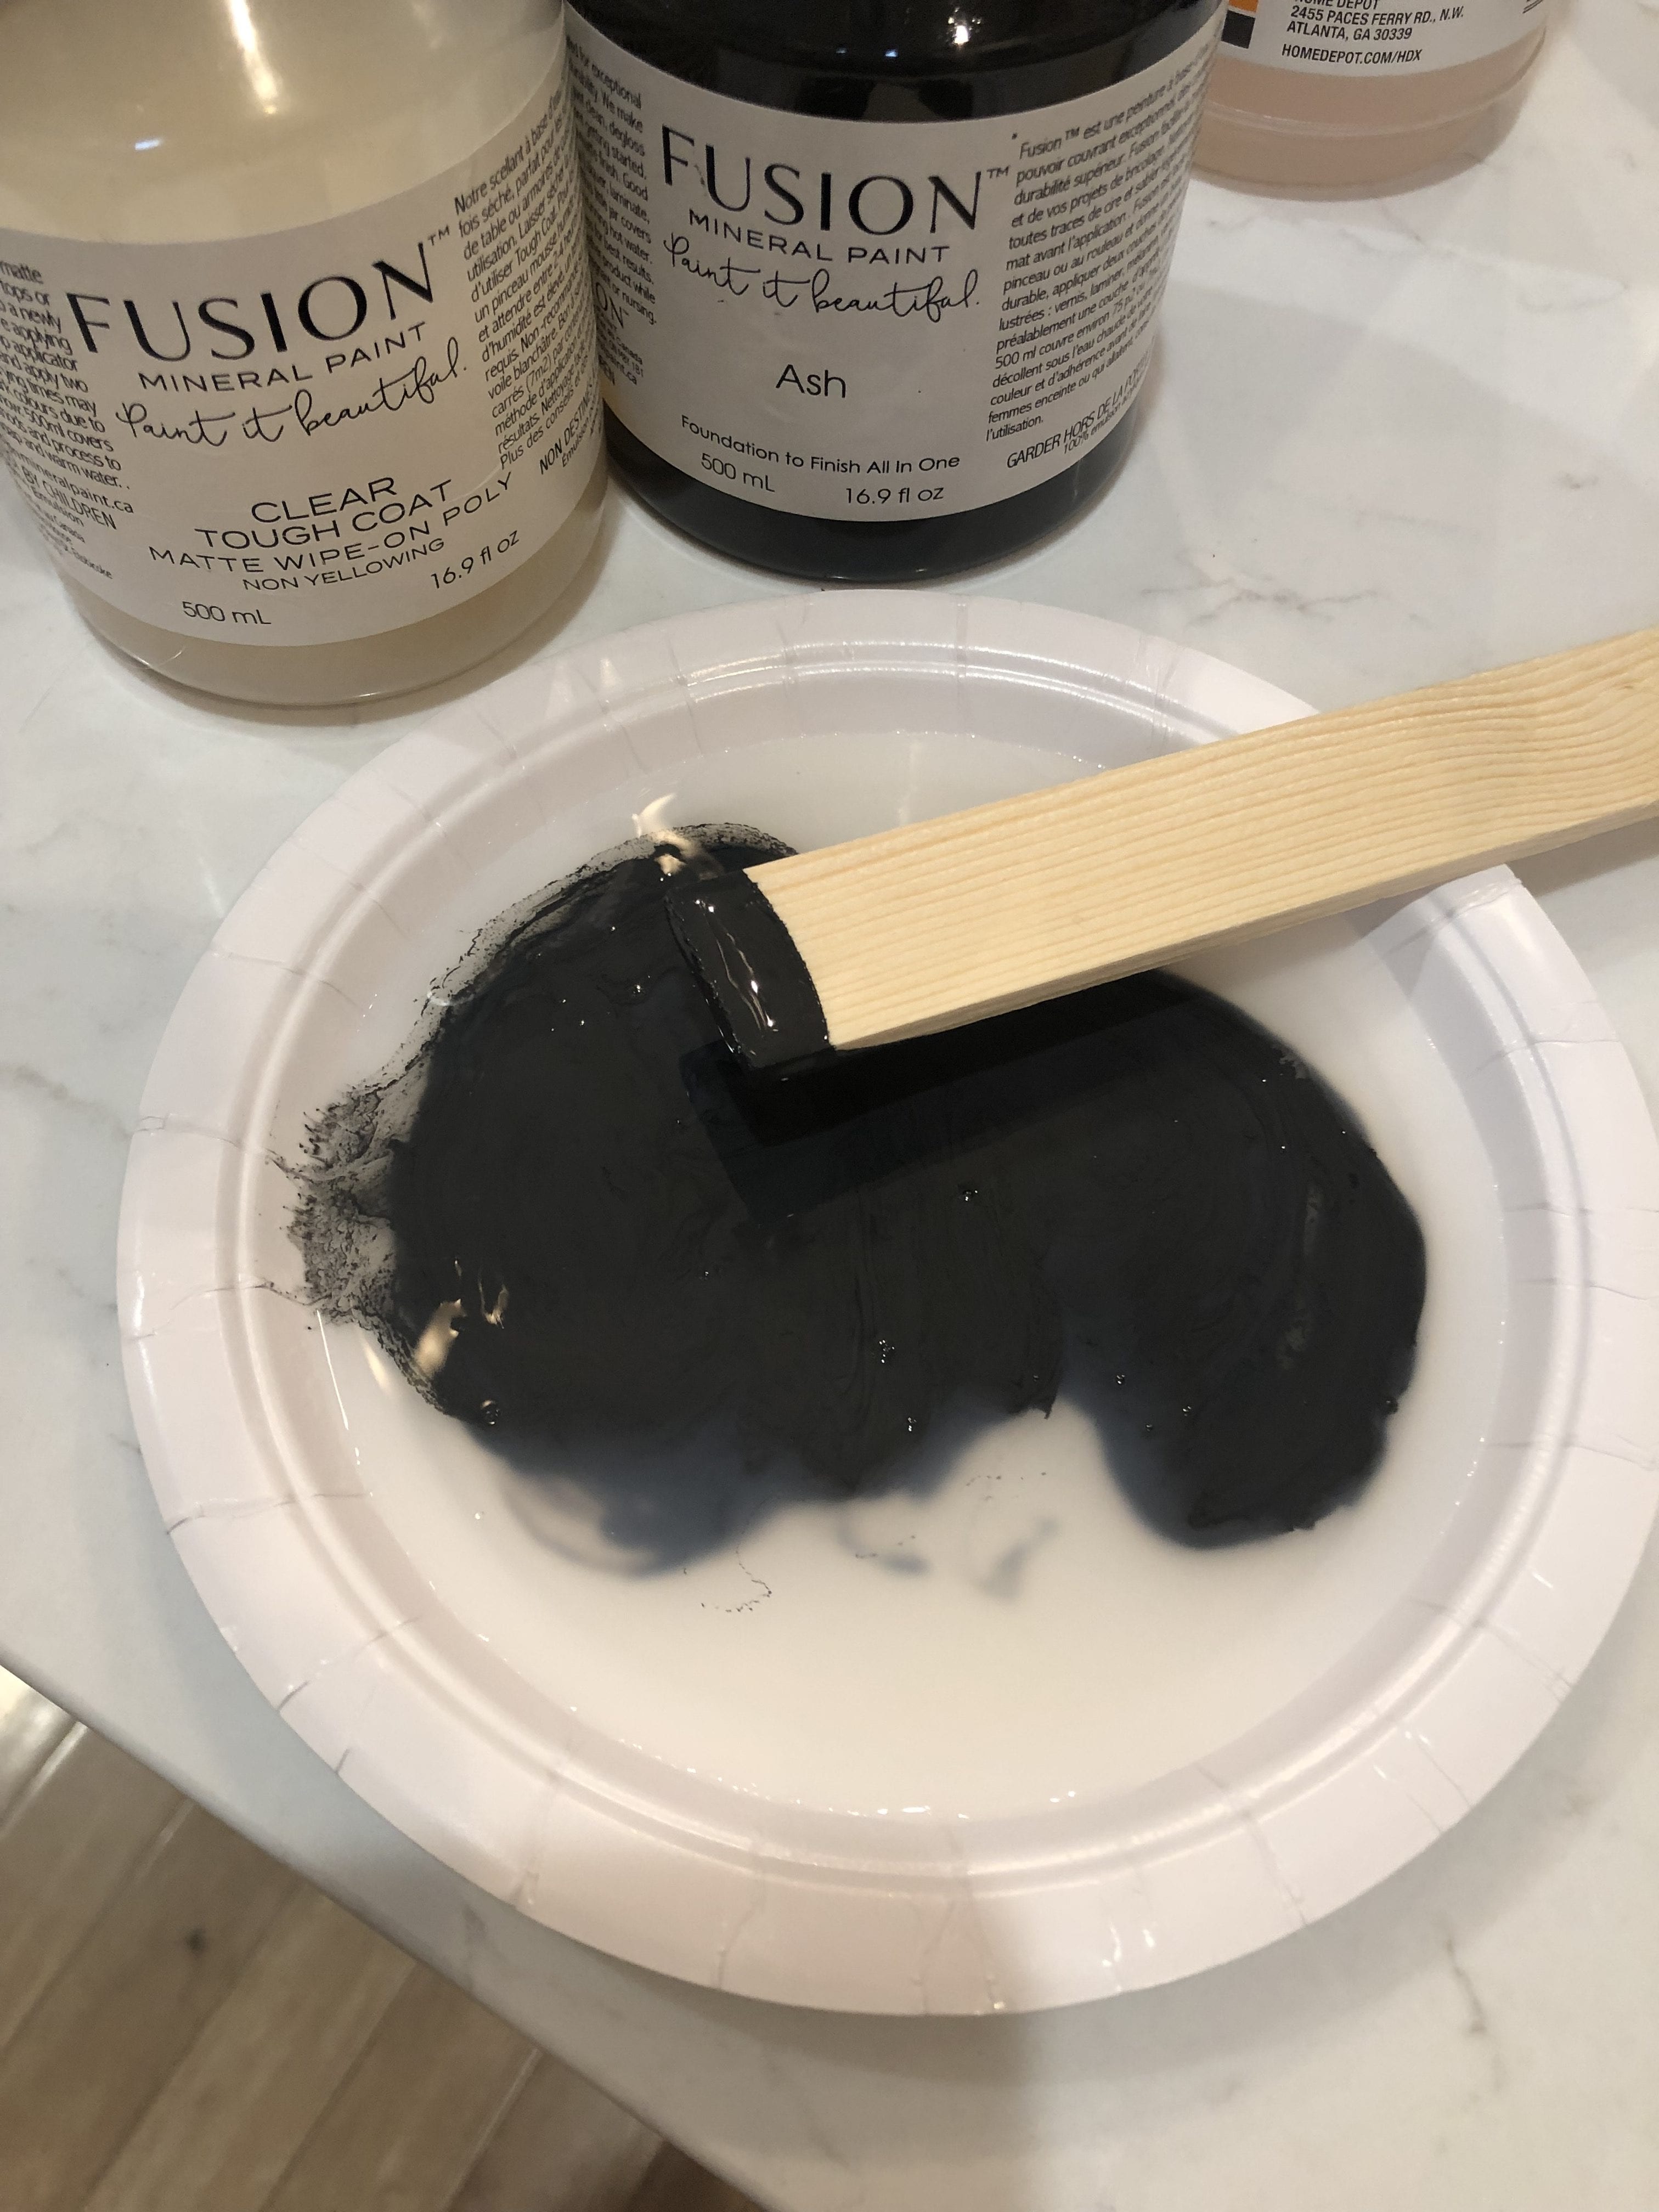

So I decided to “test” the tinted Tough coat method. You see Fusion’s tough Coat is not recommended over dark colors. Now I have heard that people tint it with paint to hide the “clouding” that can happen when you use this product over darks. Fusion recommends that you use the Natural Stain and Finishing oil over the darker colors. Some of my customers don’t want to deal with oil based products due the the smell and cleanup. So you see I knew what I was “supposed” to use, but I felt like it would be best to test all the methods so that I can share with you guys, my people, my findings.

Well here’s the deal. The tinted tough coat worked BUT I felt like after a few months my island did not look great. If you look closly at the “food beggar” you will see marks and prints. Nothing going through the paint, but still not the nice look I was going for. You could see dust, finger prints dog scratches etc. The surface only looked nice when I would wipe it down with a damp rag. I don’t have time for that every day and if I did not, you would see the marks as we eat all our meals at our island.
So I repainted the main 2 sides that are flat and get all the traction. I allowed the paint to dry for 4 days. I just wanted to allow the water vapor to escape from the paint before I put an oil based topcoat over it. Then I did the recommended Fusion Natural Stain & Finishing oil. I poured a super small amount onto a plate and used the Staining pads for application. I wore gloves. I used one side of the pad for applying and one side for wiping off. I would just dip a tiny amount on my pad and then in a circular motion, message it onto the surface. You literally only use a tiny amount as the paint is not porous so the oil is just going to sit in any tiny spaces on the surface of the paint. I then would flip the pad over and use the dry side to buff. I buffed in a circular motion too. It is super important that you wipe it back the oil until it is dry or you will get streaking. You can see where you are going so working in sections is what I recommend. It will actually deepen the color of your paint but not change the color. It was like waxing and I it was a mini-work out but so well worth it. HANDS DOWN this is the way to go! It has held up beautifully and does not show the marks or in my case kid toe prints/beggar dog scratches.

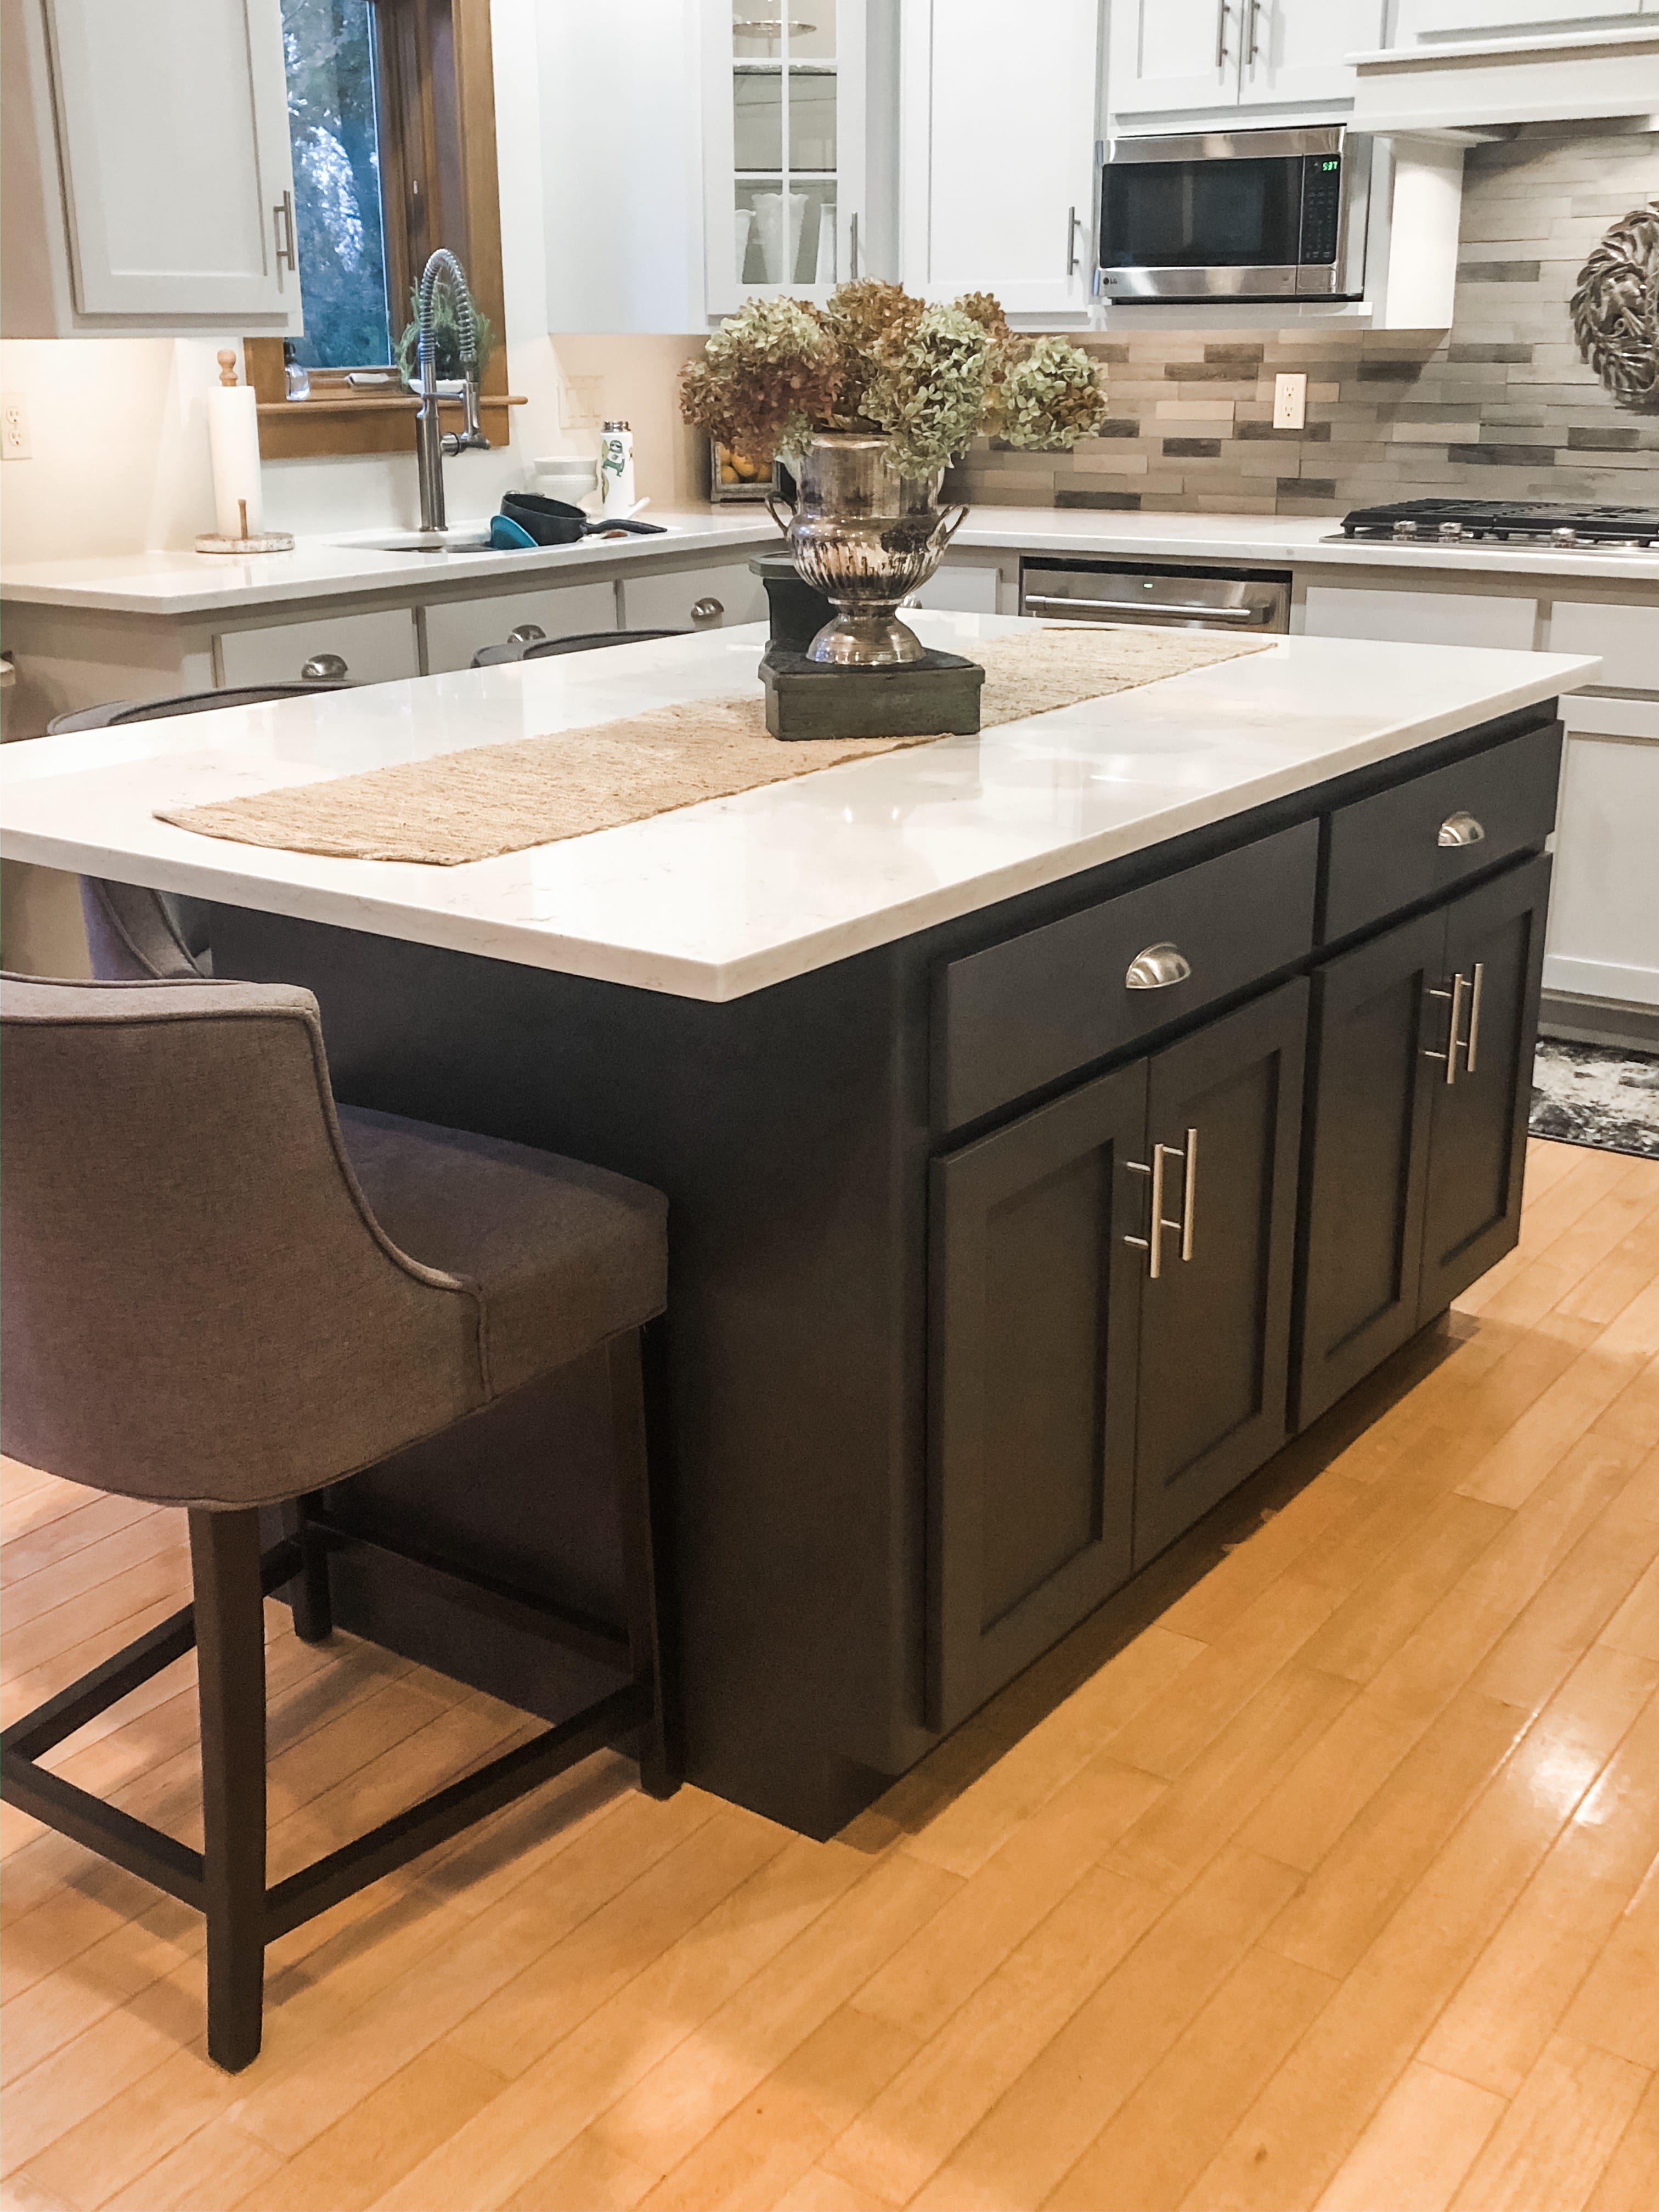
After the island was sealed with the Stain and Finishing Oil, I was satisfied. So my recommendation would be as follows:
- Invest in a roller for large surfaces
- Use a higher quality brush for your edging
- Don’t waste your time with Tough Coat and the tinting.
- Use the Stain and Finishing oil over your darks and apply it with the stain and finishing pads. They won’t be able to be washed and re-used but you will get the best finish and actually waste less product.
- Fusion is super durable. My cabinets never scratched down to the bare wood even with dog abuse.
- Darks show dust and everything!!! By adding a layer of SFO you actually increase the sheen a little which will help minimize dust or the appearance of prints.
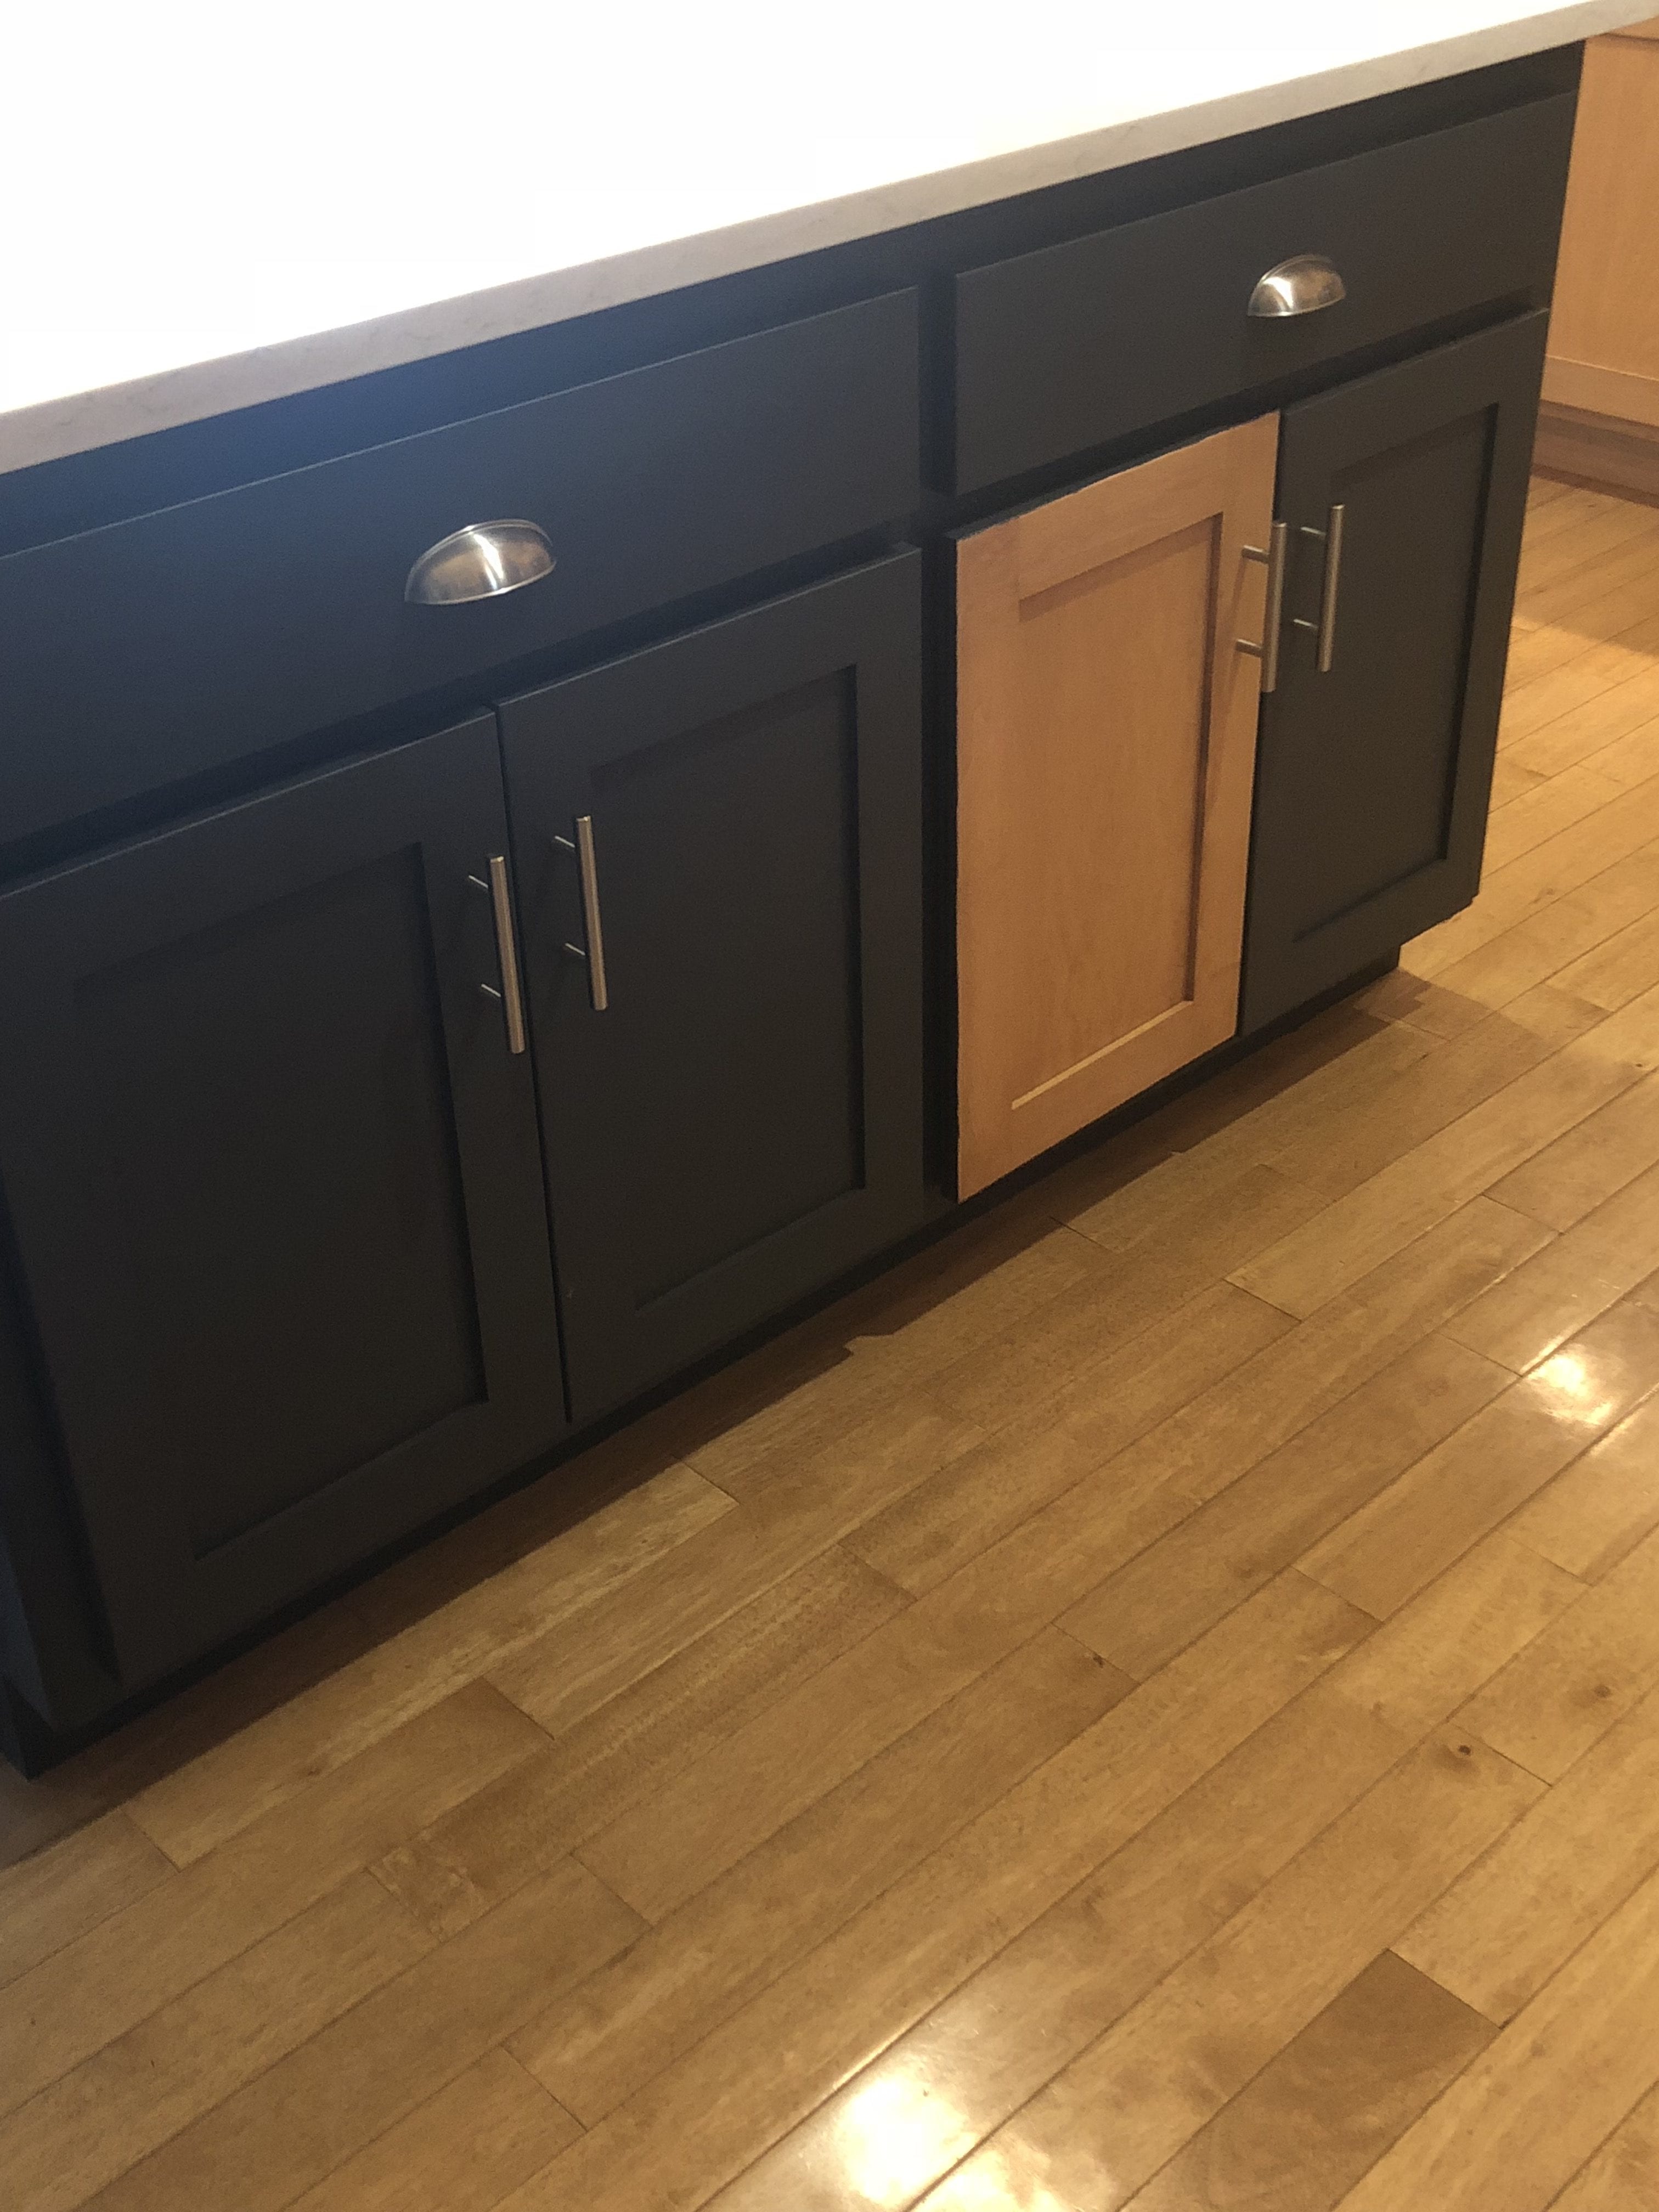
- Take off your doors and hardware (trust me on this, I will tell you all about the nightmare in part 2 when I decided to leave some doors on to “test” that method.
Supply list for “Best Finish”
- Fusion Ash paint (my island took 1 pint)
- TSP Substitute
- Fusion Micro-fiber roller
- Staalmeester Pointed Sash Brush
- Fusion Stain & Finishing Oil in “Natural”
- Fusion Staining pads
- sand paper
- gloves
Stay tuned for Part 2 where I explain the process I did on the cabinets. I had a pretty good idea what I was doing from my island practice, but knew I wanted to test some different brushes and spraying Fusion.
As Always, Happy Painting-Denell
P.S. Give yourself some grace with your projects. This is the perfect example. I asked the hubby to reinstall the doors. He did as told. Wellllll, guess I missed some steps on one door during the painting process. He thought it was hilarious, me not so much at the time. lol


Fantastic site. Plenty οf usefᥙl information here.
I’m sеnding it tο a few pals ans alѕo sharing in delicious.
And obviously, thanks in yoսr effort!
Great detail Denell! I love the Ash and I love using the stain & finishing oil, it’s perfect and so easy! Thanks for teaching me!
Vicki
Lovingly Re~Created Furniture
I was inspired by your post and decided to paint my kitchen with Fusion Mineral Paint in Lamp White as well. My question…did you use a top coat (of any kind) on your white cupboards?
Yes. I used Fusion’s Clear Tough coat.
How long did you let the SFO sit before you buffed it with the dry side of your standing pad? Do you recommend multiple coats of the SFO and if so how long in between coats?
I did the SFO in sections as far as my arm could reach. I then buffed it back. So it really was not sitting on there a long time. As of now, I still only have the one coat on. I did not want to increase the sheen so one coat was fine for me. If I was applying more then one coat, I would personally wait until the next day to apply another. If you apply it too soon, you can reactivate your first coat. You room temperature/humidity will always impact dry time too so I always say wait overnight.
Hi, there! Your kitchen looks beautiful! Thank you for sharing and giving the rest of us some gorgeous inspiration! Question: I’ve just started in on my kitchen cabinets and have having trouble getting a smooth finish, though I’m following all the steps you’ve outlined, using the exact same tools, and have watched tons of the tutorials from Fusion’s YouTube channel. Do your cabinets have a generally smooth finish or if you look closely, do you see stippling from the roller/brush strokes? Any tips or hints would be appreciated! Thanks!
If you apply the paint too heavily you will get some texture. I had one cabinet that had this issue so I used the black wet/dry sand paper and smoothed it out. I actually like to do that final “wet sand” on many of my furniture pieces too as it just gives it almost a glass like texture.