
Ok, first let me start off with apologizing for how long this “part 2” has taken me to get to you guys. I’ll be 100% honest, I’m a busy lady and it just kept getting pushed to the bottom of the to-do list. So for those of you that read Part 1 and have been waiting, I’m really sorry. If you missed Part 1 where I did my Island you can read all about it here.
Now I told you guys that my purpose for my Kitchen was not only the much needed “makeover” but also “testing” as I am a Fusion retailer. I want to know exactly what to tell you guys to do and NOT to do. I think the most important thing I can offer you guys is advice from real experience and not just what’s printed on a label.
So in true testing form, I figured I would test different products, techniques and application methods. This made my process sooooo much slower, but I think it will make the value and information that I can provide to you guys so much better. I tested having the doors left on the cabinets while painting, doors off, painting with 3 different brushes, a roller and spraying. I also tested 2 different “primers” and even tried something that I’m sure most cabinet painters will cringe when they see it. So grab a coffee or your favorite drink because this my friends will be my step-by-step with the good and the bad but most of all, the HONEST results.
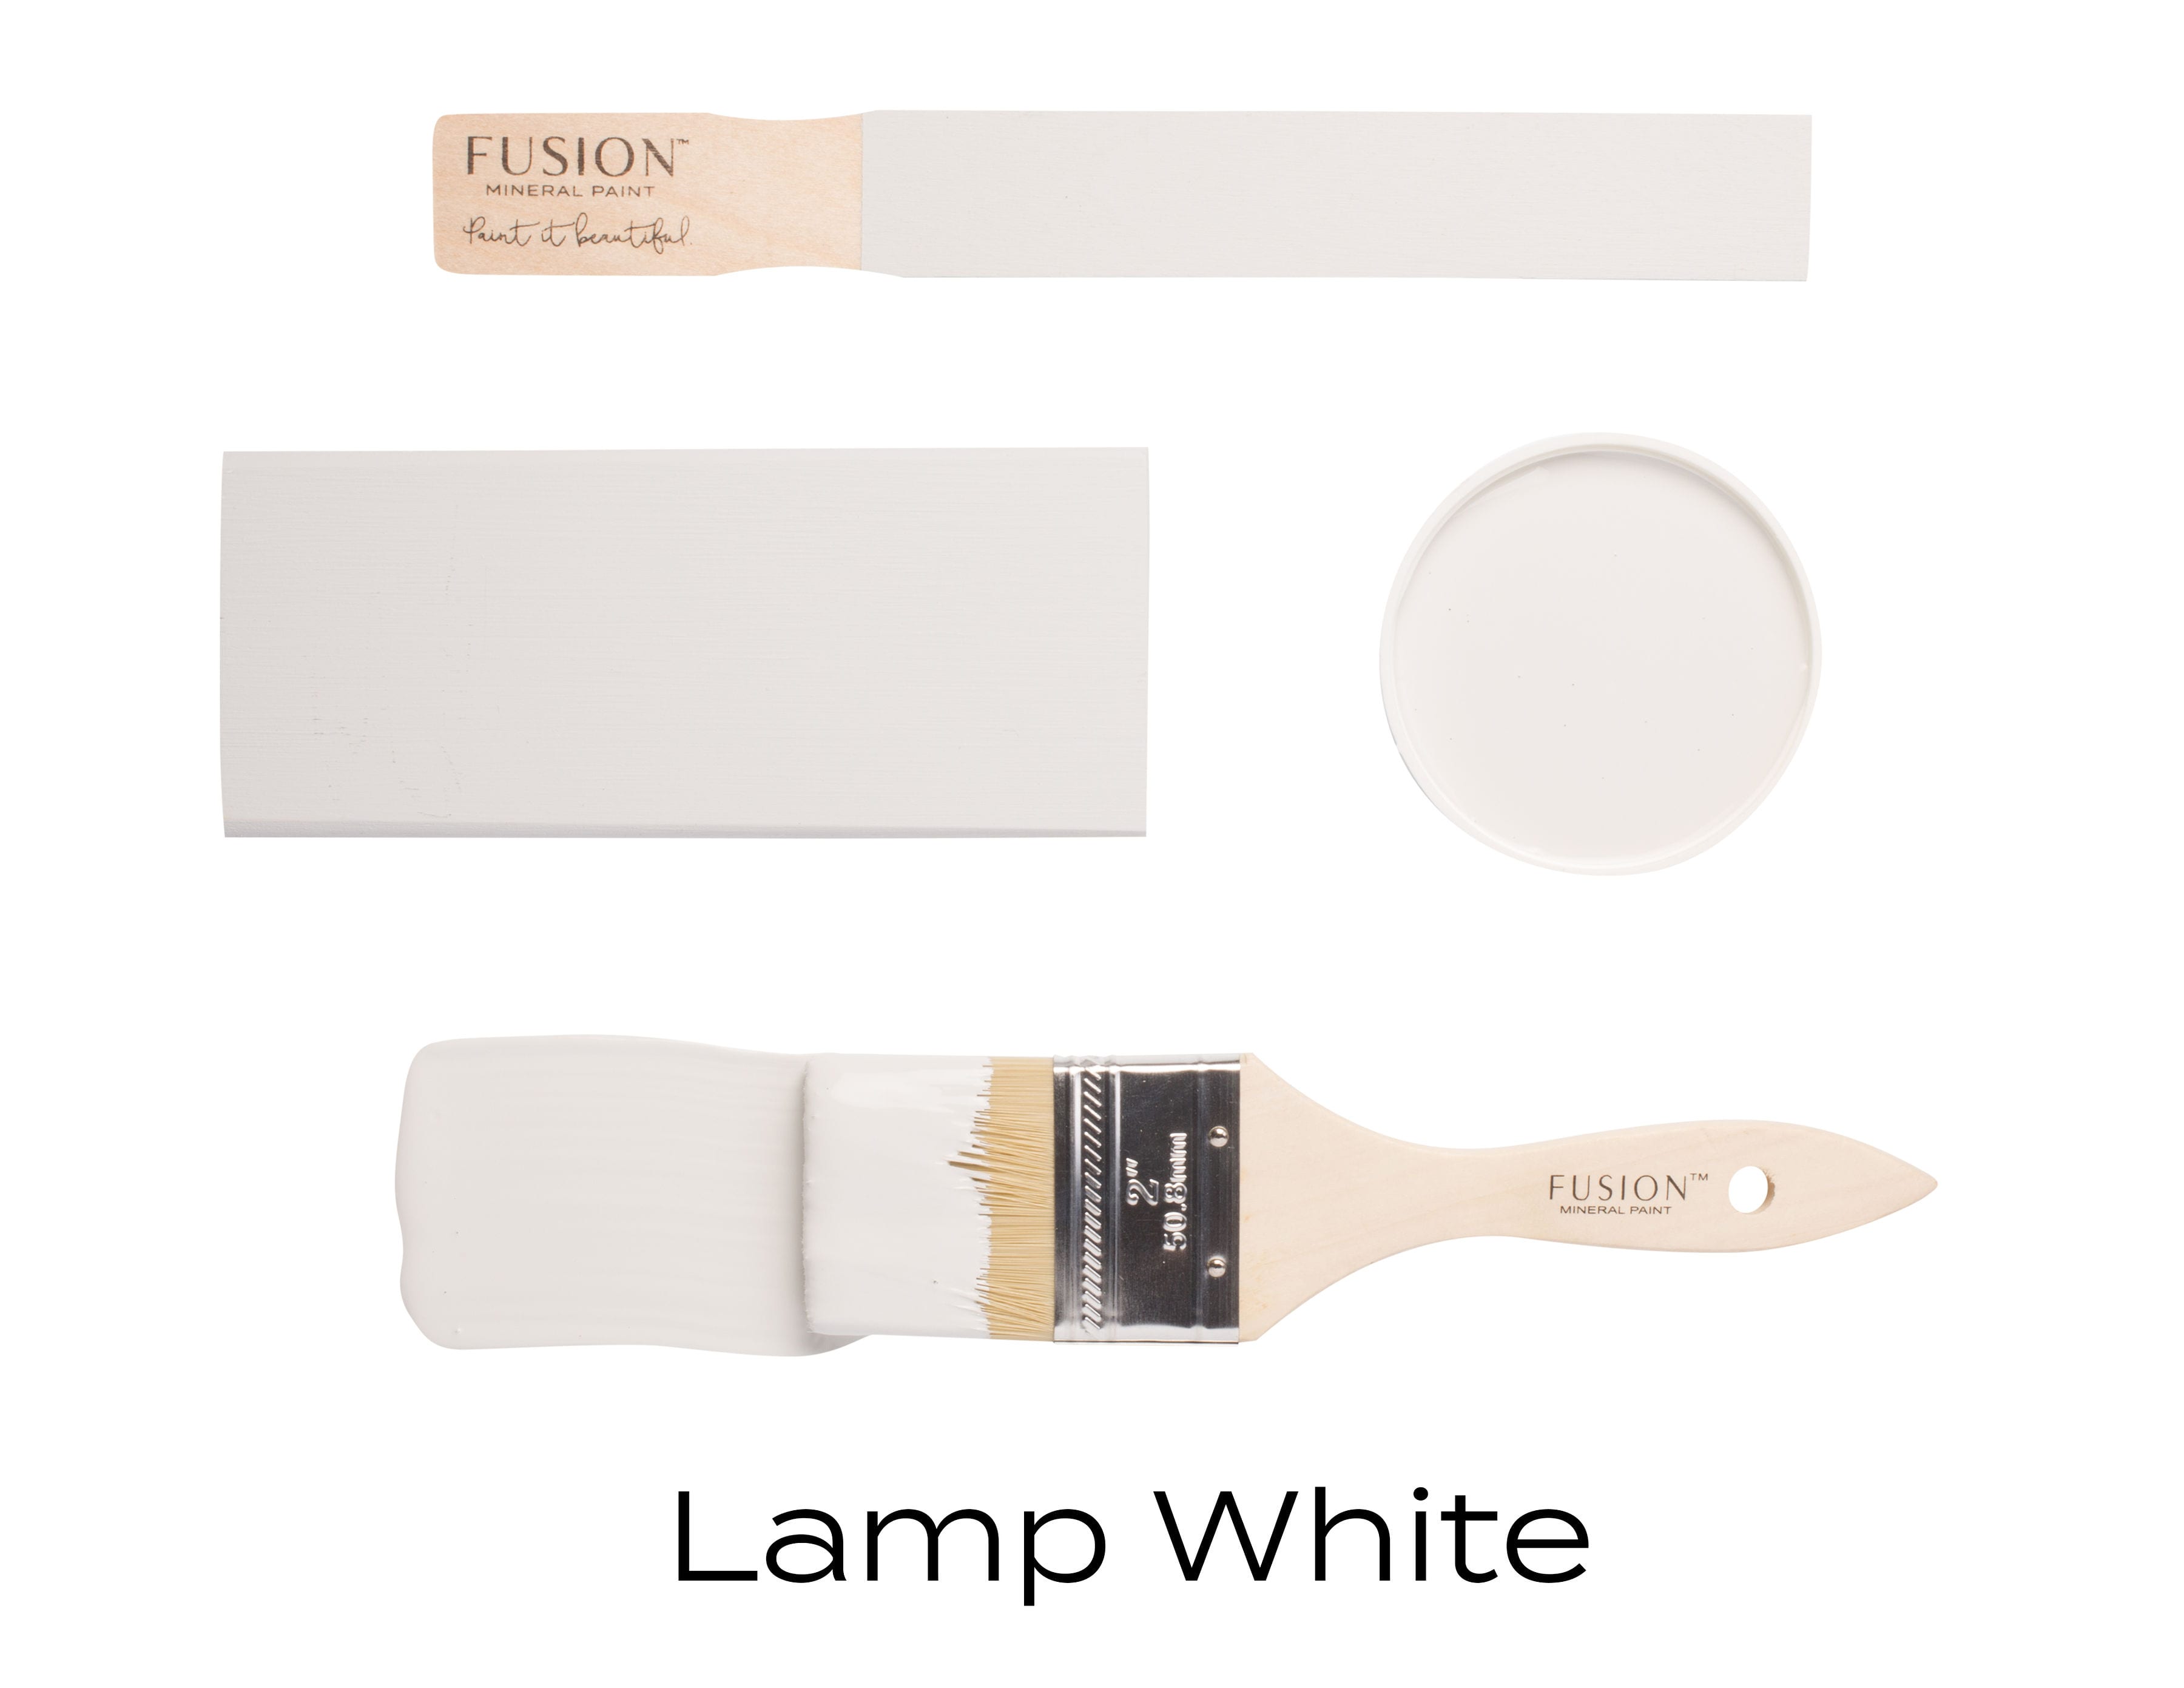
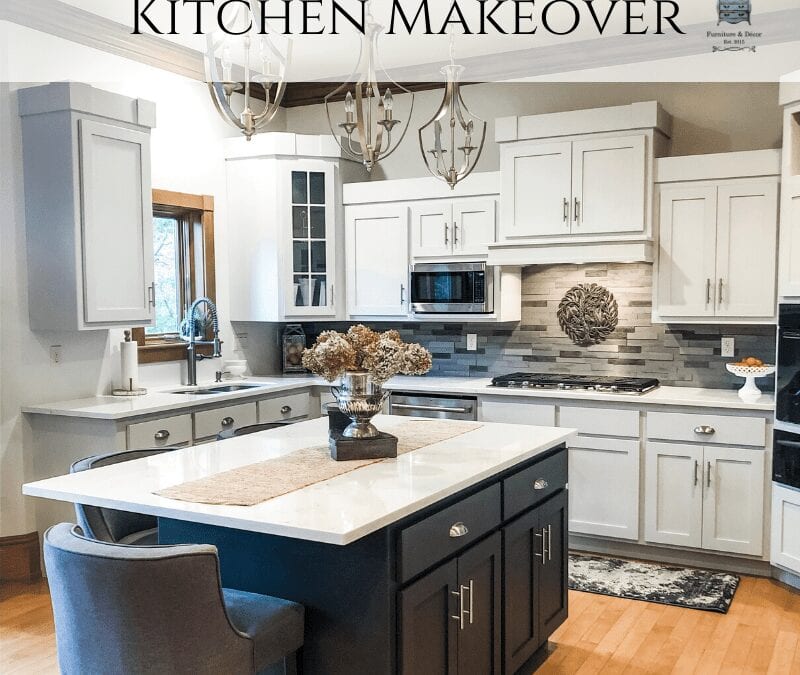
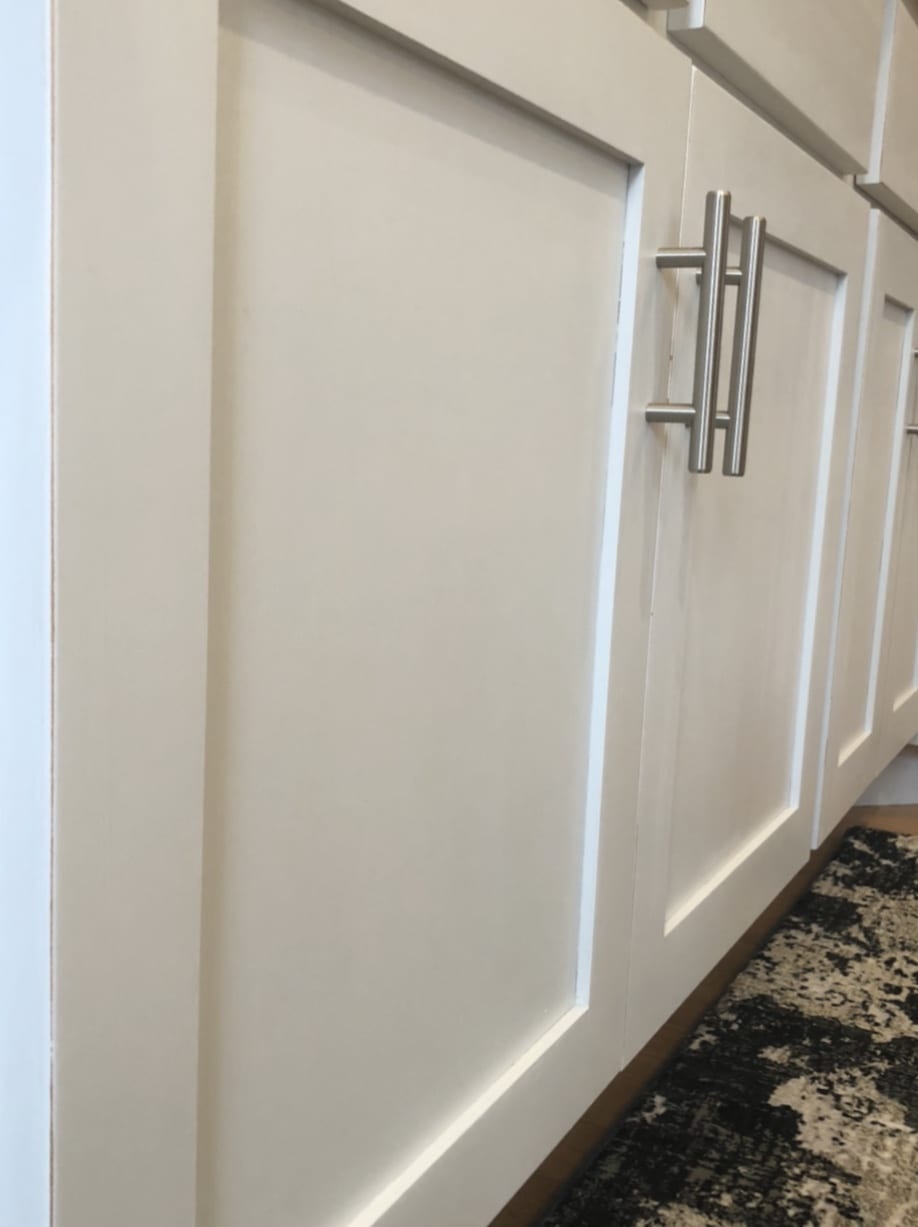
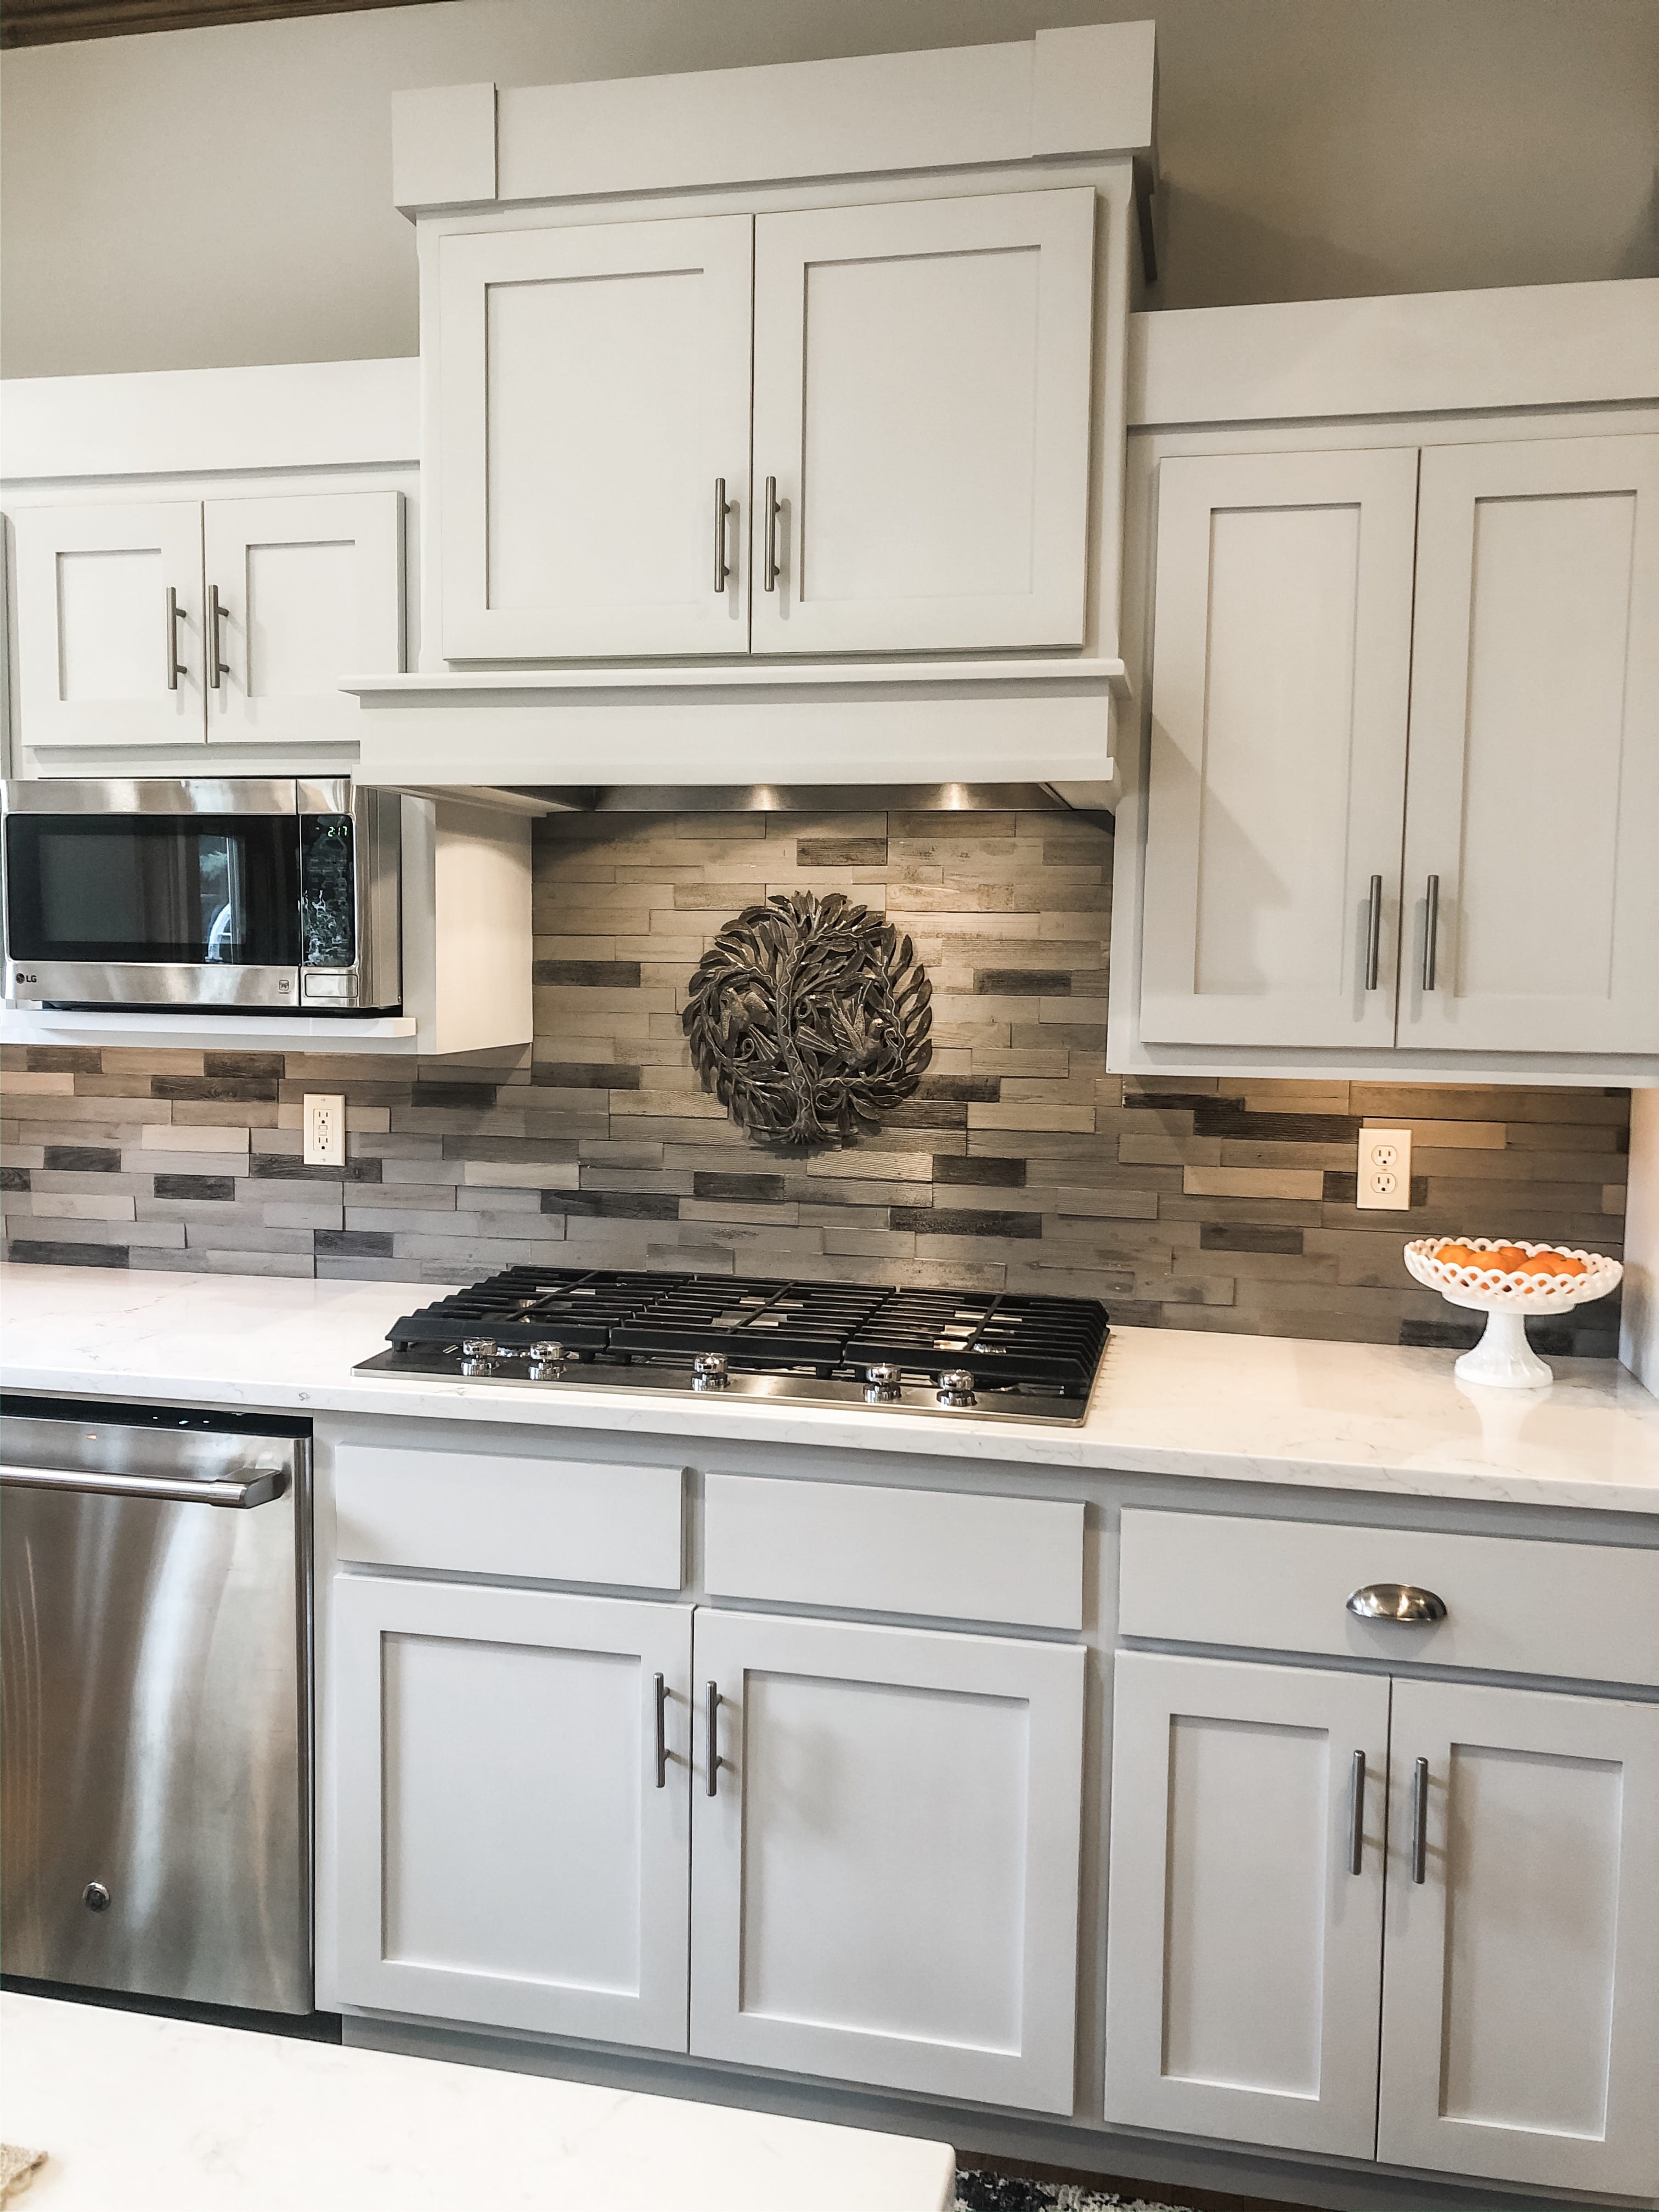
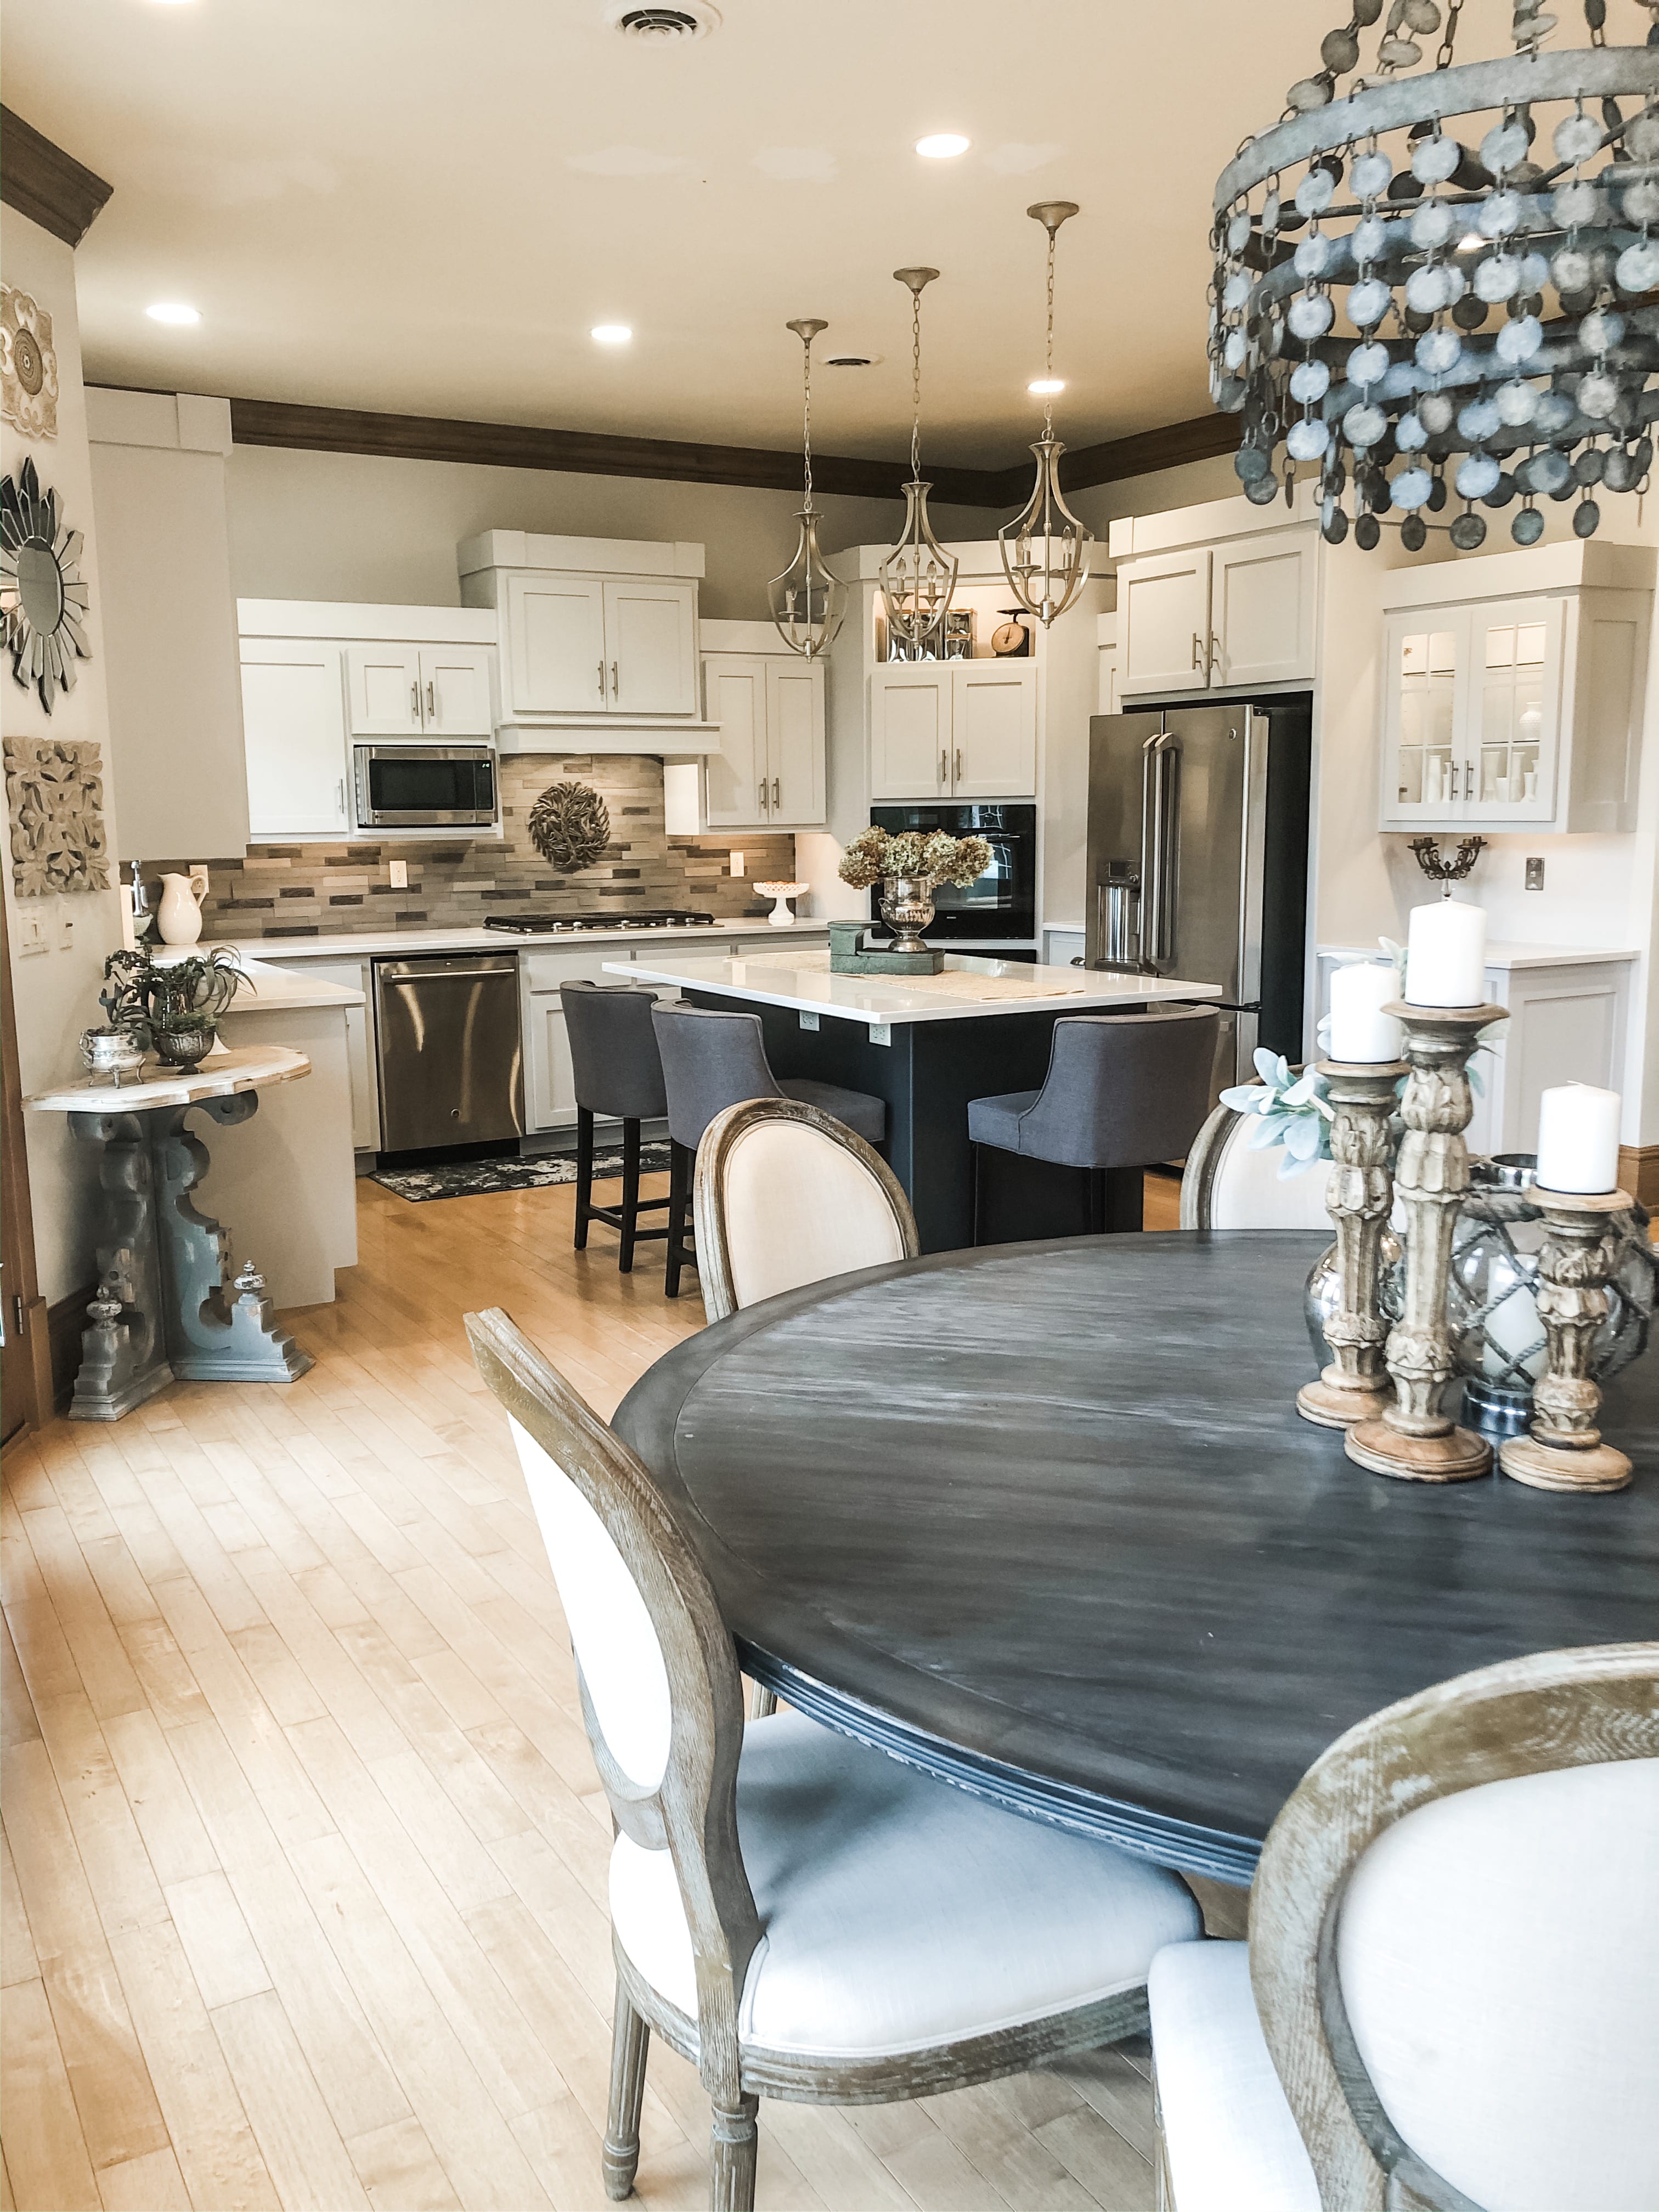
So I decided to paint the rest of my kitchen with Fusion’s Lamp White. I wanted white cabinets but not bright white. Lamp White was the perfect choice because not only does it compliment that Ash that I used on my island, but it also has some light gray undertones so it pairs nicely with our home decor. The coverage of Lamp White is also better then say a bright white like Picket Fence.
Now as far as prep goes, I did the same prep to the cabinets as I told you in part 1 that I did to my island. The only difference on this was that I tested Zinsser BIN with Shellac for the toe box.
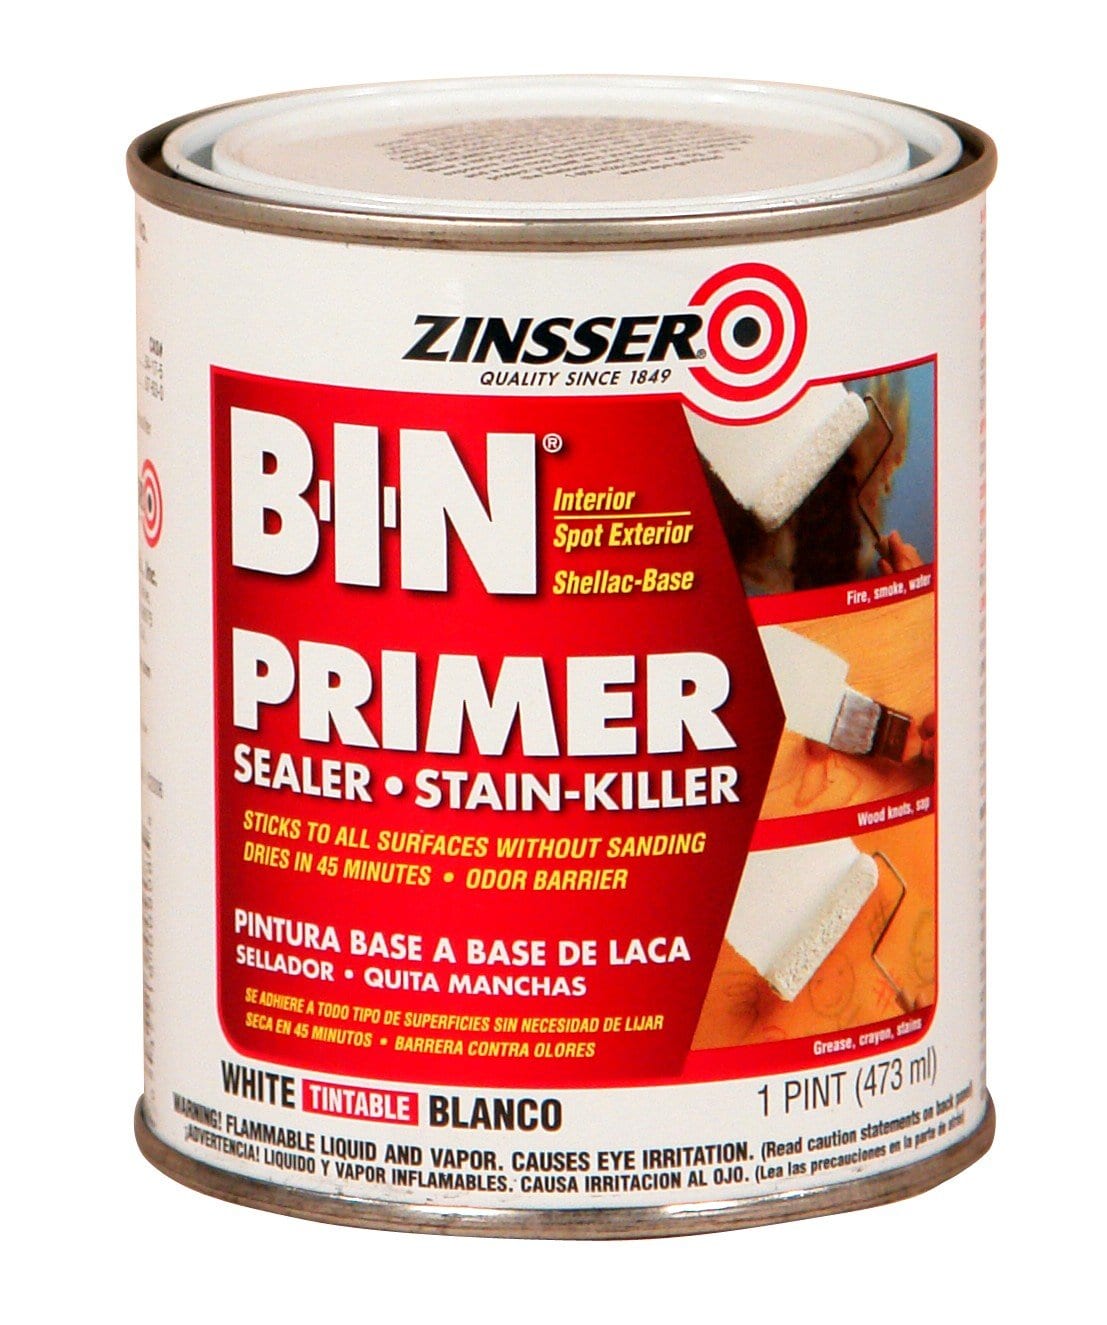
Our toe boxes get pretty banged up from the Rumba slamming into them and our dogs chasing their balls so I figured I would test the Zinsser vs. the Ultra Grip. I’ll be honest, I think the Zinsser holds up better. It is Shellac Based so it does have an odor but I feel like it adheres to anything. I put 2 coats of it down on the toe box. The Zinsser also worked great as a Primer because it’s white. So it allowed better coverage when I followed up with the Lamp White paint then on the areas that I chose the Ultra Grip instead. Ultra Grip dries clear so it did not allow for better coverage like the Zinsser. Now if you are painting over a redwood or say a knotty pine on your cabinets they will “bleed” (that’s when the tannin from the wood migrate to the surface once your wood has become wet with paint, then you will need to lock in those tannins with a Shellac. Always do a test spot first on your doors to see if you get bleed through. If you are painting over wood that has knots, you must seal those with the shellac. They might not bleed on a test spot, but over time knots will bleed and you don’t want ugly brown circles arriving say 6 months later. Trust me on that. So you would need to use the Zinsser BIN with Shellac for them no matter what as Ultra Grip will not prevent Bleed Through.
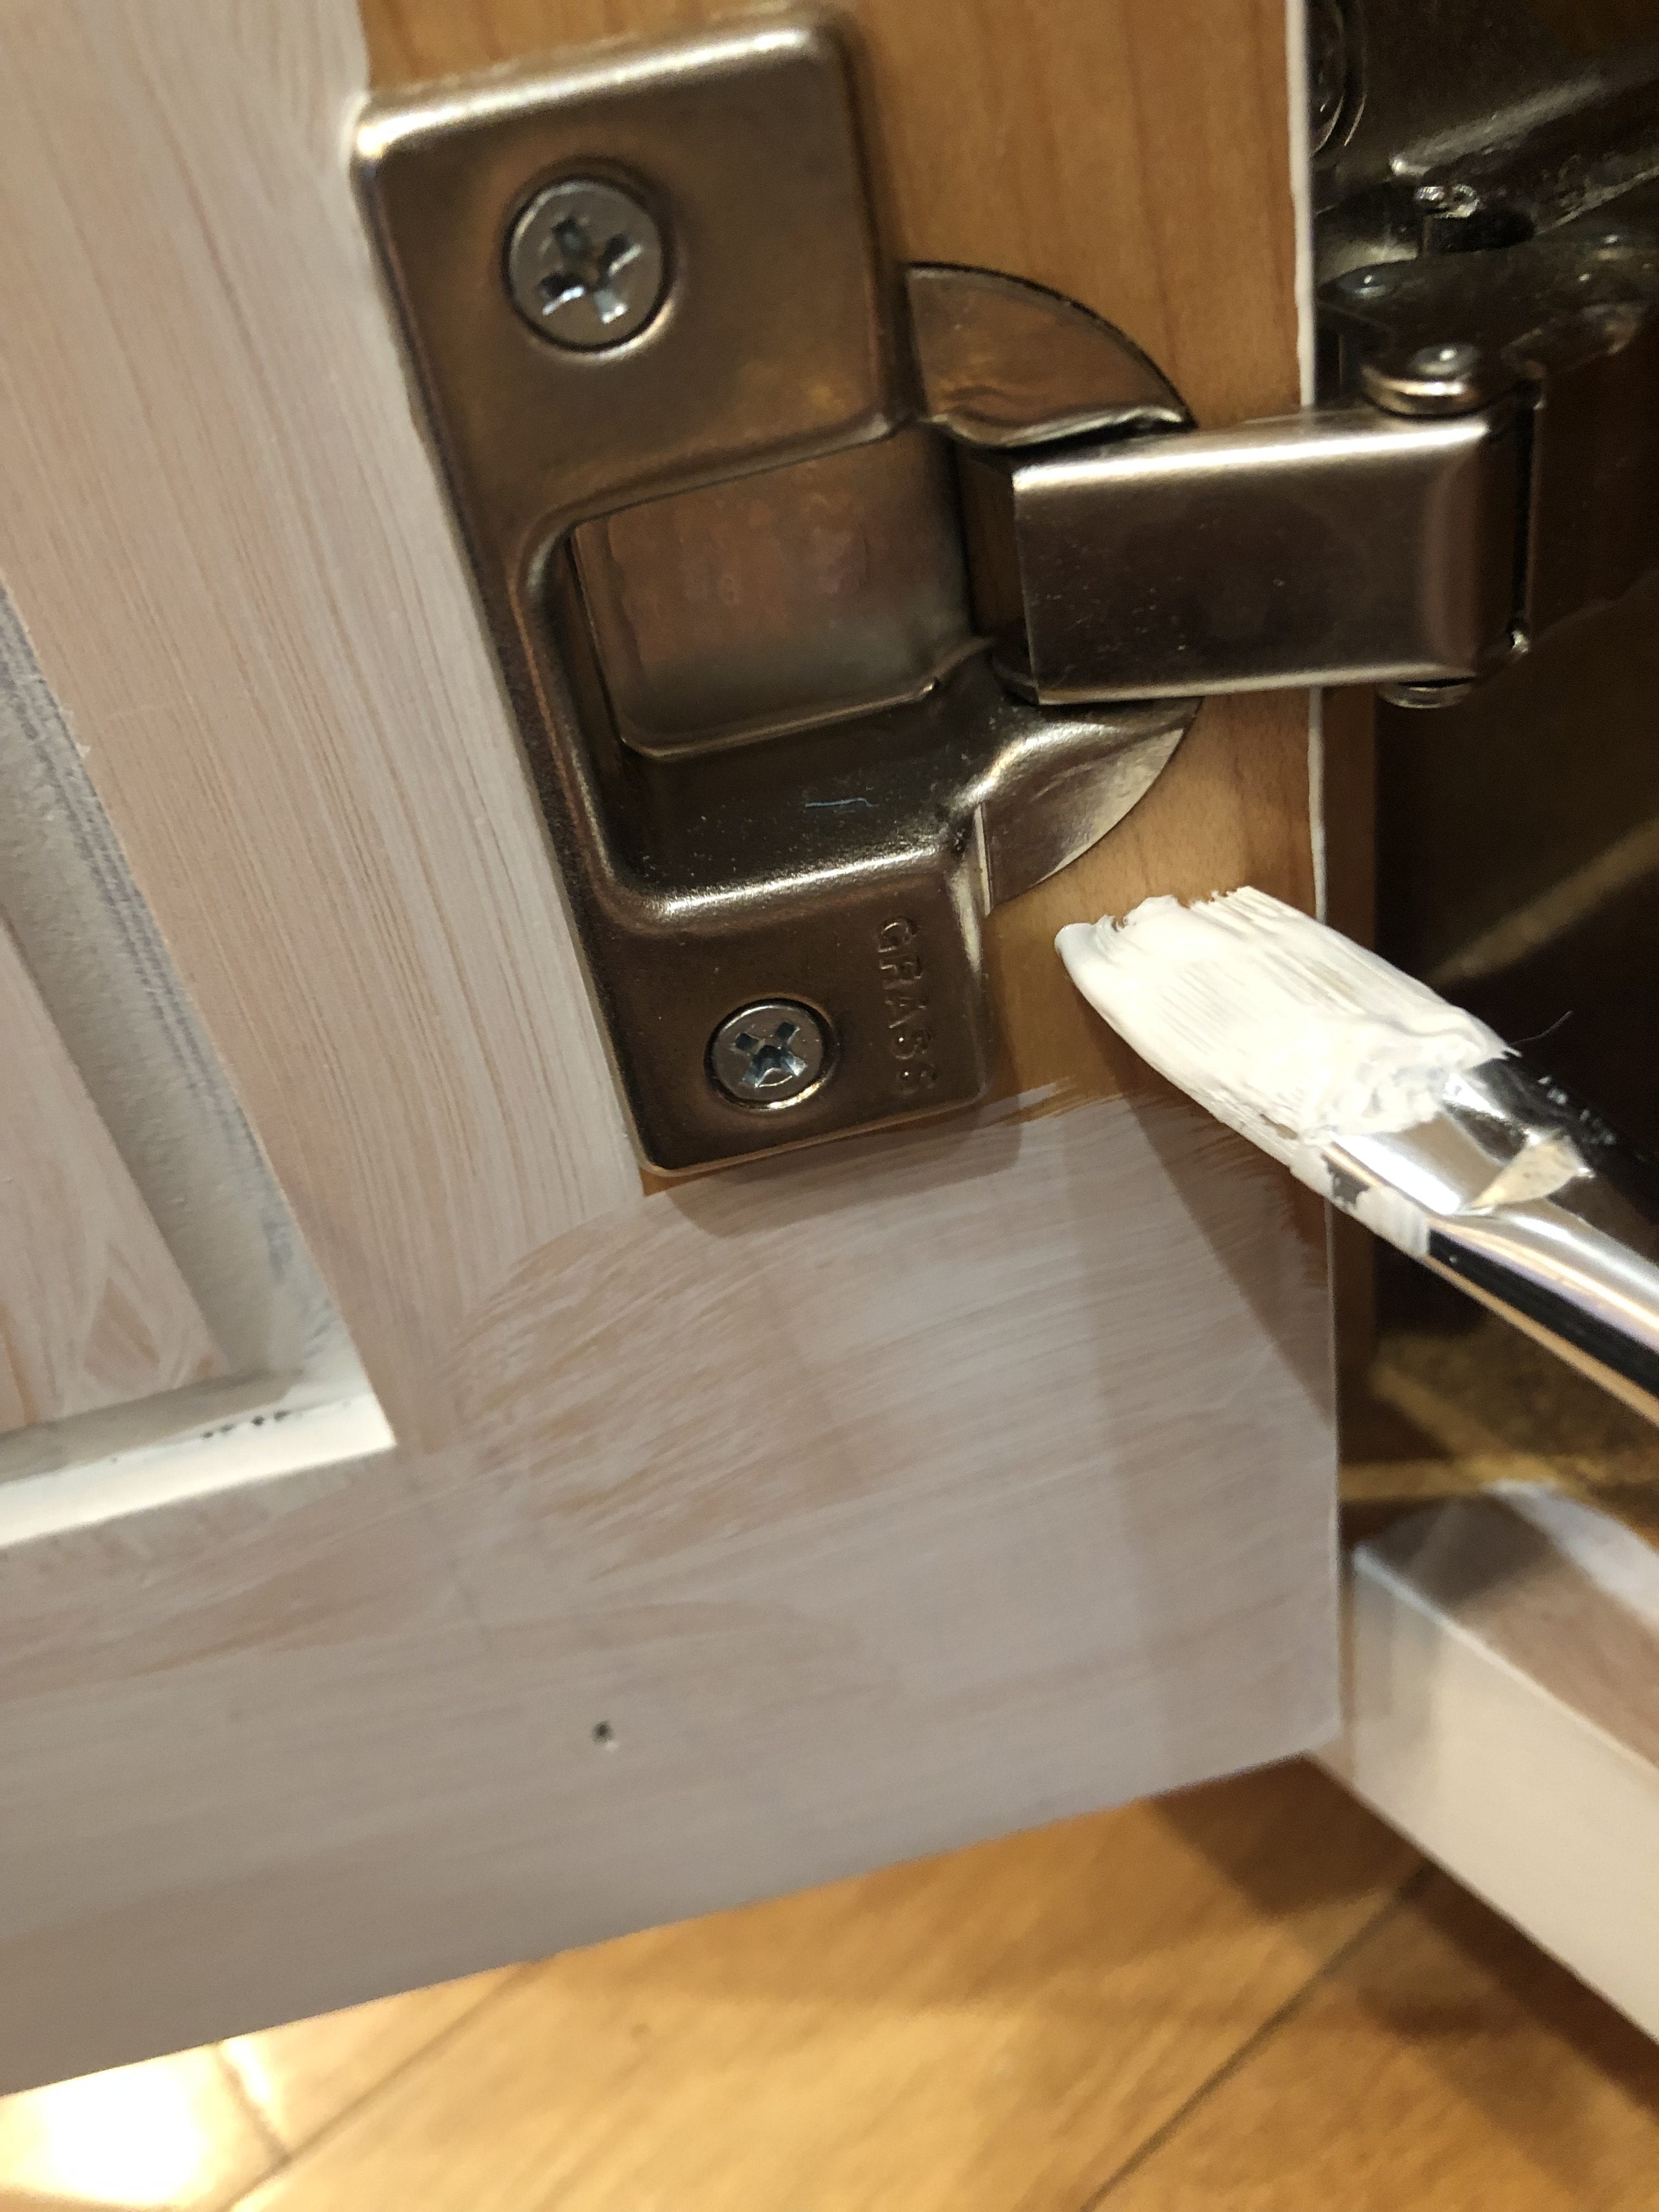
So my kitchen was the “test” and I not only wanted to test different products but also different application methods. First of all I decided to try painting the cabinets with the doors hung. I figured I would give it a try and then this way I would not have to do the flip method and wait so long between coats. You guys, trust me on this. DO NOT LEAVE YOUR DOORS ON. The time I wasted trimming around the hardware was not only inefficient but it also gave me brush strokes and not the smooth finish I was going for. I used a cheap artist brush and was not pleased with the finish.
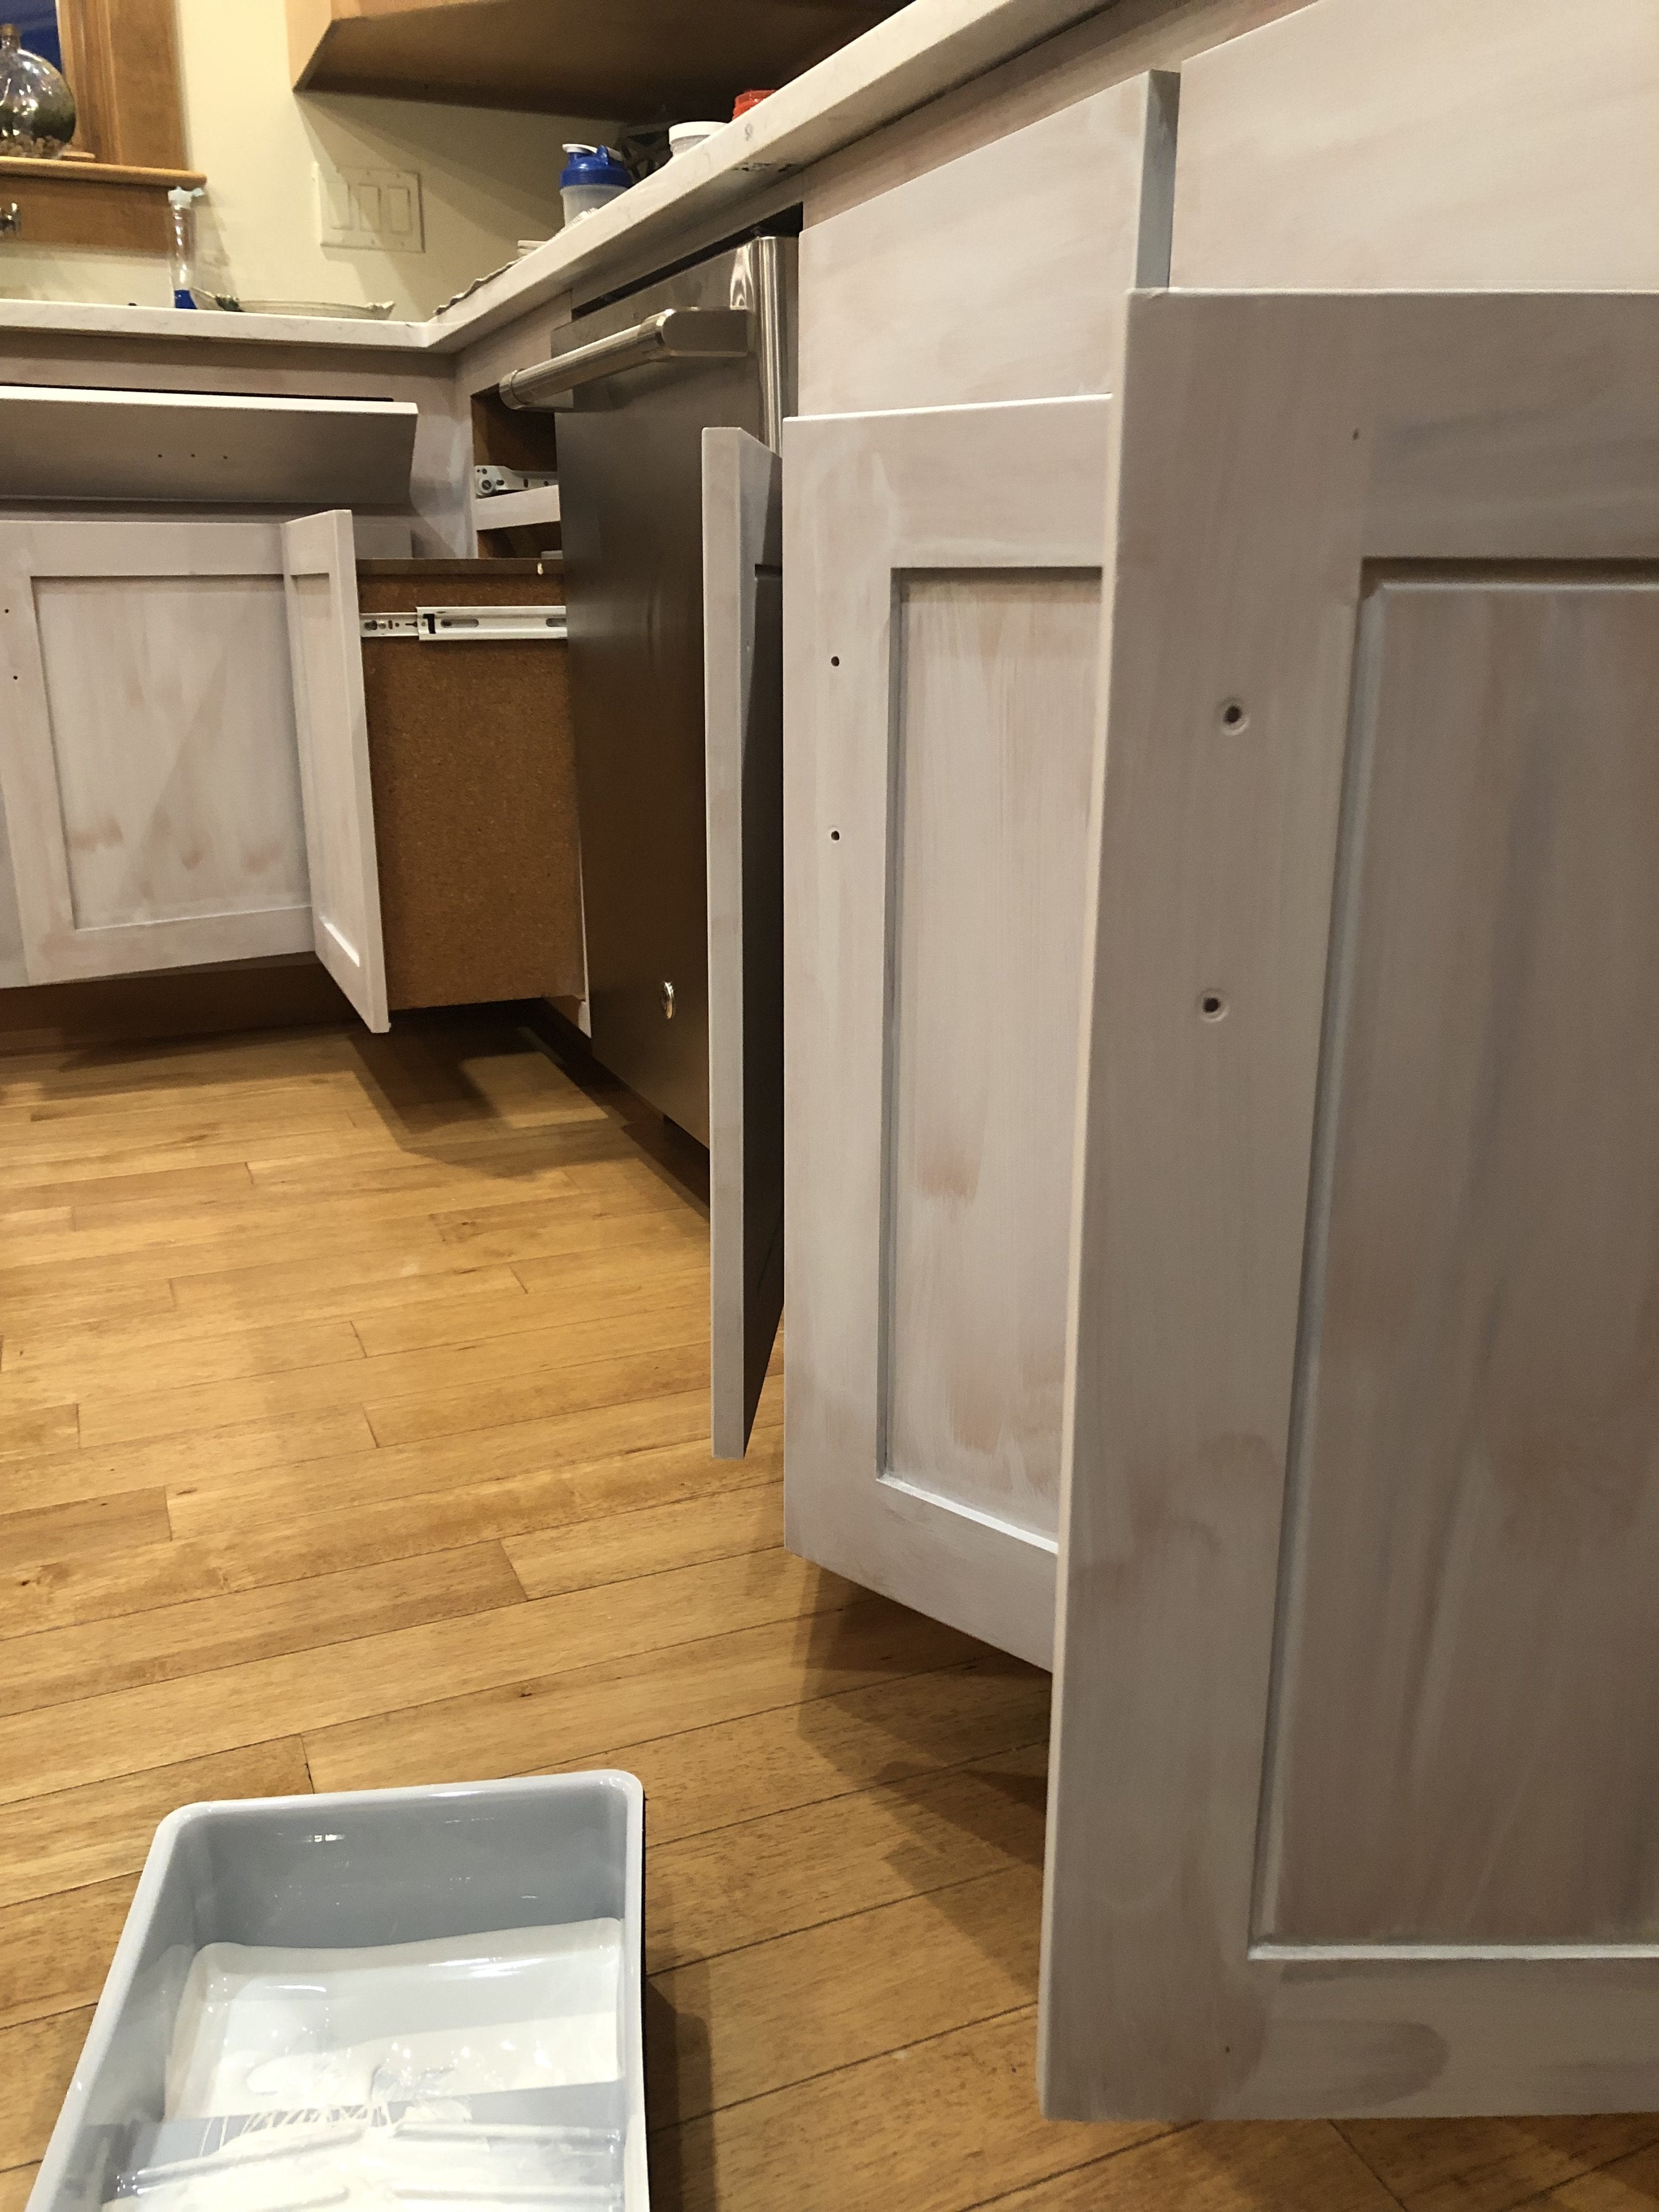
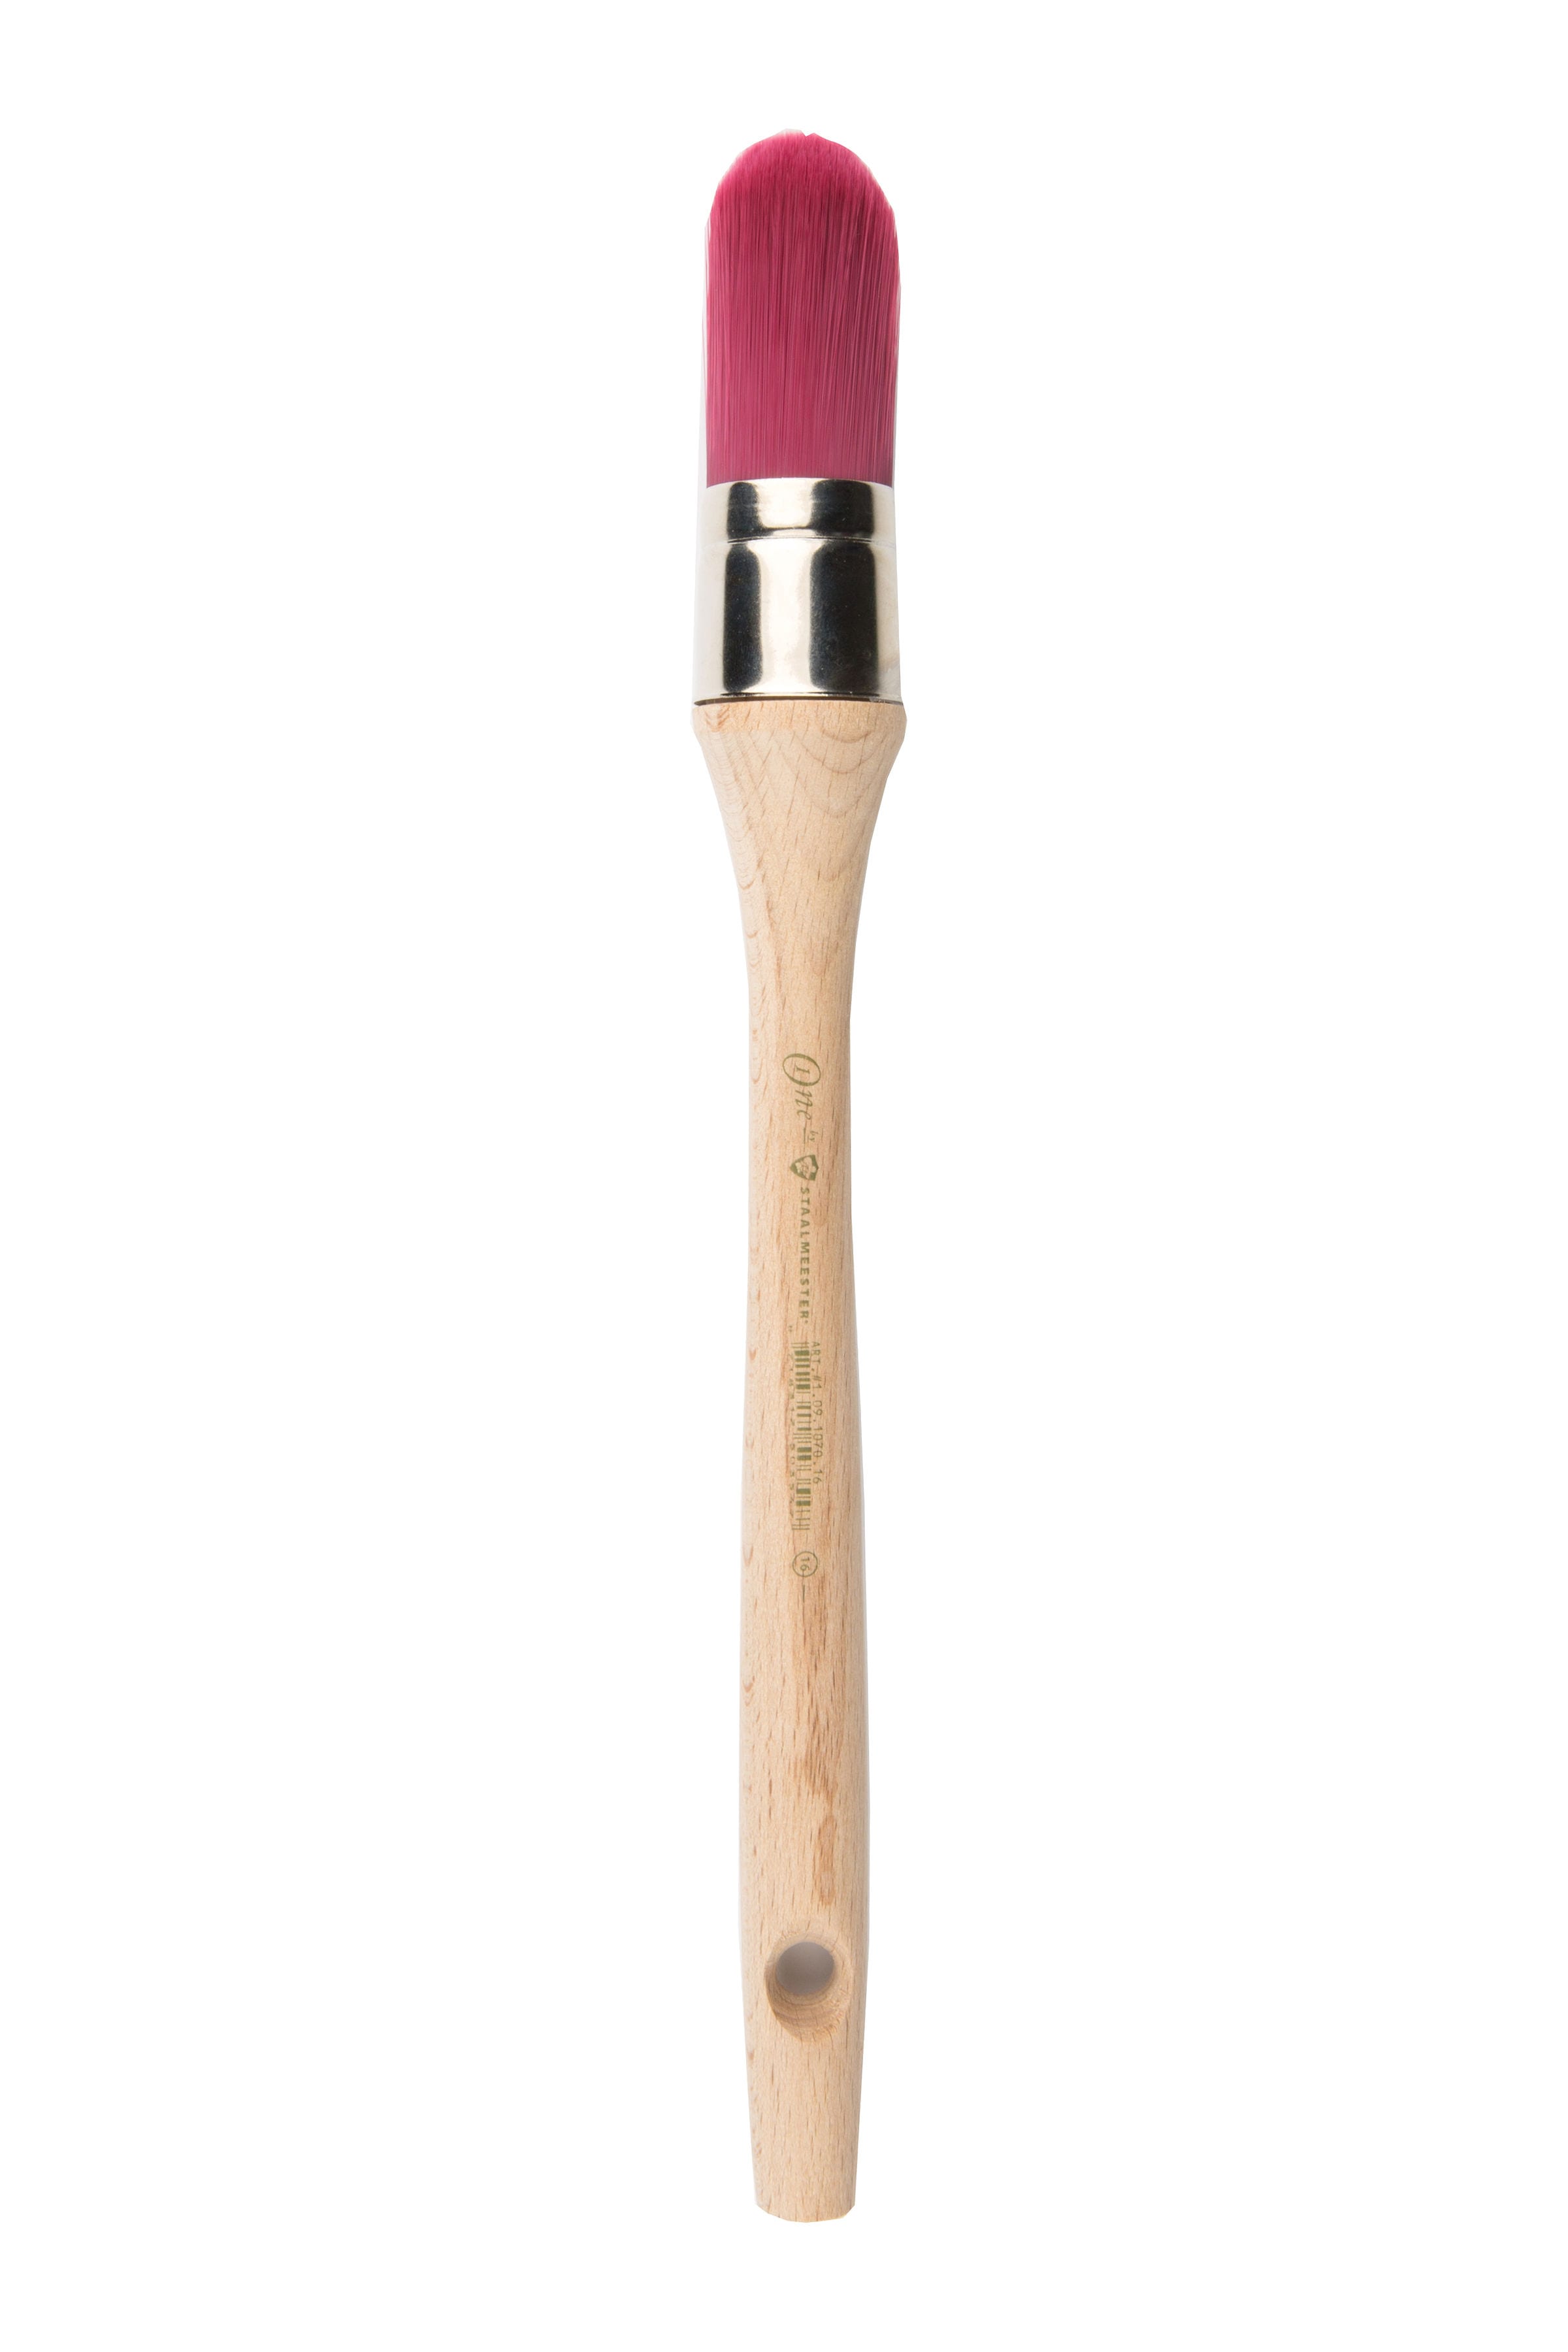
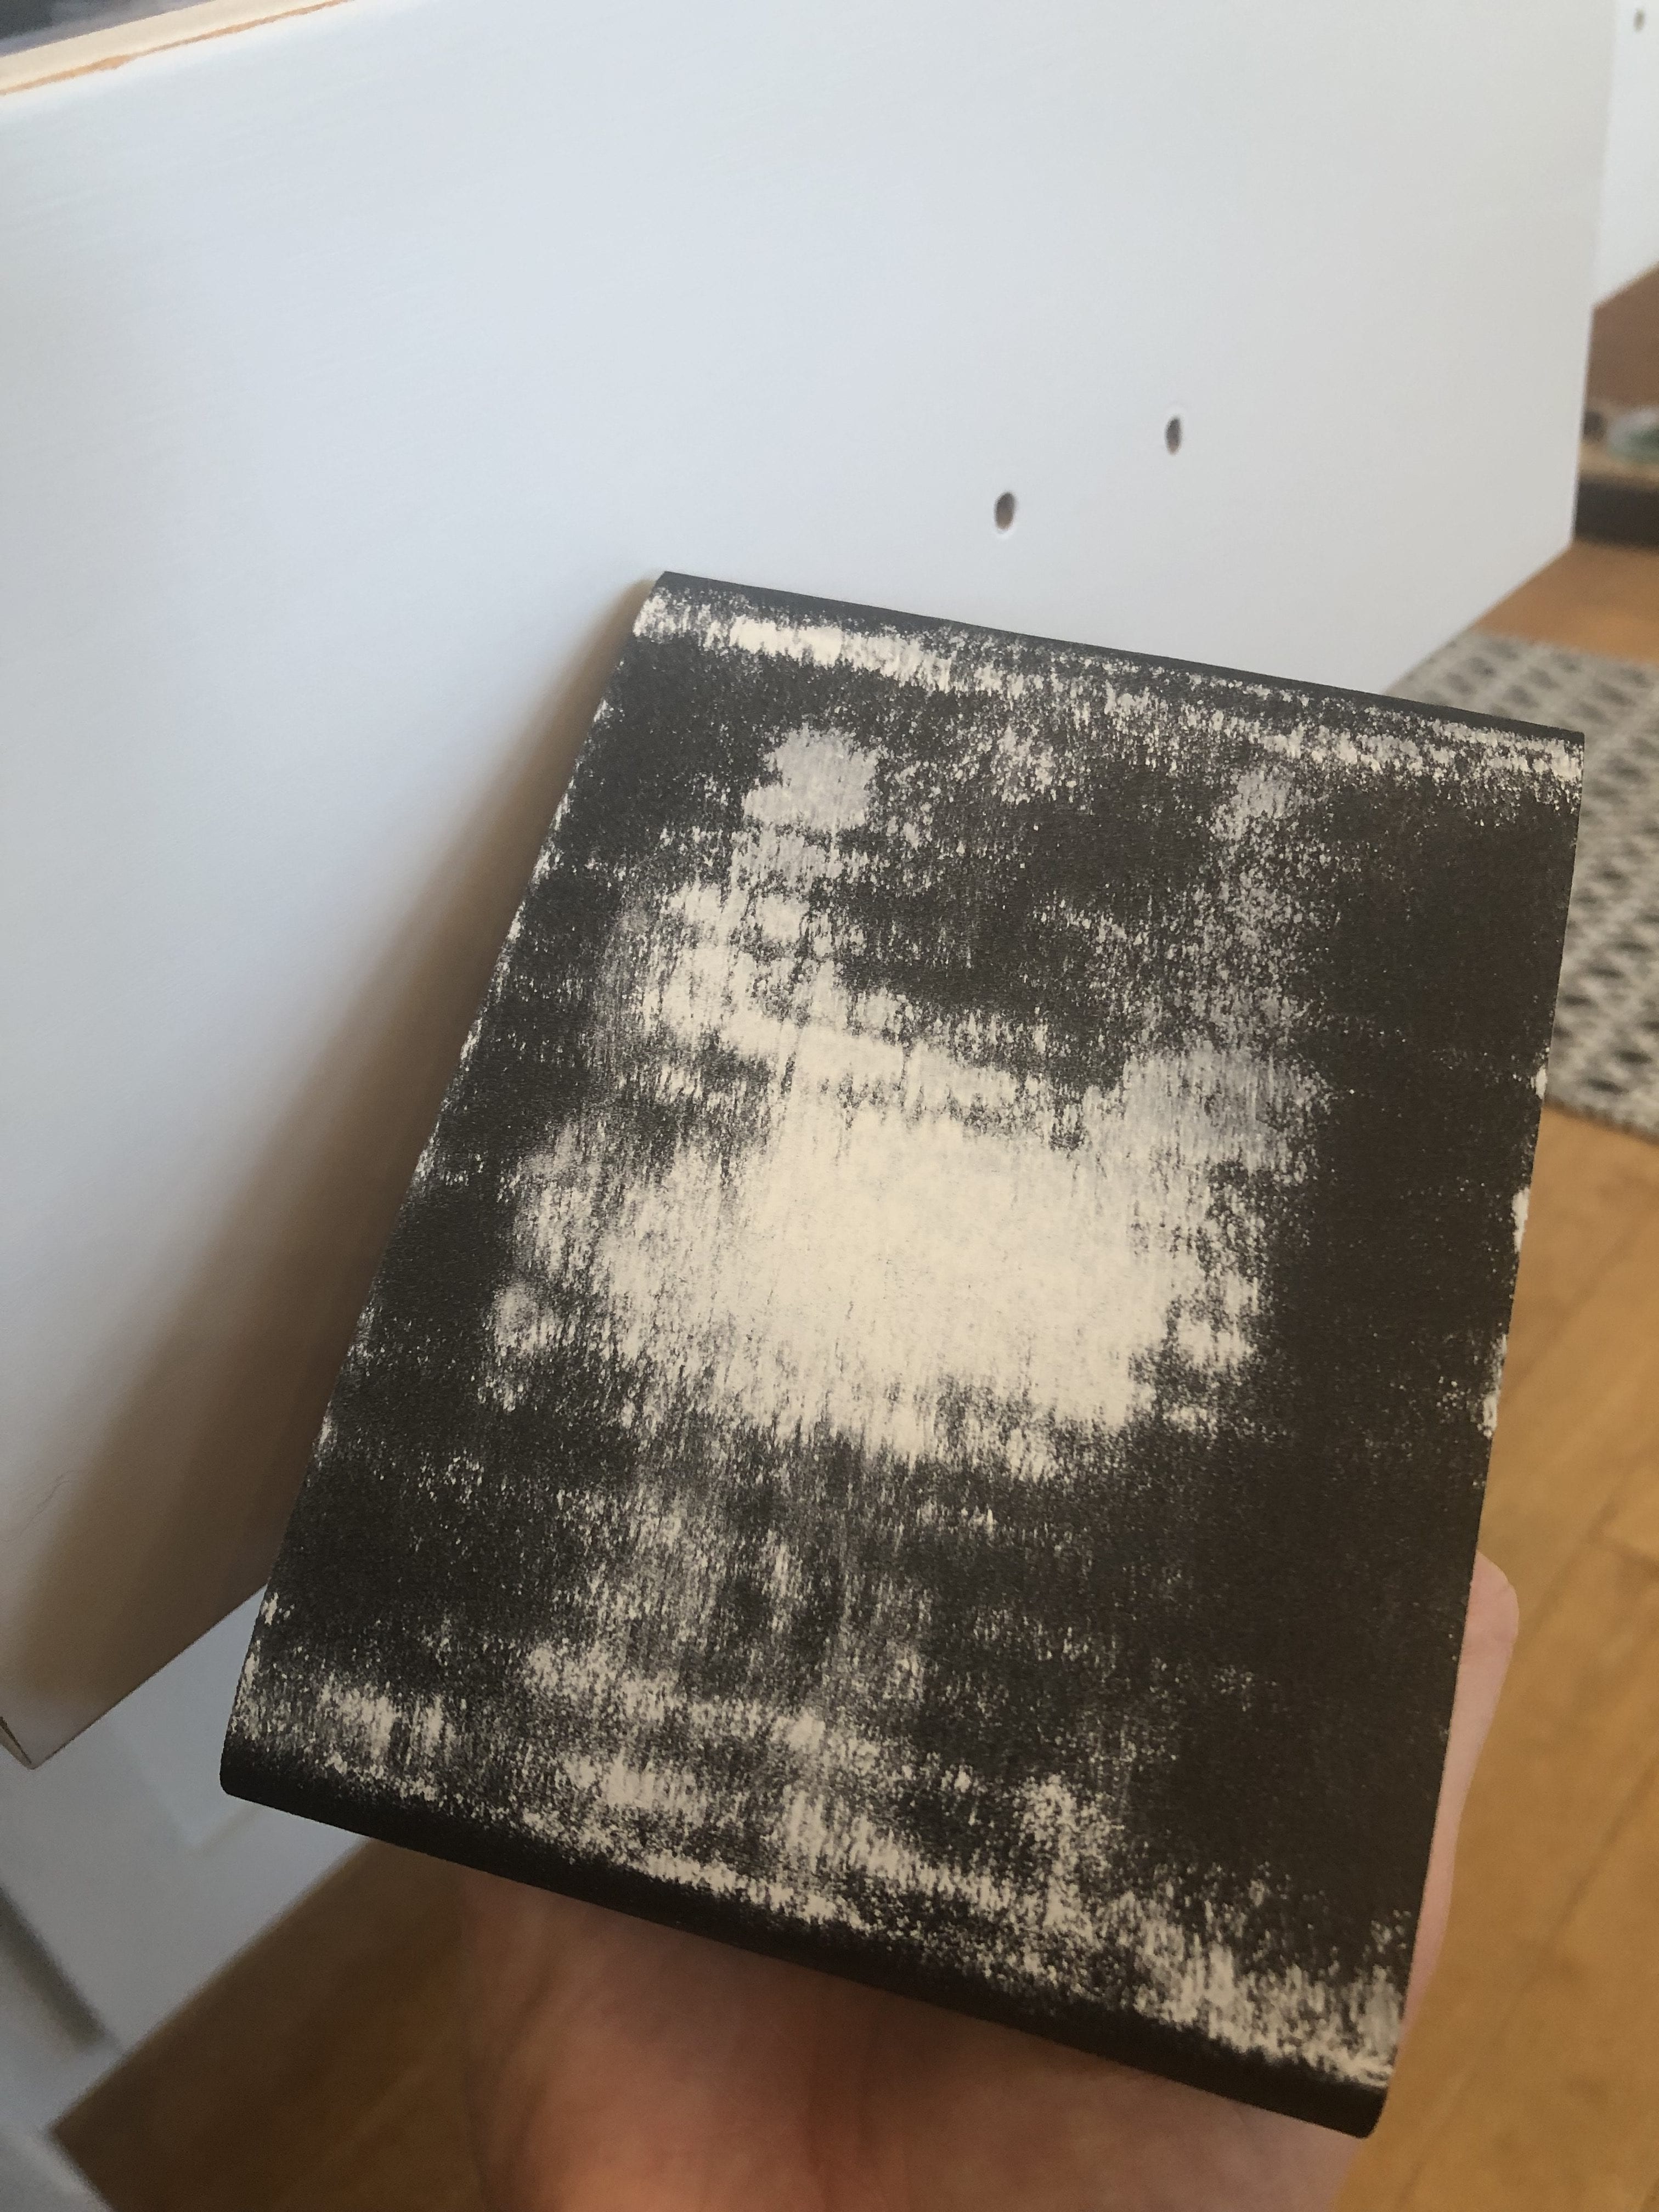
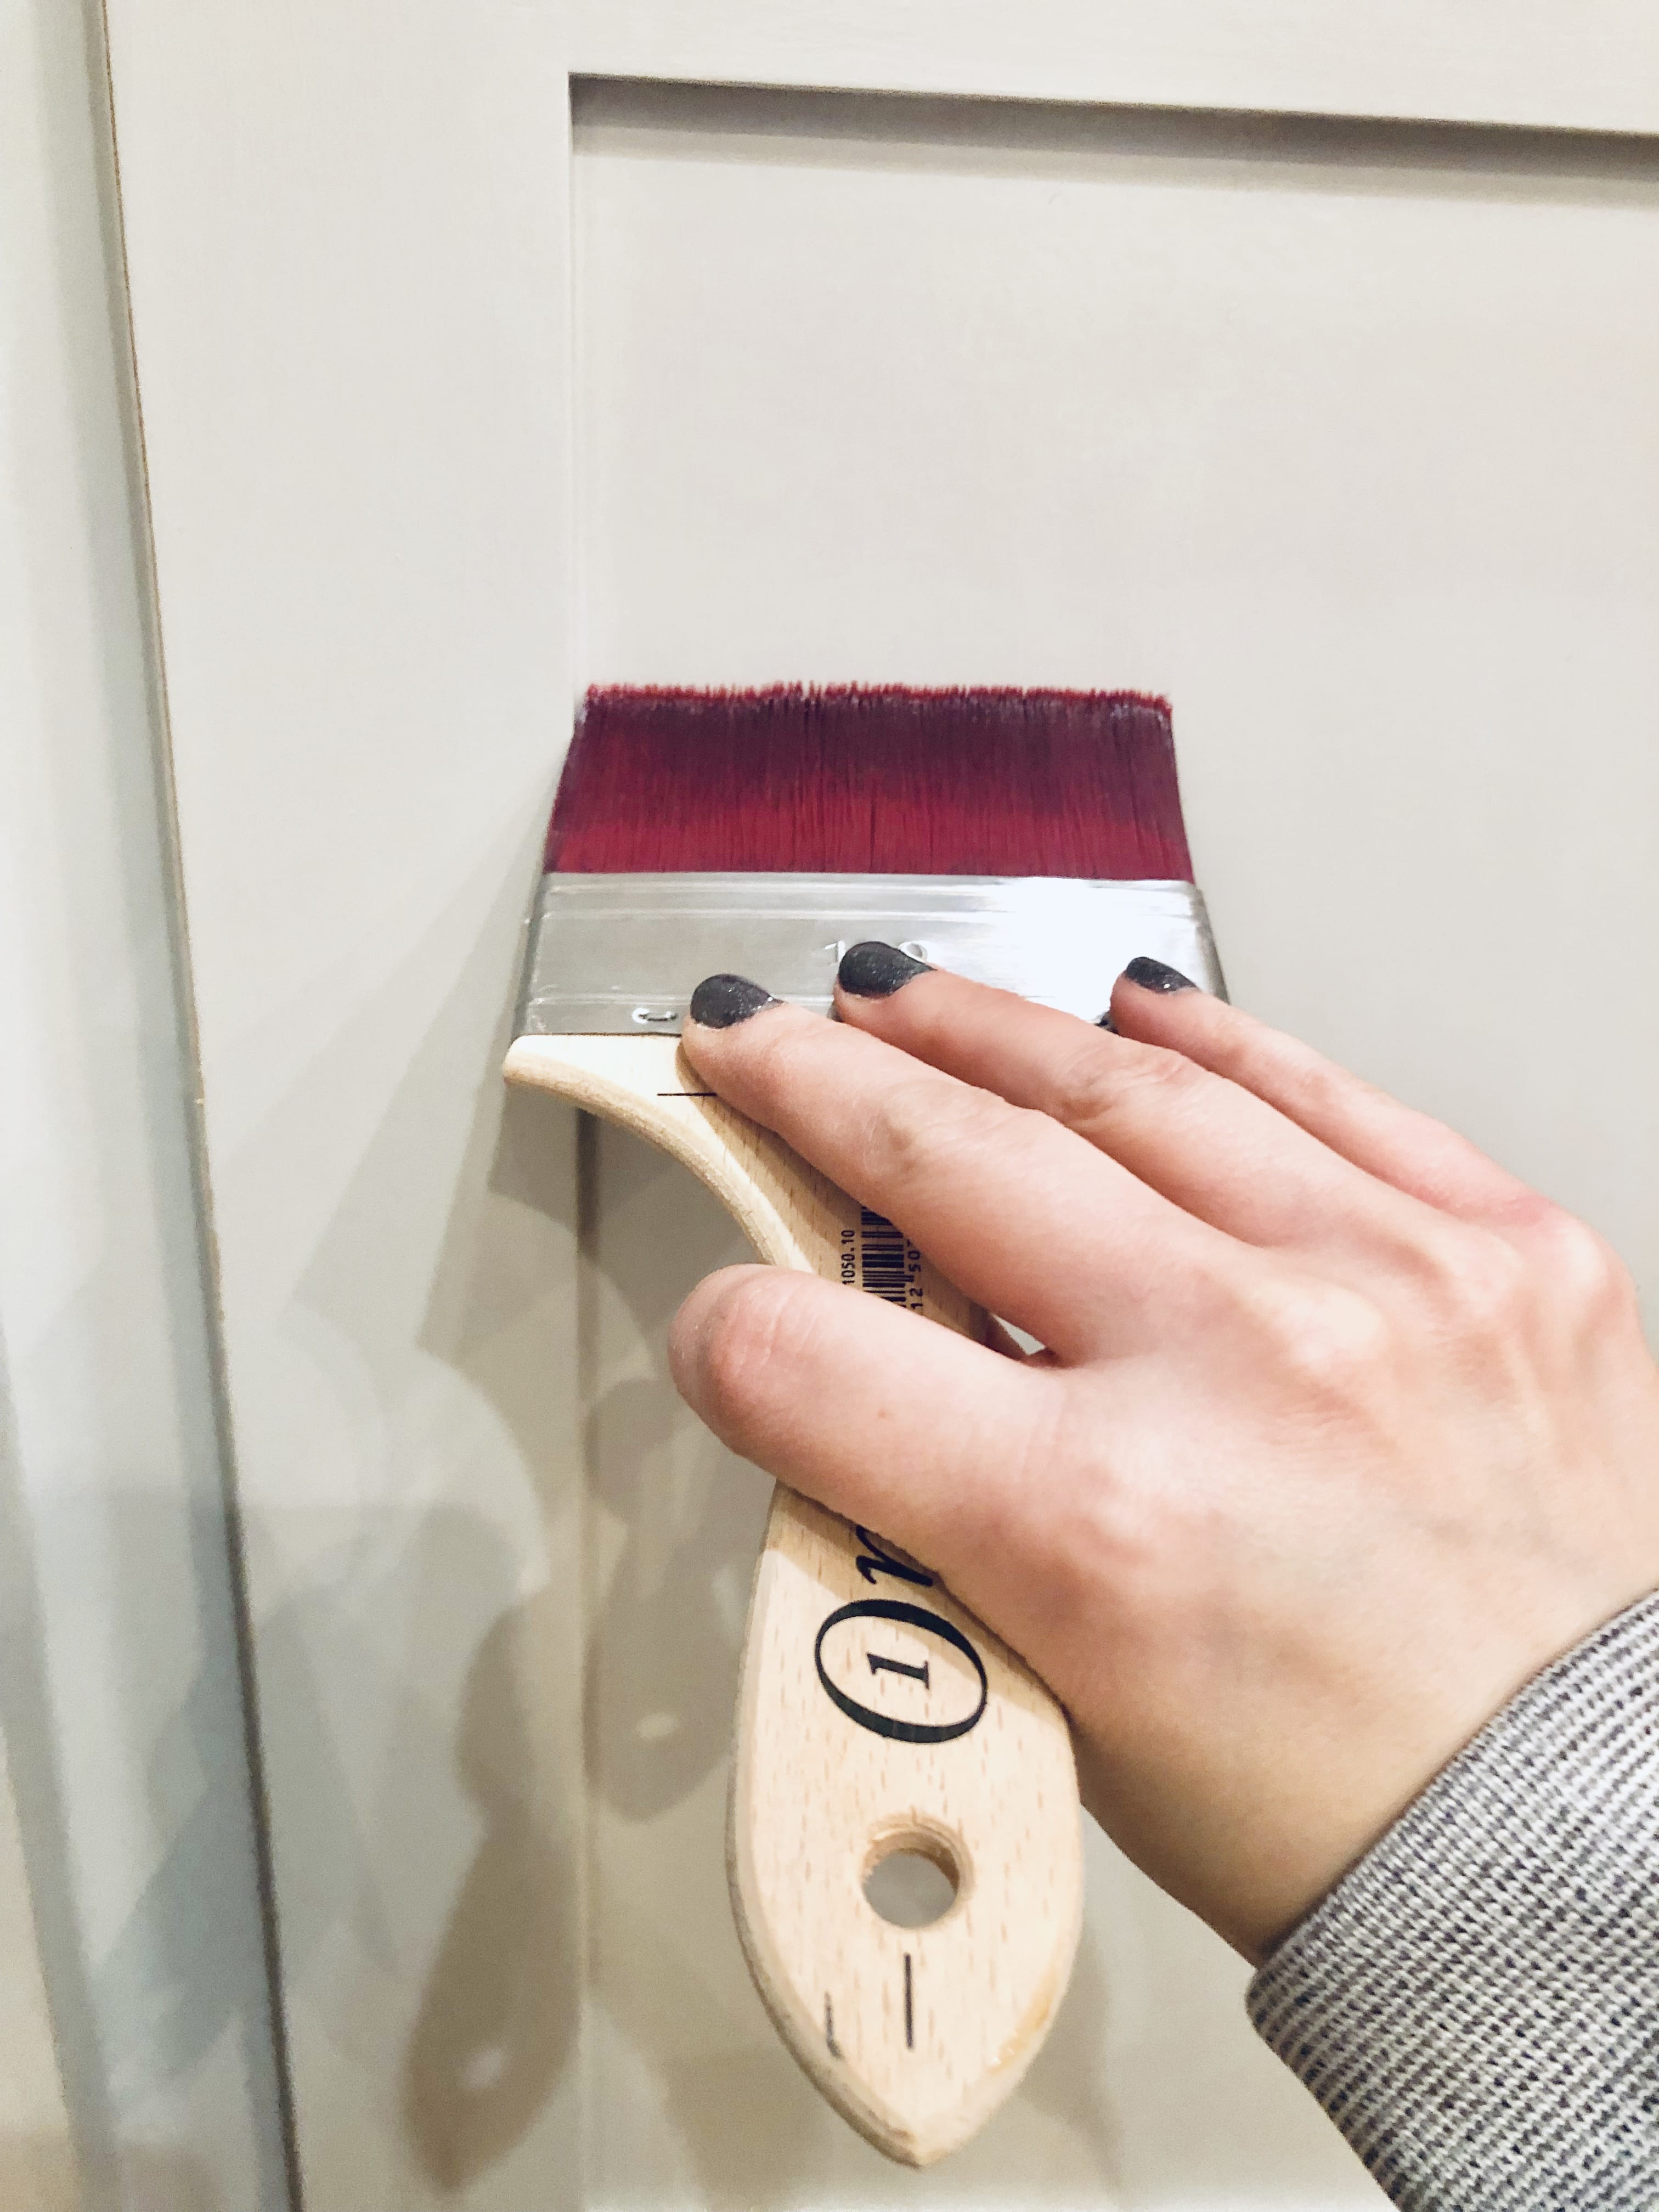
I also found it hard to make sure I was doing a good job as I could not see under my doors so I was not sure if I was getting good coverage. I only left the doors hung on the lowers that were painted in the Lamp White. I knew I would test using a roller and brush for them. So on the bottom cabinets, I used the Staameester Ultimate One Round brush and a roller along the bottom as I could not use a brush with the doors hung. The Ultimate One gave a better finish than the Pointed sash but is not as easy to cut in with. I like the pointed sash for edging under the counter-tops and along the floor. The bristles on the Ultimate One are like a makeup brush and allowed the paint to just glide off my bristles. Now so many of my customers complain about “brush strokes”. So on the back of my doors, I intentionally tried to re-create common issues that my customers have this way I can then show them how to “fix” said issue. So you will notice on the picture above all the start and stop marks. I always tell people to get your paint on and then do one long pass. I allowed the paint to dry like this because I wanted to see if I could do my “long” pass method on the second coat to hide and unwanted texture. Like I said, I wanted to test EVERYTHING.
Once the paint dried, it really did not have as much “texture” as I thought it would. What you were seeing also in the picture above is the original cabinet color peaking through. I just went over it again with my long pass method and it evened out nicely. It’s best to lay your paint down in thin coats vs. trying to apply a thick coat. Believe it or not, but you will actually get more visible brush strokes in your finish when you apply your paint too heavily. So I allowed my paint to dry over night before applying my second and third coat. Fusion states to allow your paint to dry for at least 2 hours.
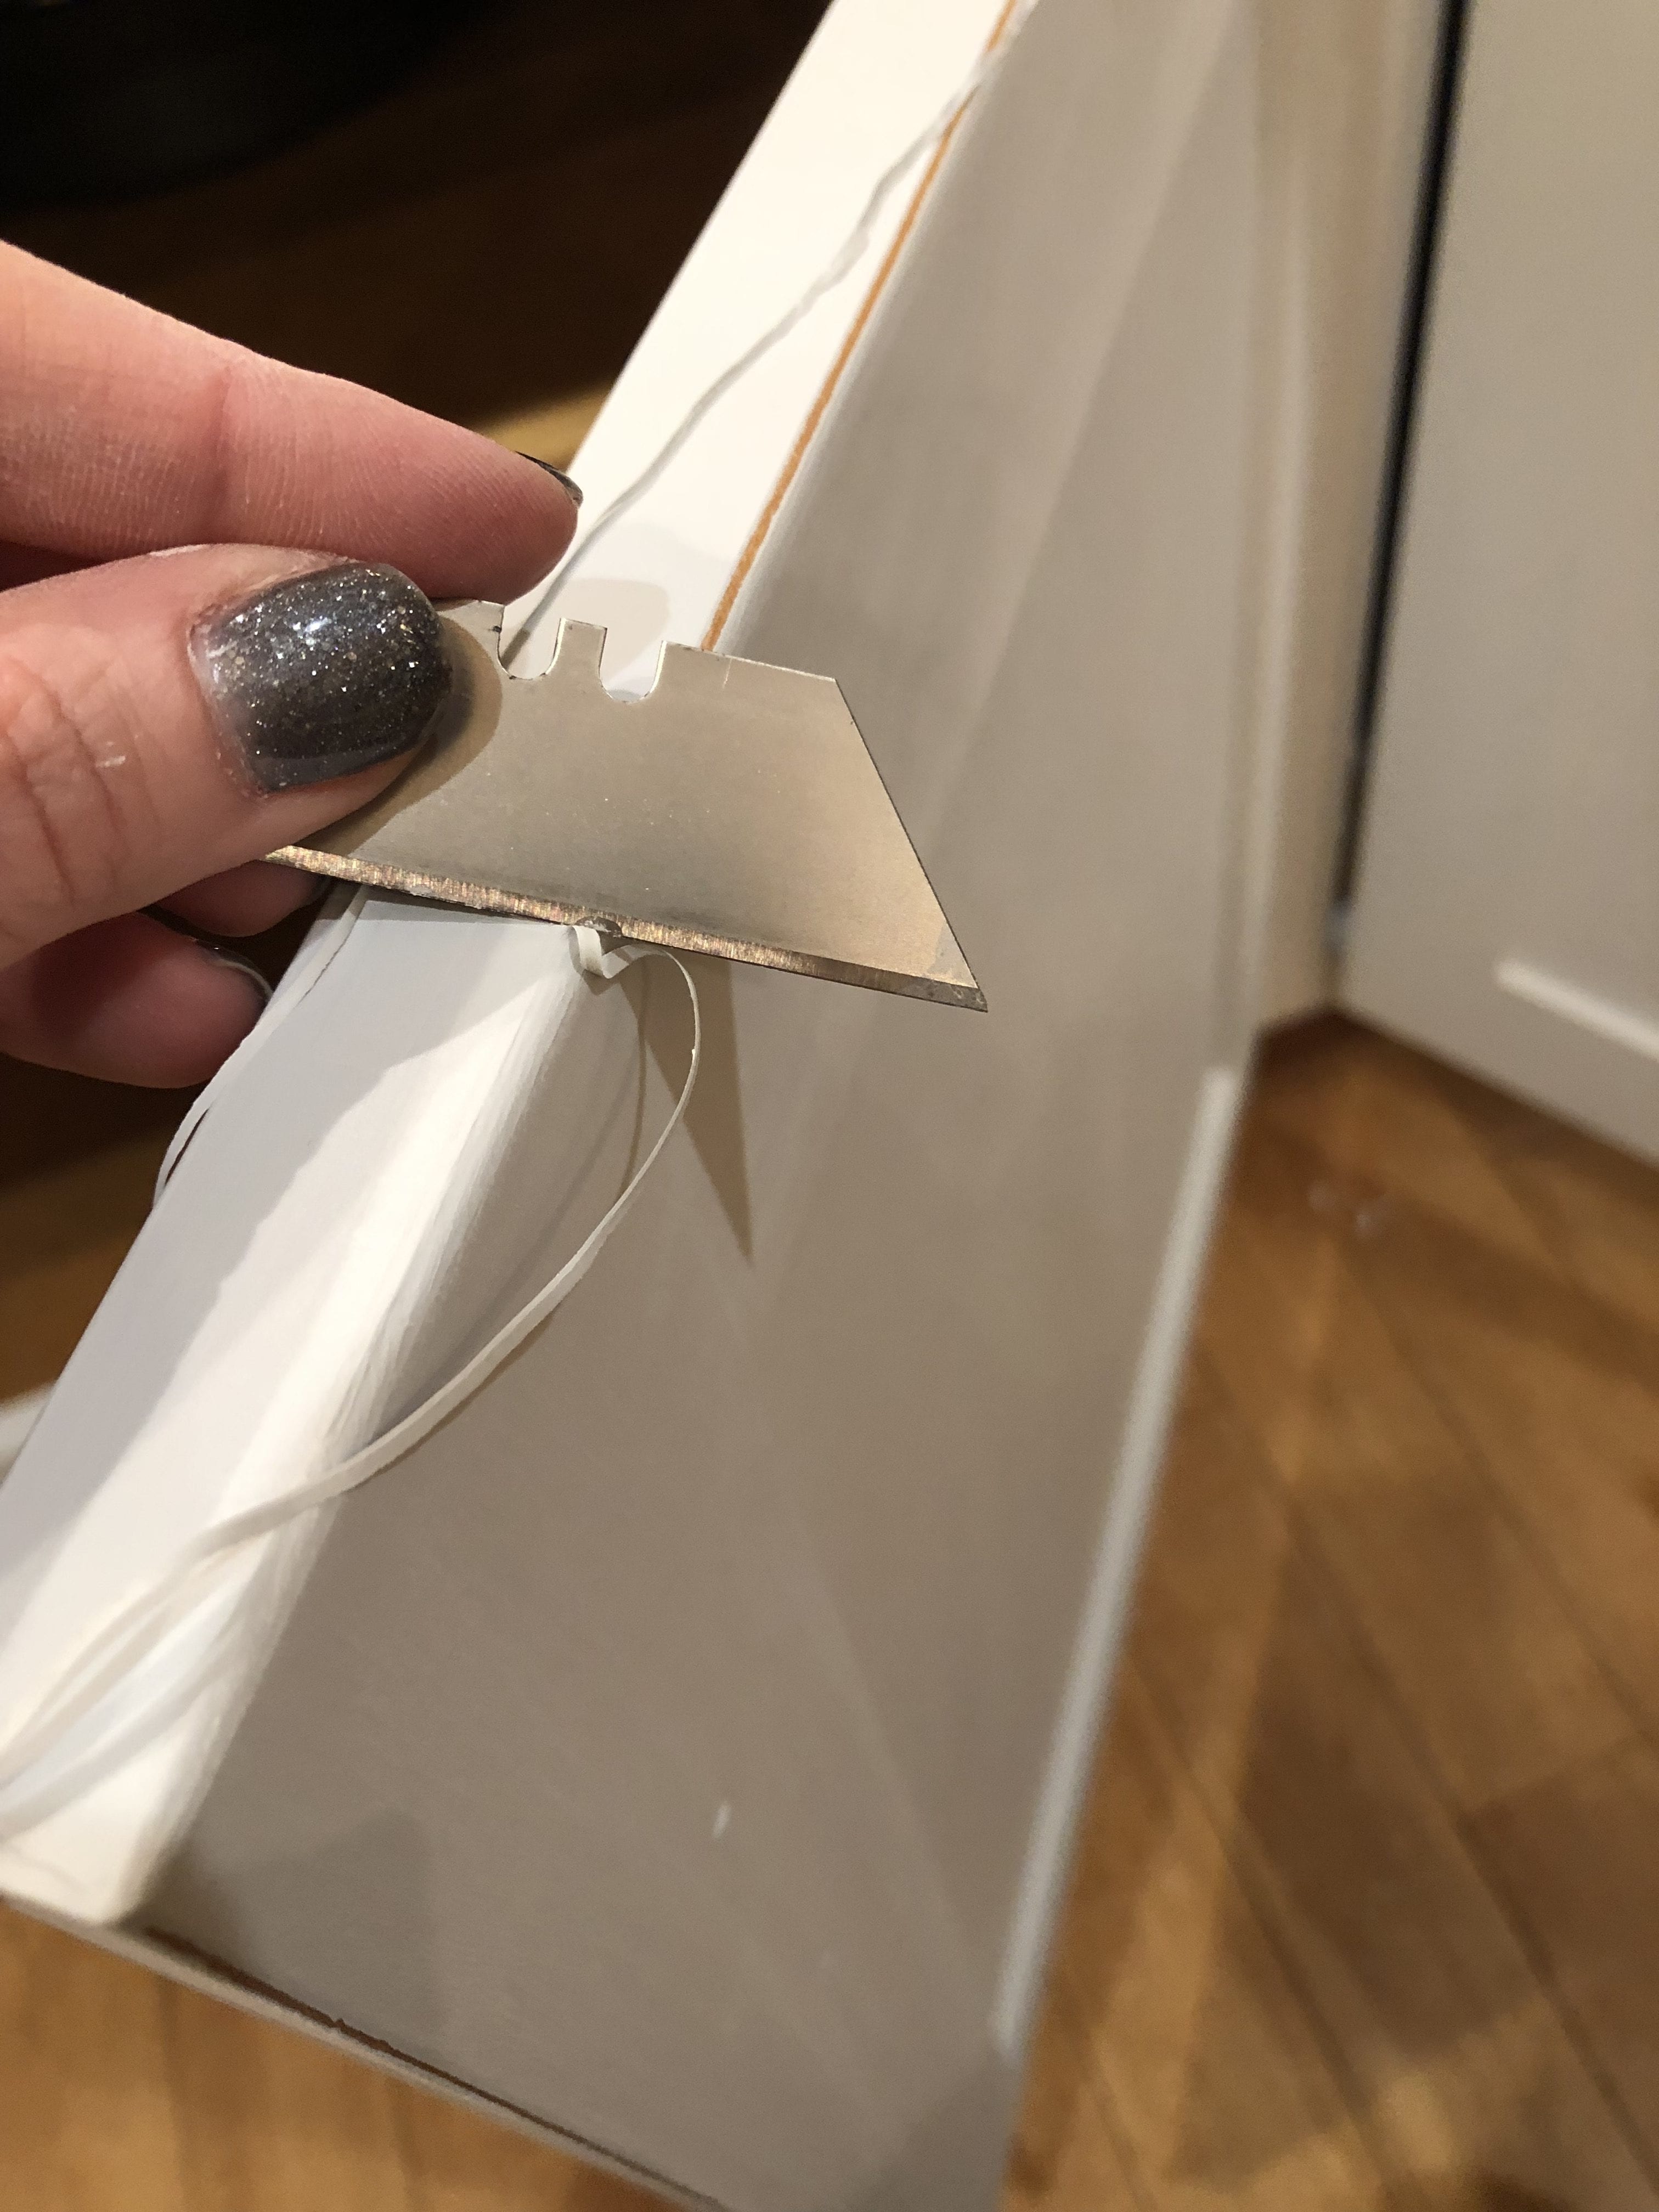
My cabinets took 3 coats for solid opaque coverage. Your coverage will depend on the color you choose along with the original color of the wood. Now if I would have primed the doors and the rest of the cabinets, I would assume it would have been 2 coat coverage. I chose not to use the Zinsser on the doors because I wanted to have the natural wood peaking out on the edges of the doors. I just felt it would give it a little bit of visual interest and a more Coastal vibe. So once I achieved my solid coverage I took a razor blade and trimmed the paint off the edges. This is the part where I’m sure professionals will cringe. Oh well, it gave me exactly the look I was going for. Now whenever you break the seal of the paint as I did by cutting into it, it sooooo important that you topcoat. Otherwise water now has the ability to get under the paint.
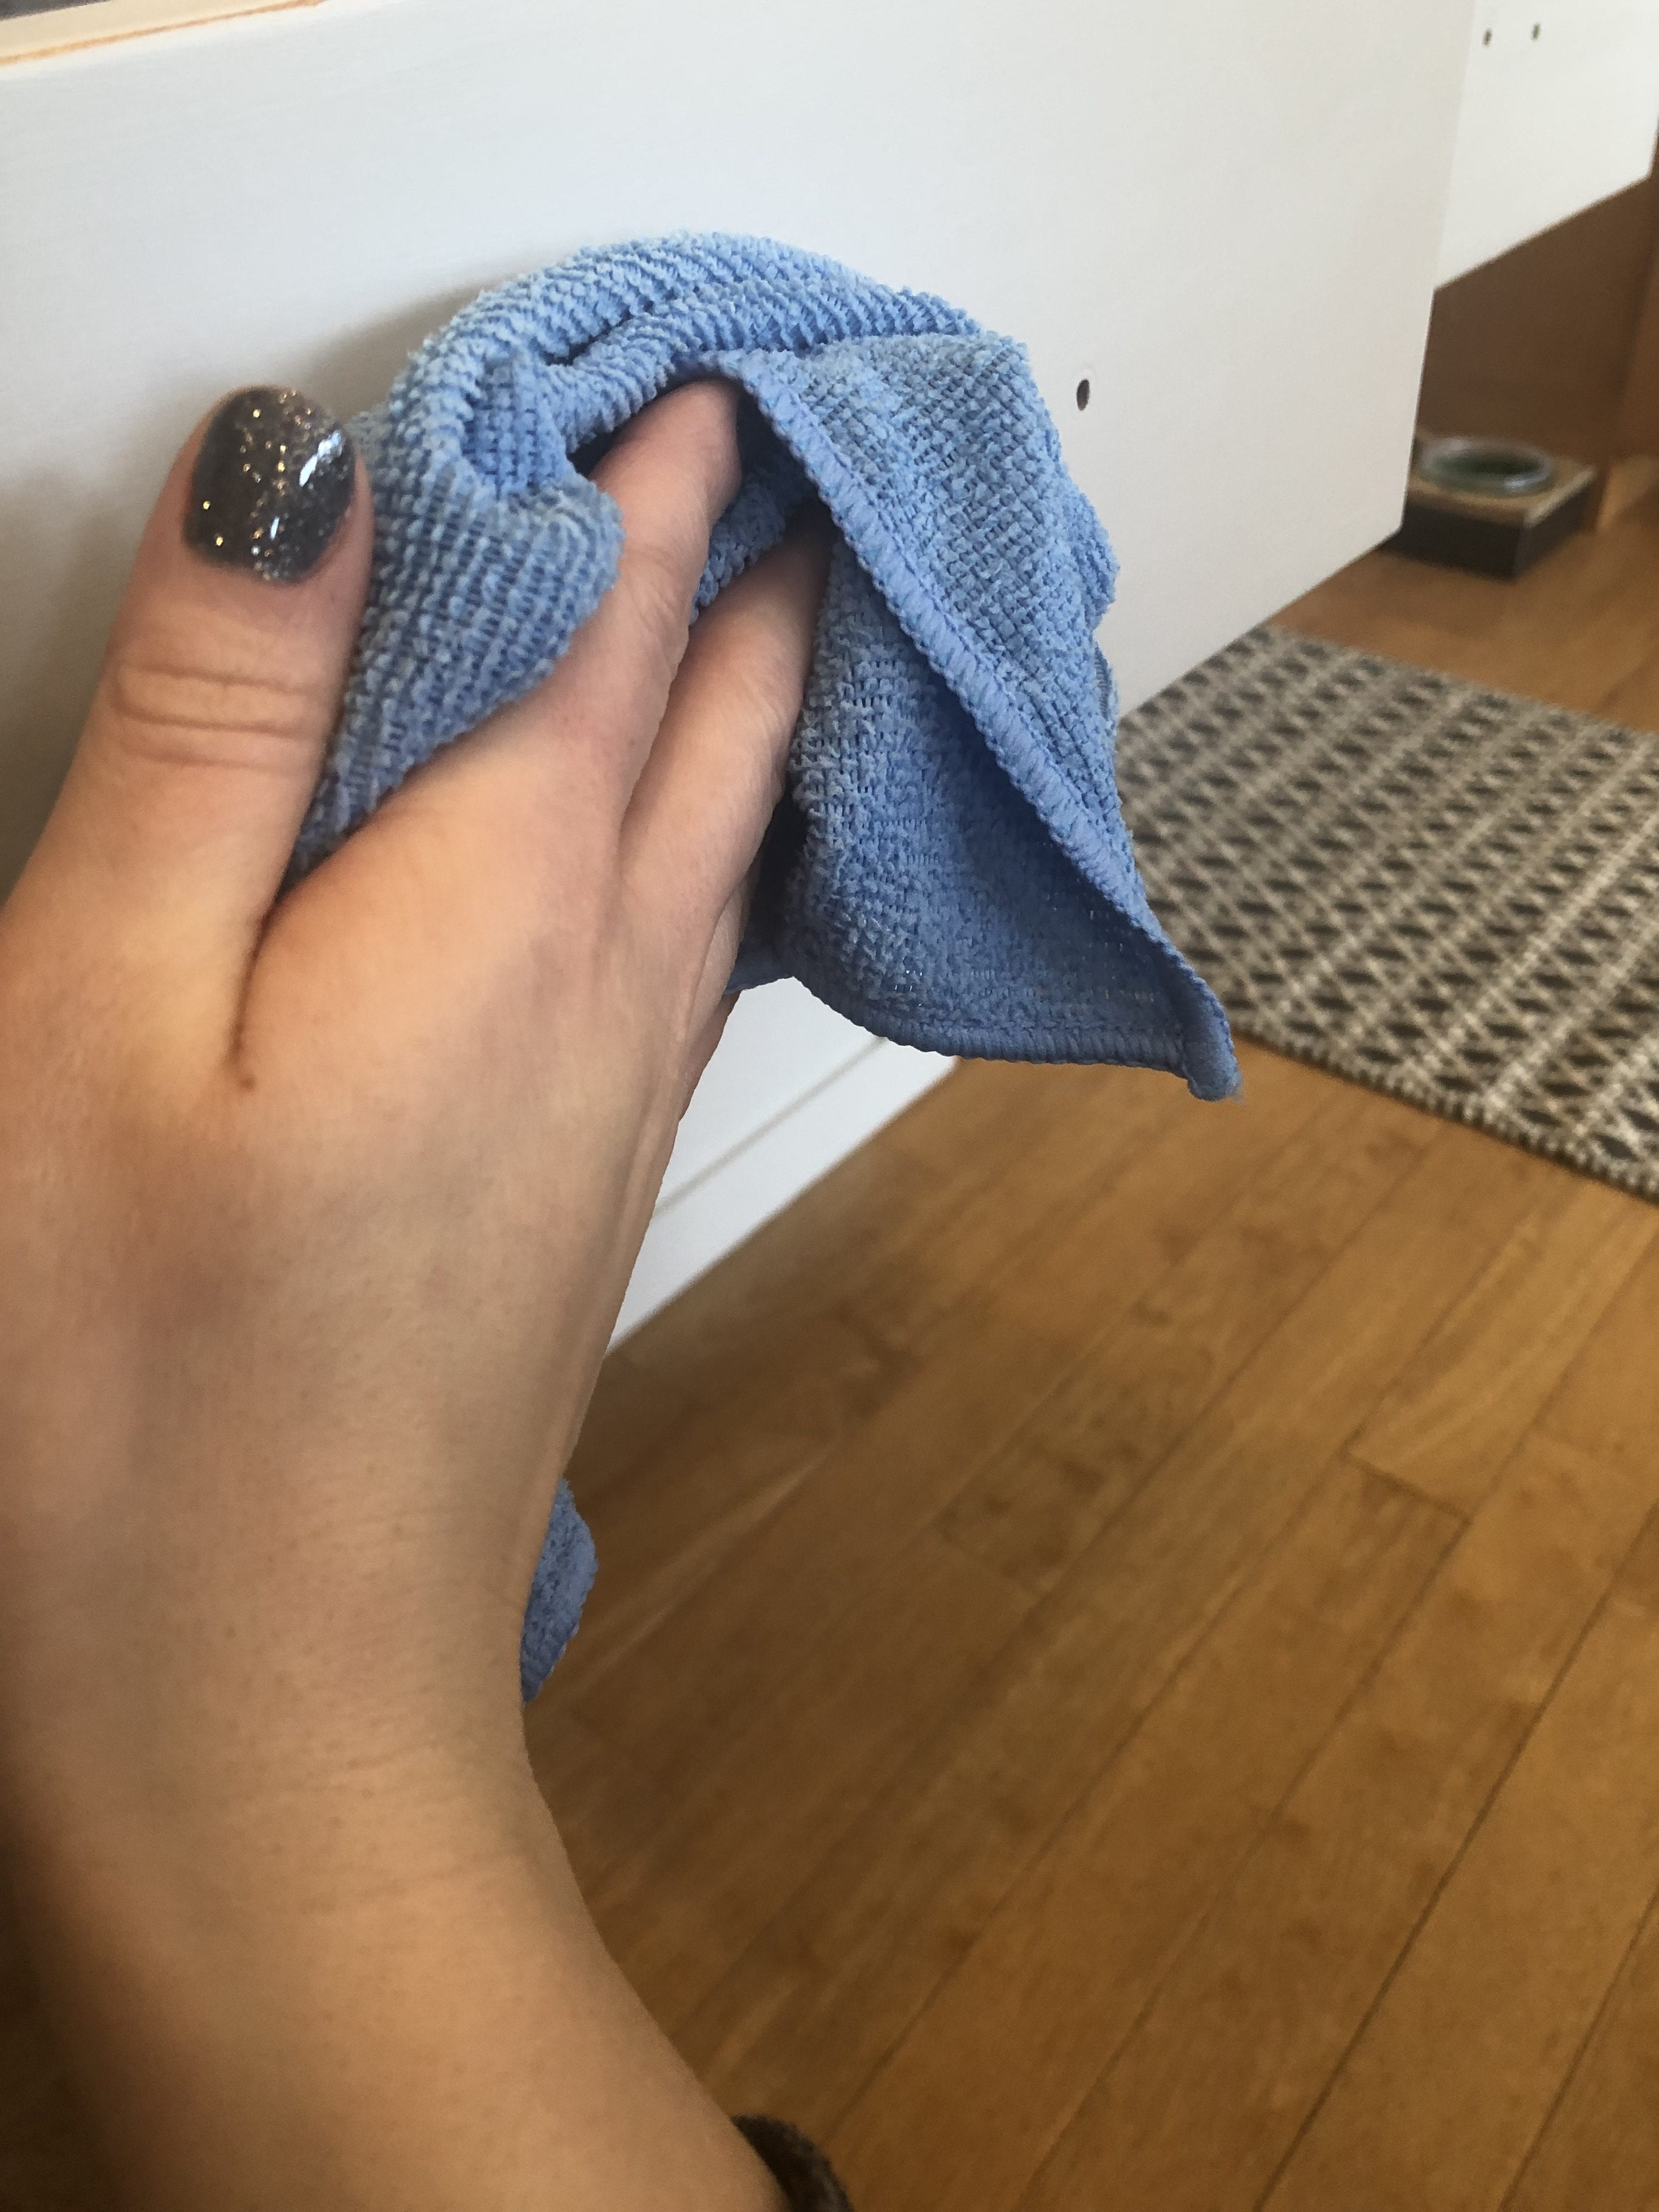
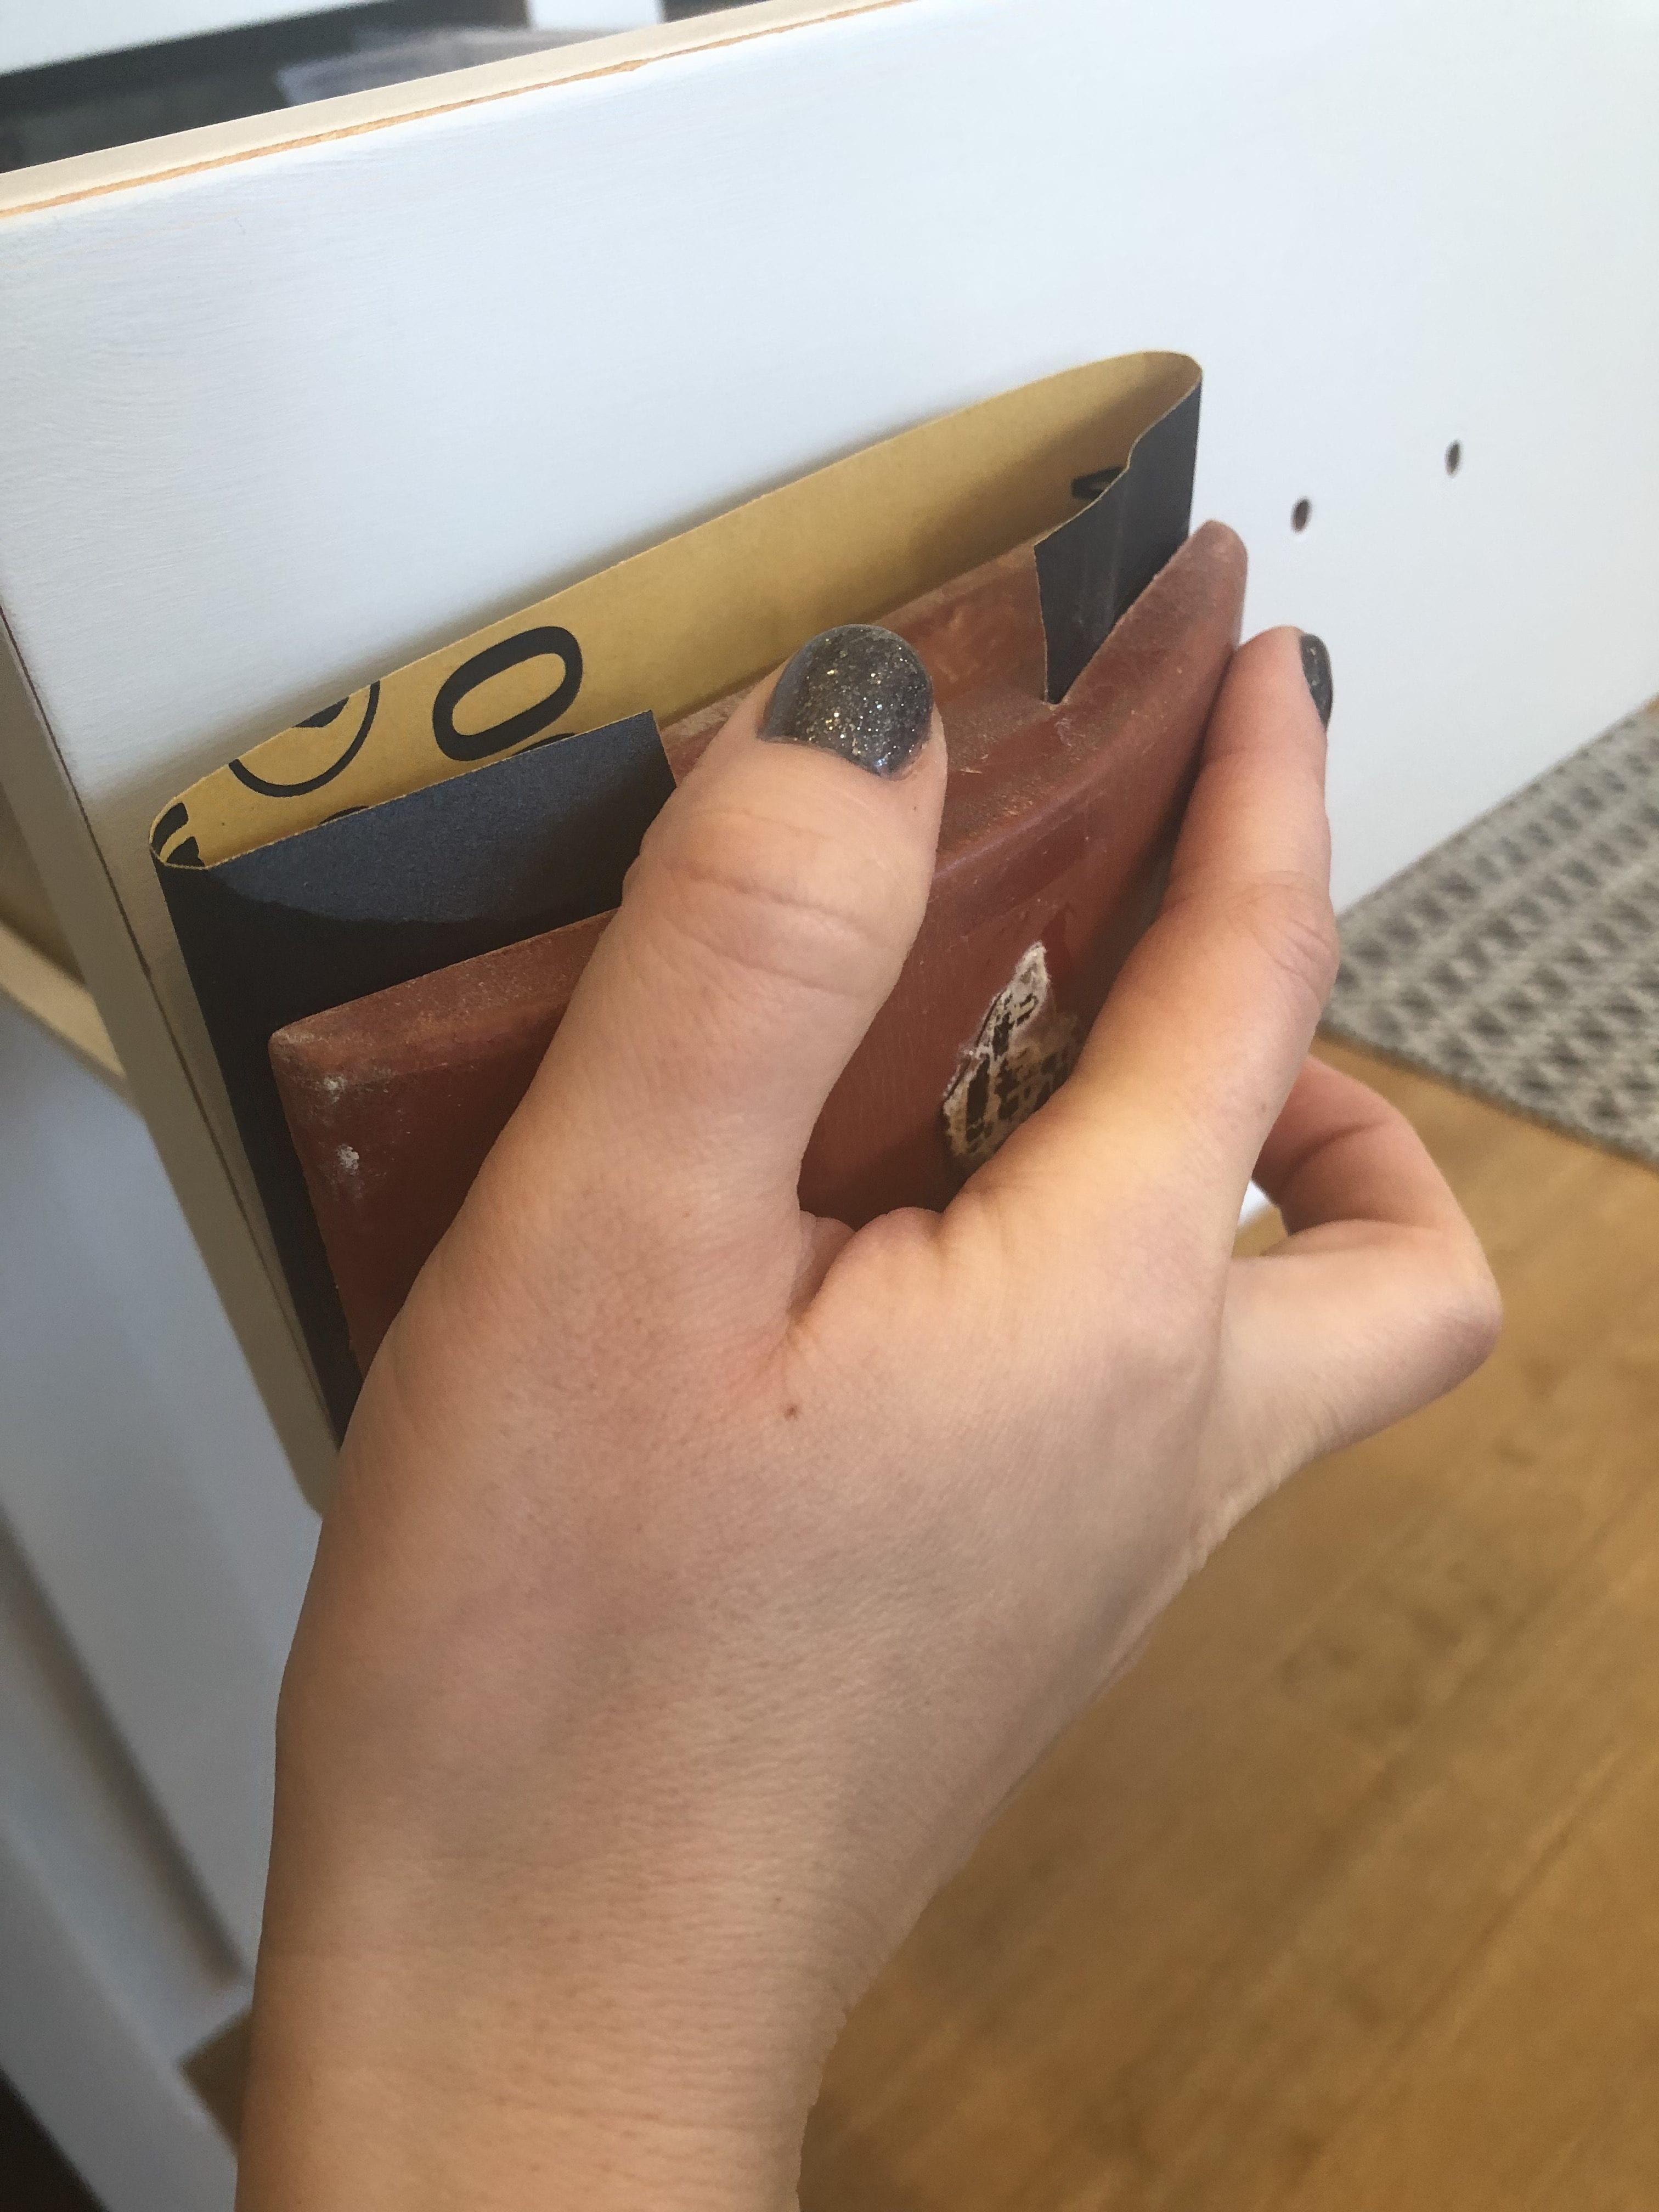
On some of the drawer fronts that I rolled, I had a little bit of texture that I did not like. Don’t freak out if you have a little unwanted texture or say a brush stroke here and there. Just do a “wet sand”. I used the Black Wet/Dry sandpaper and chose 1000 grit. I first used a damp microfiber cloth and went over my dry paint to make it damp. I then took the sanding block and lightly went over the surface in the direction of the grain. This knocked down that unwanted texture and gave me a nice smooth finish. This tip is great too for your furniture too. I like to give most of my pieces a final sand like this.
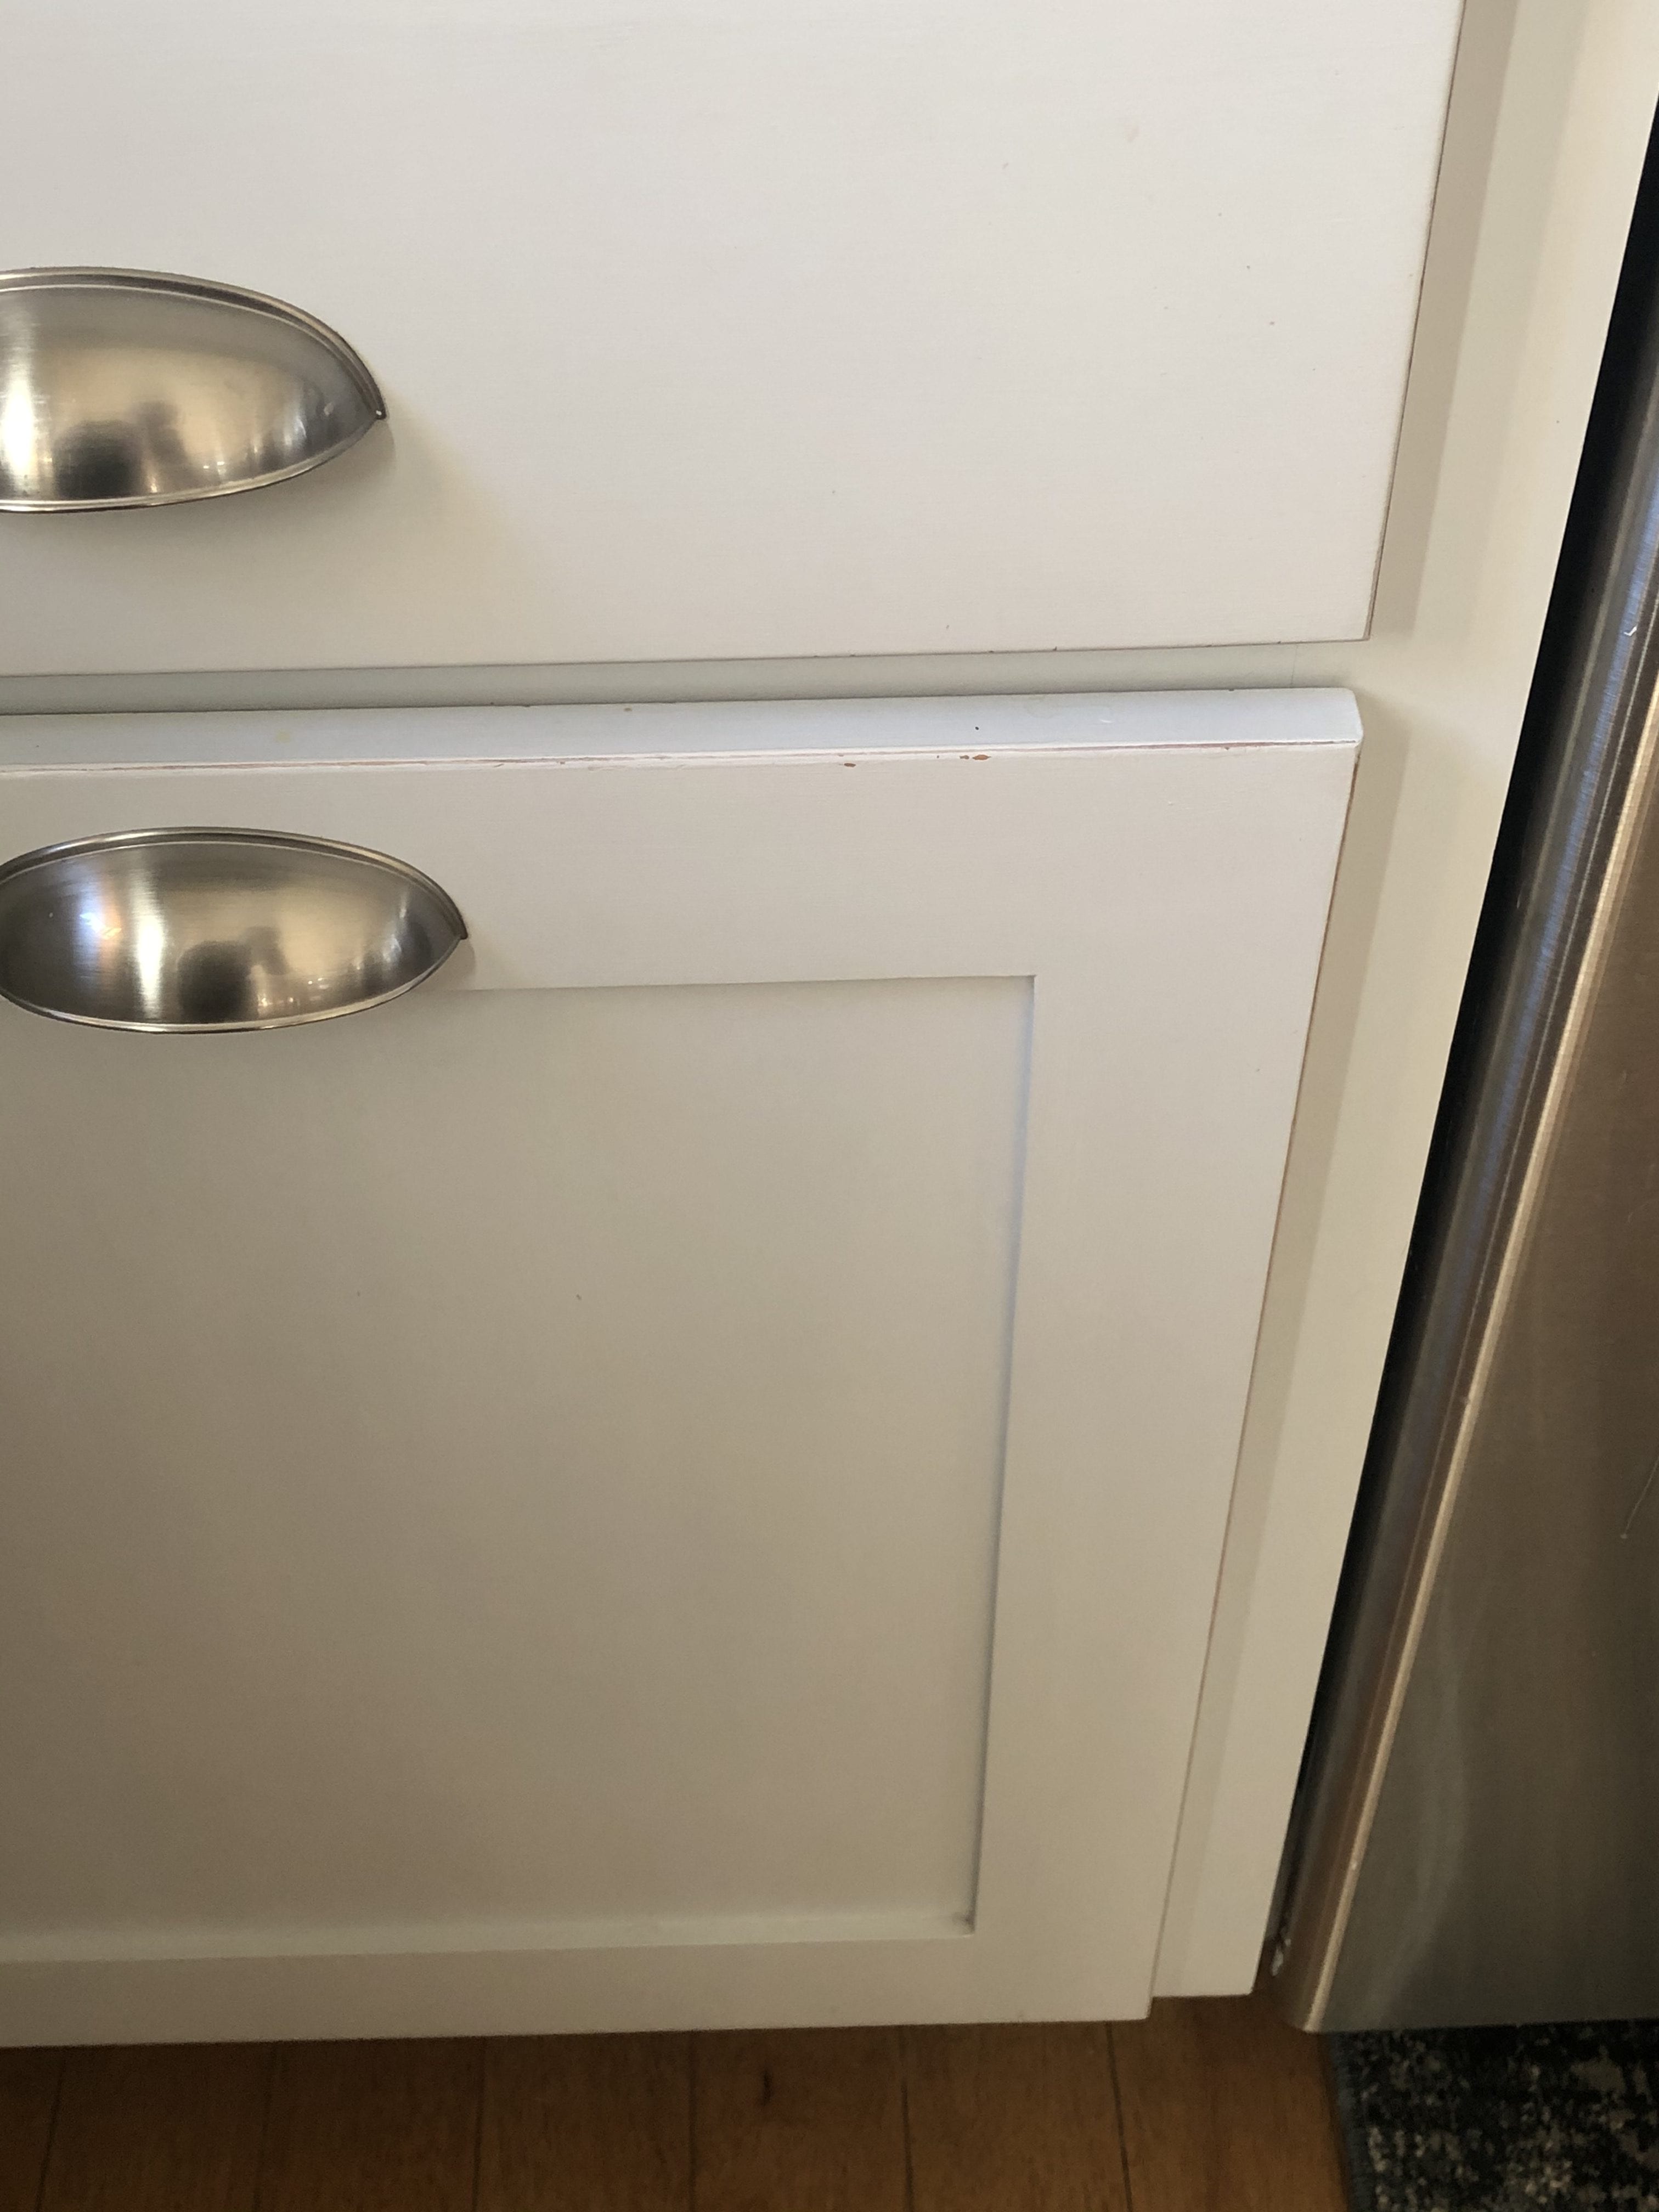
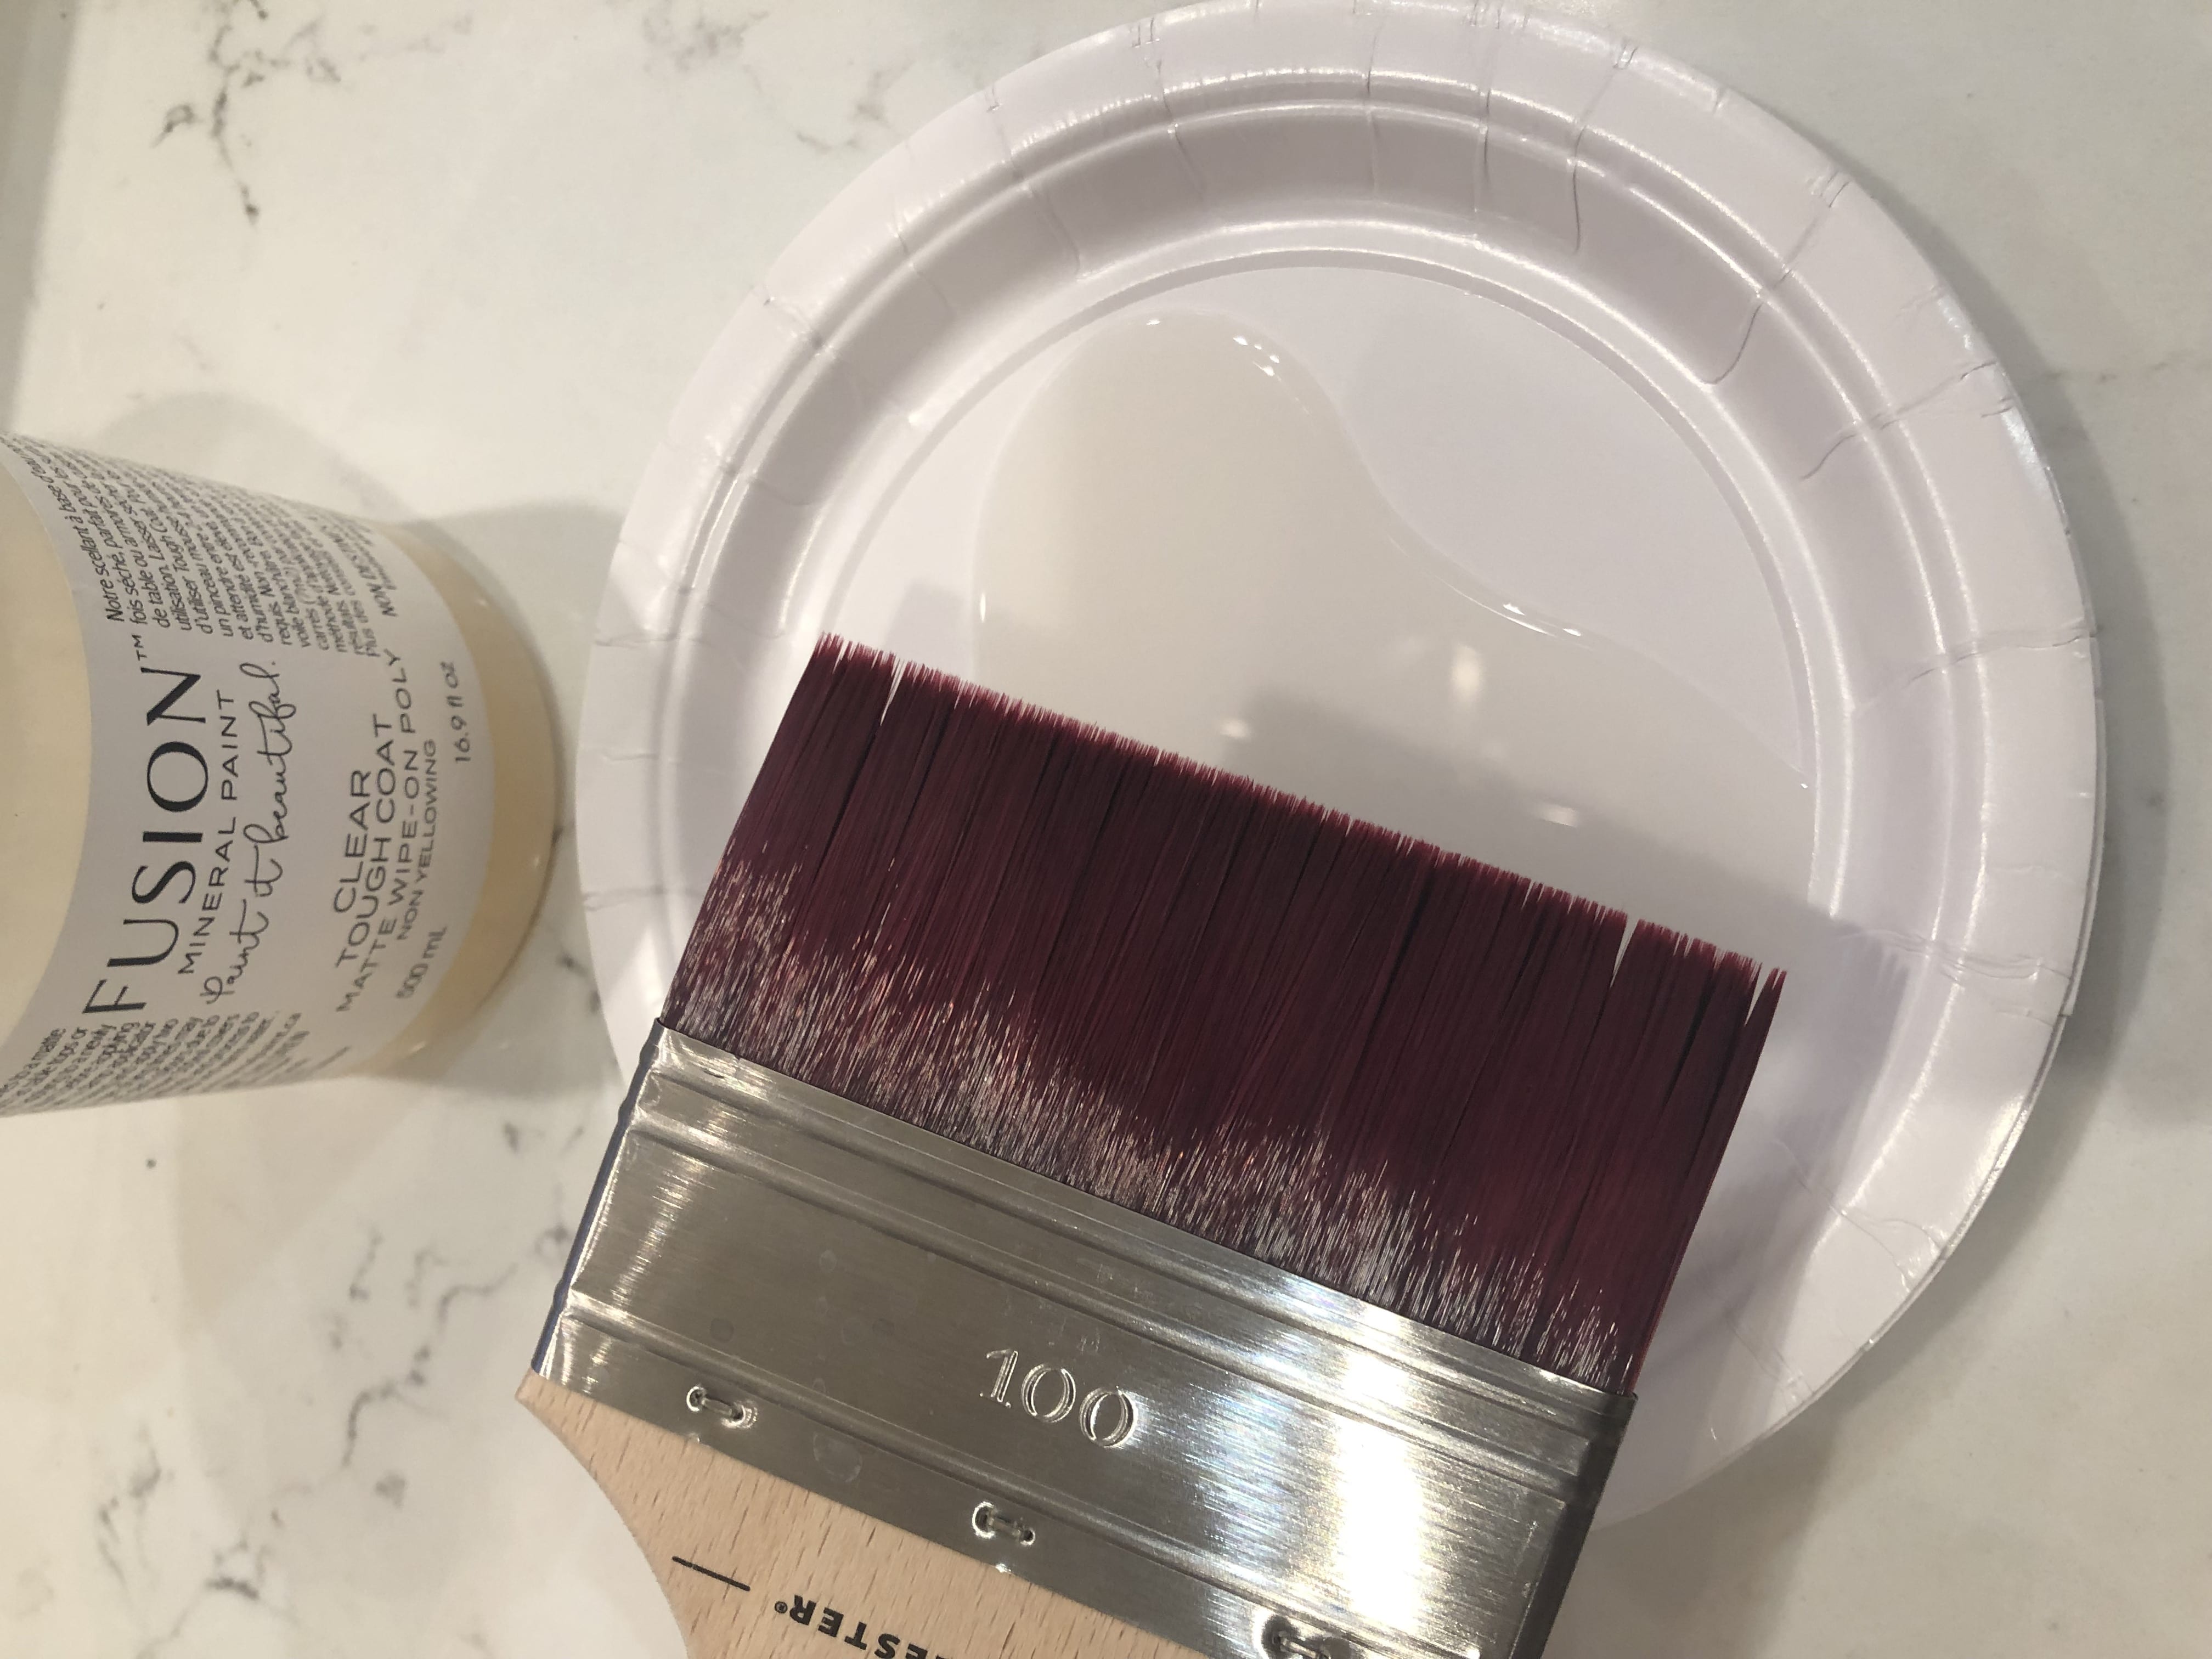
Now it was time to seal the paint. I chose to use Fusion’s Tough Coat. It’s a clear poly that is non-yellowing. Tough Coat can be tricky to work with but I do know of some tips that make the process much better. First, choose the right tools. I used the Staalmeester Ultimate One Flat Blending brush. It is by far my favorite top coat applicator. It works best to get your brush “humid” ahead of time. The Tough Coat will glide better when using a slightly wet brush. (Edit: We now have a product called Extender: adding this to your Tough Coat will make application easier. )You also don’t want to overwork this stuff. Just put it down in a nice thin coat and allow it to dry. If you missed a spot, don’t touch it up. You can get it with your second coat. I put 2 coats on all of my cabinets. Now as I’m writing this it has been a year of use in my kitchen. I wish I would have put an additional layer of the tough coat on our garbage drawer and silverware drawer. They are the two drawers that get used the MOST. As you will see in the pic below, there are 2 little chips along the edge where i did the distressing. That’s the only part of our Kitchen cabinets that has shown some wear. Nothing bad, but I feel like if I would have put down maybe 4 thin coats on just those drawers, it would still be perfect like the rest. (Edit) If I had a “Do-over” I would use Fusion’s New Ultra Guard as my topcoat. I did not have the product at the time that I did my cabinets. The Ultra Guard is a better option as it’s easier to work with and I would have been able to use it over both the cabinets and the island.
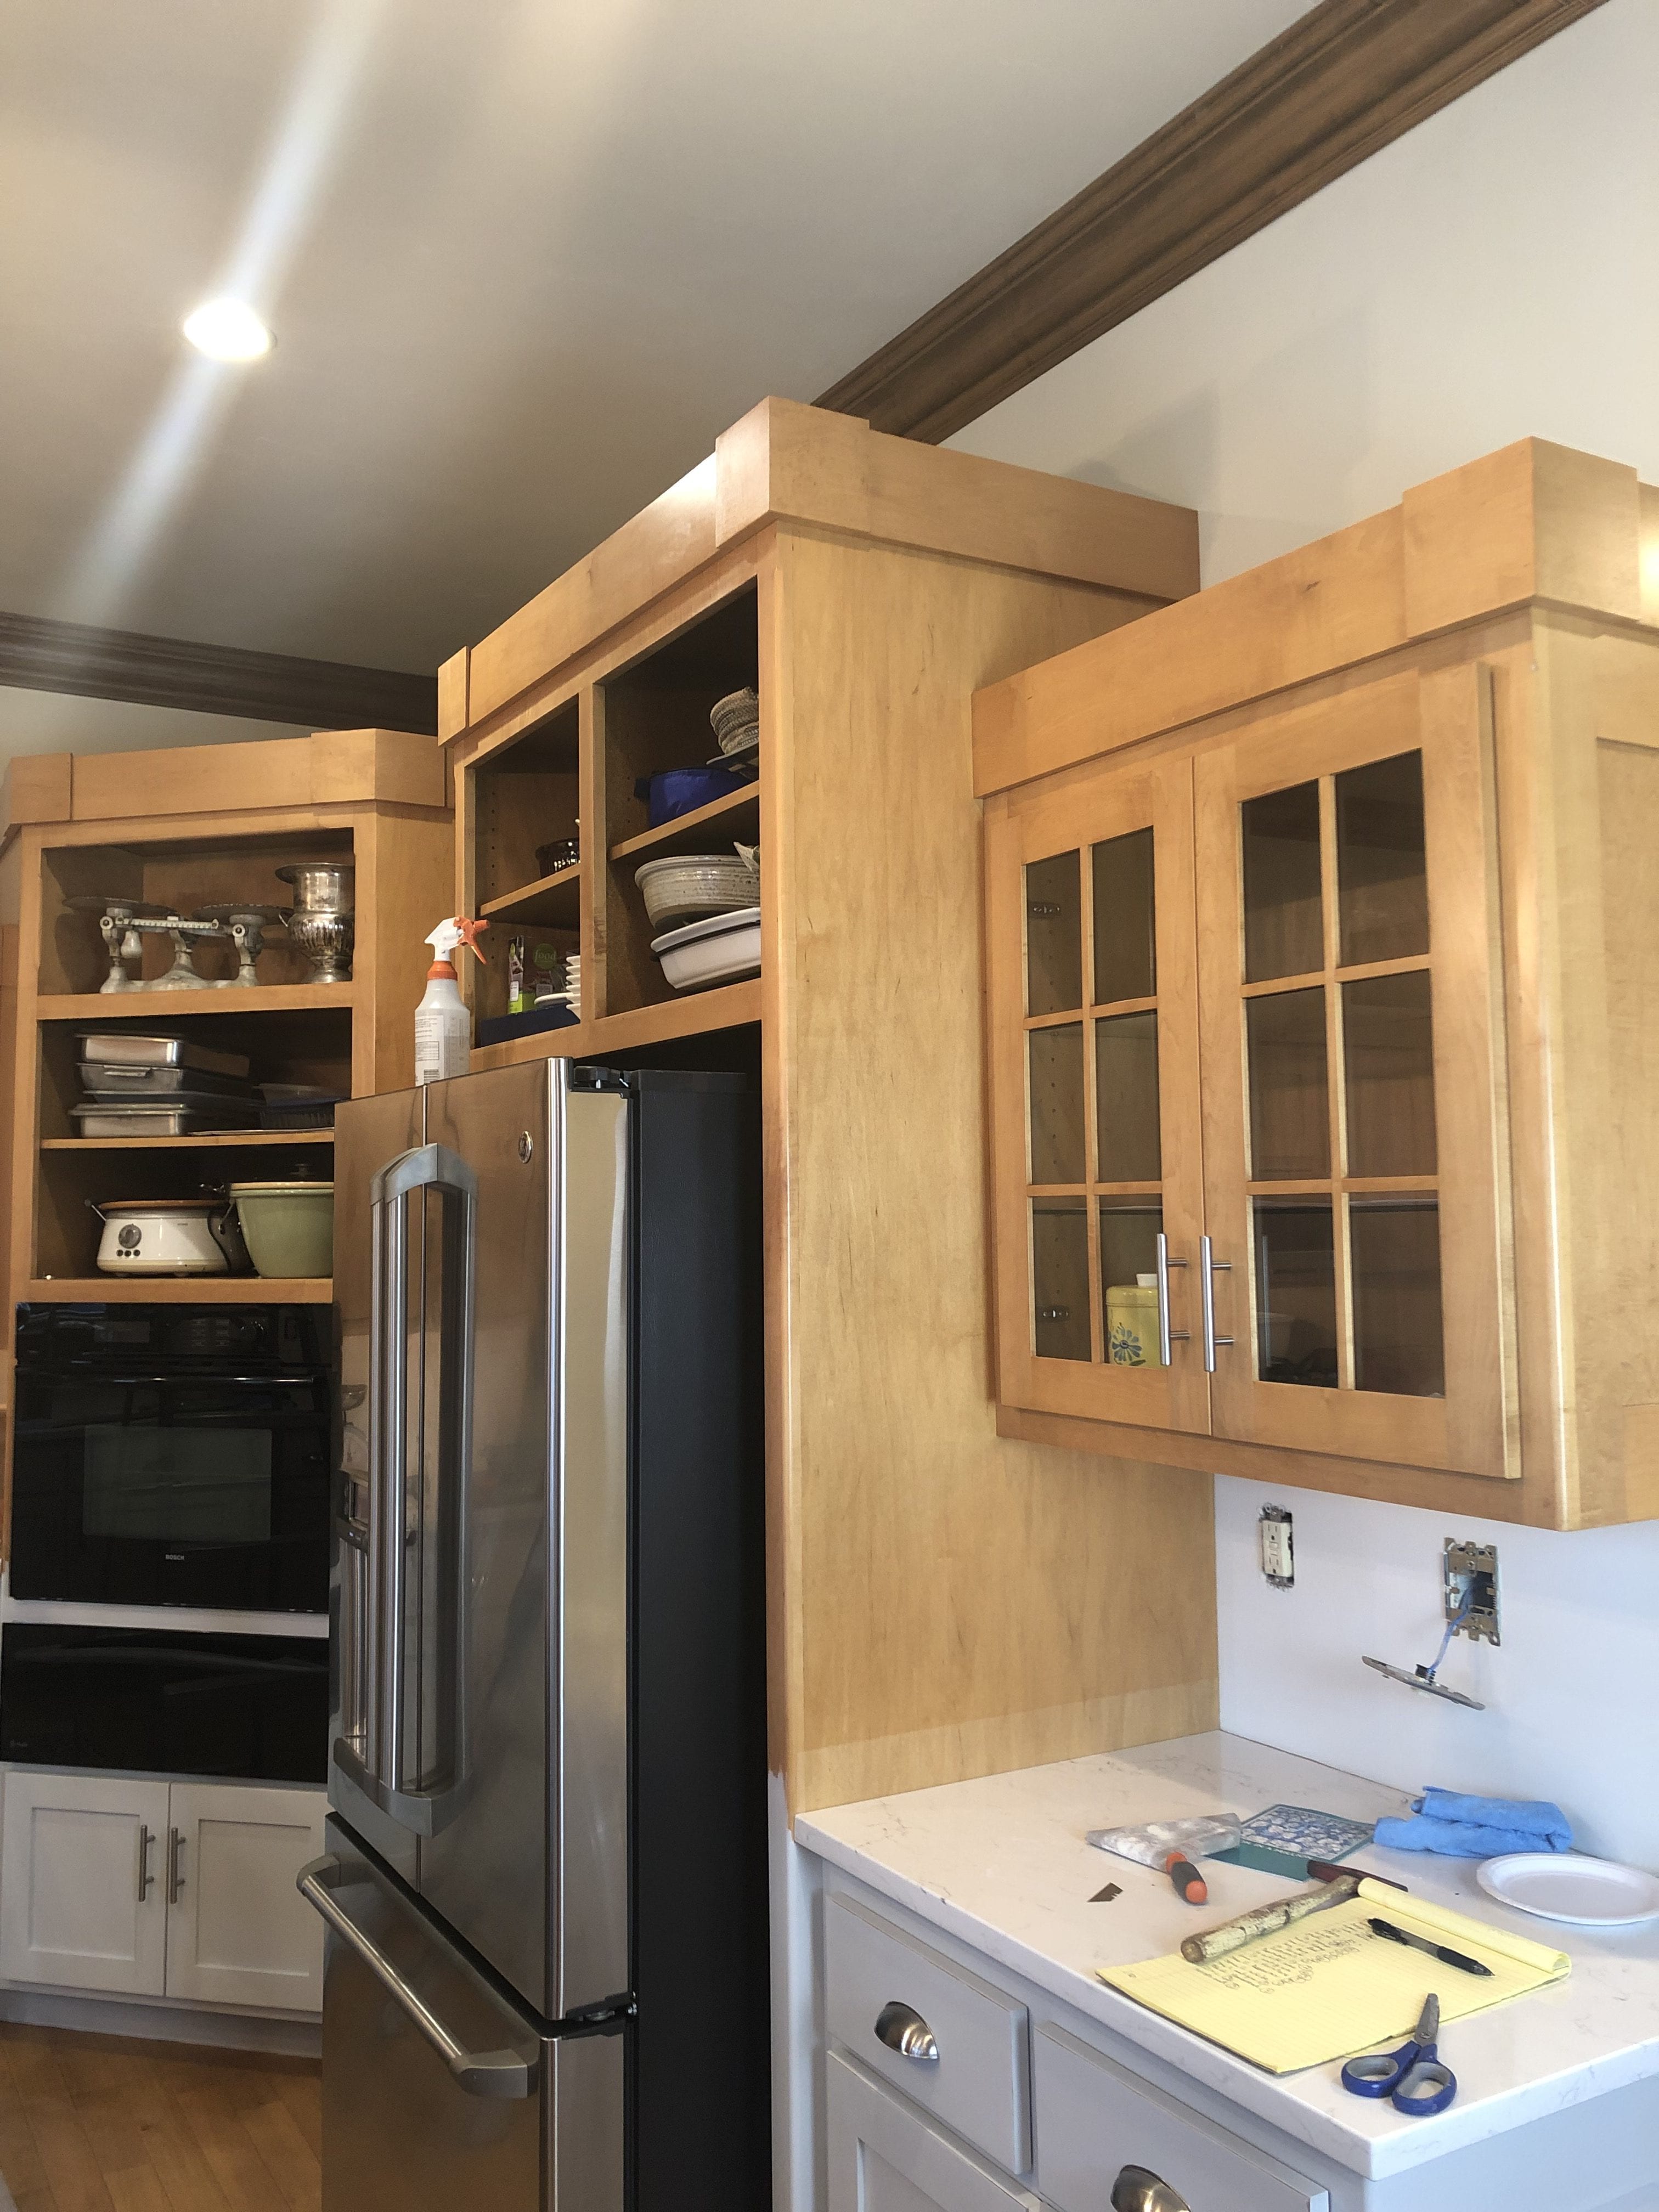
Now once I had the bottom done, I knew that I wanted to test the uppers with a different method. The “right method”. So I took off every door, put the hardware in the cabinet that it came from numbered the doors and decided to roll the frames and spray the doors.
I actually used an inexpensive sprayer for the doors. I used the HomeRight Super Finish Max. I purchased it for around $100 on Amazon. I did not need to thin the paint at all. Now when you spray, you will use more paint due to the over-spray. I was willing to spend a little more in paint if that meant saving me more time. My sprayed doors have the BEST finish out of all of my methods. Now if spraying is not even a possibility for you, then I would recommend rolling and a great quality brush like I spoke about before.
I did the same trimming of the edges as I did on the lowers and again sealed them with 2 coats of Tough Coat. I spent way less time doing the uppers then what it took me to do the lowers with just a brush and leaving the doors on. I also removed the glass on our doors that had the glass and sprayed those too. That was way faster then trying to paint all those little sections by hand.
Final Thoughts:
- Prime your cabinets with Zinnser BIN with Shellac. It will not only help with adhesion, but will also prevent bleed through.This too will help if you are painting them a light color. If you are using a dark color, I would recommend priming with Ultra Grip for the best adhesion.
- Remove your cabinet doors and hardware. You will get a way better finish if you do.
- If you have the ability to spray, do it. It will not only save time, but will give you the best finish possible.
- Keep your hardware in the cabinets that you took it from. Place the hinges on the shelves that you removed the door from. This will make installation way faster. Also number your doors so along with the cabinet that you took them from. This will make re-installing much faster.
- Always use a high quality brush and roller. Trust me, you don’t want to do all this work to end up with a finish you don’t love.
- If you get unwanted texture, do a light wet-sand to smooth out your finish.
- Top coat your cabinets. Although Fusion has a built-in top coat, adding an additional layer of topcoat will make the surface even more durable and makes cleaning up spills faster. It also adds just extra protection as Kitchens are so heavily used.
- If you have glass doors, remove the glass if possible.
- Remove old caulk prior to painting. This part was tricky for us and the caulk used when they installed our counter tops was not the paint-able kind so our paint kept resisting the areas that the caulk was left behind. Ours was clear caulk and hard to see.
- Always vaccumm and wash your floors prior to painting. You don’t want debre to get lifted in your finish when people walk by and you have wet paint on your cabinets.
- Give yourself some grace. This is not an “easy” project but will be so worth the work.


Again, great information and detail!!! Love your kitchen, the makeover is awesome and your hard work was worth it for sure.
I want to do mine too! Maybe one day.
Vicki
Lovingly Re~Created
Thanks so much!!
Great content! Super high-quality! Keep it up! 🙂
Thanks for the detail info. I love the results! I’m planning on painting my kitchen cabinets with Fusion soon. How many pints of Lamp White did you end up using?
If I recall correctly, I used 6 pints of Lamp White.
Did you use the sprayer to apply Top Coat? If so, how much did you use?
No, I applied it using the Ultimate One blending brush. If I recall correctly, I used 2 bottles.
Really, this is a beneficial web page.
Does this product work on laminate cabinets?
Yes, but I would recommend that you use Ultra grip when painting over laminate to ensure proper adhesion.